
Want to know how to unlock every Monster Hunter Rise Switch Skill? All 14 of the Monster Hunter weapons get access to multiple different skills as you progress through the game, and they drastically change how each weapon works. With the help of your Monster Hunter Rise wirebugs, you can make even the heaviest of hammers effective in midair.
There are multiple different Switch Skills for every single weapon that unlock periodically as you play through the story, and occasionally require you to complete a quest to unlock them. Not all Switch Skills are created equal however, as some are much better than others and will affect your average DPS or your ability to help your teammates.
To help you make sense of what kind of build you’re eventually going to settle on, here is every single Monster Hunter Rise Switch Skill that we’ve found so far, how to unlock them, and full descriptions of what they will do when used. There’s a lot to get through, so let’s get on with it.
Every Monster Hunter Rise Switch Skill explained
You’ll need a certain Hunter Rank (or HR for short) to use most of them, but others require you to complete specific quests. You’ll need to speak to Master Utsushi in the Gathering Hub to unlock them.
It’s just as important to have the right combination of the best Monster Hunter Rise armor equipped, the best Monster Hunter Rise Dango selection to eat, and the right Switch Skills for the monster you are fighting.
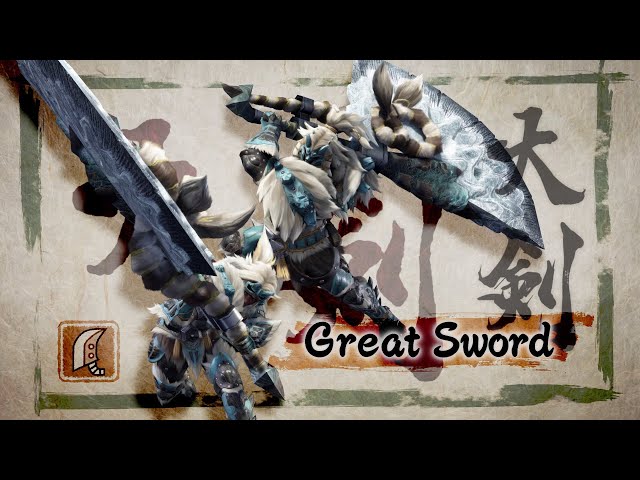
Great Sword
Tackle – A shoulder thrust that withstands all attacks. Keeps you from faltering or falling when attacked, making it useful for standing your ground while charging.
Press A while charging.
Guard Tackle – A forward-dashing attack using the flat side of the blade. More cumbersome than your standard tackle, but strong and allows you to guard. You can follow up a successful guard with a powerful charged attack.
Press A while charging.
Another set of skills is unlocked via the following quest:
Complete ‘Grasp the Great Sword’ to unlock (Gathering Hub HR5)
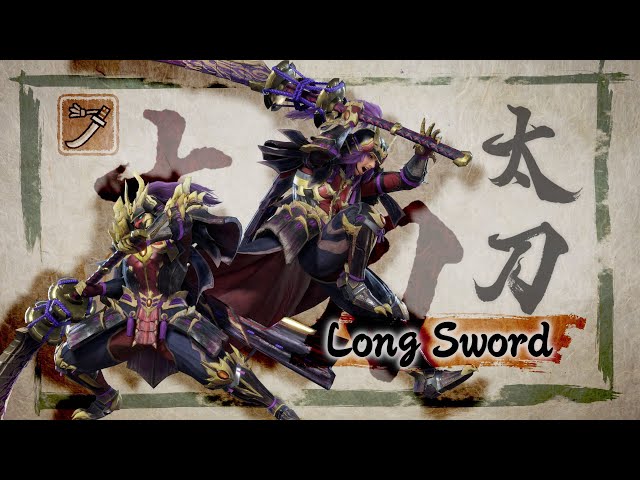
Long Sword
Soaring Kick – A quick Wirebug-induced kick. A missed kick ends the attack with a single slash, while you can follow up a successful kick with one of two moves: the Plunging Thrust increases the Spirit Gauge, while the Spirit Helm Breaker reduces the Spirit Gauge by one level. Wirebug Gauge recovery speed is Medium.
While holding ZL, press X (Costs one Wirebug Gauge)
A successful attack leads into a Plunging Thrust which can be executed at any height by pressing X or ZR while plunging.
Silkbind Sakura Slash – A whirlwind-like attack, dashing and slicing past the target with a Wirebug. The hit causes multiple lacerations over time, inducing additional damage. The hit raises the Spirit Gauge by one. Wirebug Gauge recovery speed is Slow.
While holding ZL, press X (Costs one Wirebug Gauge)
Another set of skills is unlocked via the following quest:
Complete ‘Learning the Long Sword’ to unlock (Gathering Hub HR6)
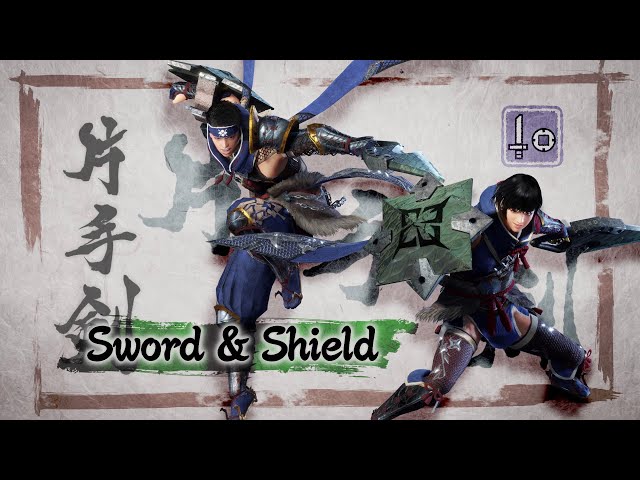
Sword & Shield
Advancing Slash – A drawn attack where you perform a downward slash while stepping forward. A quick and effective action that negates staggering and knockbacks.
X + A while weapon is unsheathed on the ground.
Sliding Slash – A sliding attack that slashes the target twice. Slide manoeuvre reaches far but lacks the ability to turn. Successfully landing the first hit or inputting the necessary command while sliding allows for a follow-up jumping attack.
Draw weapon while on the ground. X + A while on the ground to activate. If the first attack connects, the next move automatically becomes a Scaling Slash. Pressing A while sliding changes the attack to a Jumping Rising Slash.
Windmill – A multi-stage attack using a Wirebug’s silk to spin the weapon around. You can negate any incoming attack while the weapon is spinning. Wirebug Gauge recovery speed is Fast.
While holding ZL, press A (Costs two Wirebug Gauges)
Metsu Shoryugeki – A jumping Wirebug attack that uses your shield to uppercut your target. At the beginning of the attack, there is a moment where you can perform a Guard. A well-timed counter can further add to the damage dealt. Wirebug Gauge recovery speed is Medium.
While holding ZL, press A (Costs two Wirebug Gauges)
Complete ‘Study the Sword & Shield’ to unlock (Gathering Hub HR4)
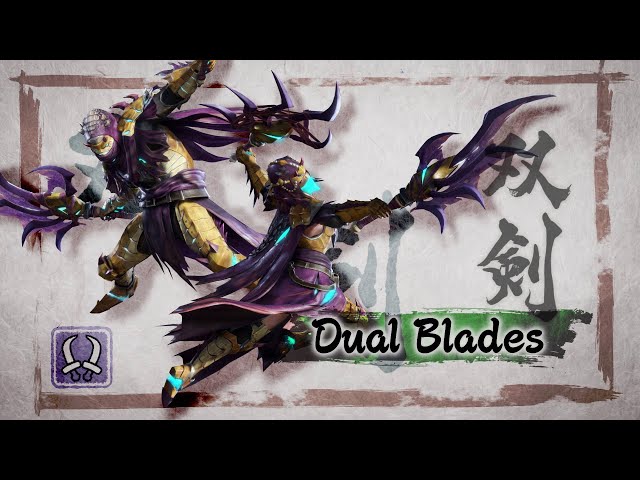
Dual Blades
Demon Flurry Rush – A spinning multi-hit attack performed on the ground. Only when Demon or Archdemon Mode is active.
Press A while in Demon Mode. A draw attack while in Archdemon Mode. Press A while in Archdemon mode.
Demon Flight – An attack performed by slamming down with both blades. A successful hit vaults you into the air, slicing your target as you spin upwards. Highly effective against larger monsters and those with weak spots up high. Easy to follow up with a Midair Spinning Blade Dance.
Press A while in Demon Mode. A draw attack while in Archdemon Mode. Press A while in Archdemon mode.
Demon Mode – Changes moveset and drains stamina slowly. Acts just like the regular Demon Mode.
Press ZR to enter Demon Mode
Feral Demon Mode – Similar to regular Demon Mode, but attacks while activating and dodging attacks.
Press ZR to enter Feral Demon Mode
Piercing Bind – An attack that drives a blade bound by Ironsilk into the target like a stake. The blade remains connected to the hunter by Ironsilk, dealing additional slash damage to the same spot every time you attack. The added damage accumulates over time, eventually unleashing massive damage. Wirebug Gauge recovery speed is slow.
Hold ZL and press X while in Demon Mode. (Costs one Wirebug Gauge)
Tower Vault – Launches a Wirebug upwards and you with it. This action does not do any damage, but allows you to move through the air in most cases, even with your weapon drawn. Wirebug Gauge recovery speed is fast.
Hold ZL and press X while in Demon Mode. Can be used in mid-air. (Costs one Wirebug Gauge)
Complete ‘Dissect the Dual Blades’ to unlock (Gathering Hub HR6)
Find out which Switch Skill combinations are the top ones to pick in our list of the best Monster Hunter Rise Dual Blade builds.
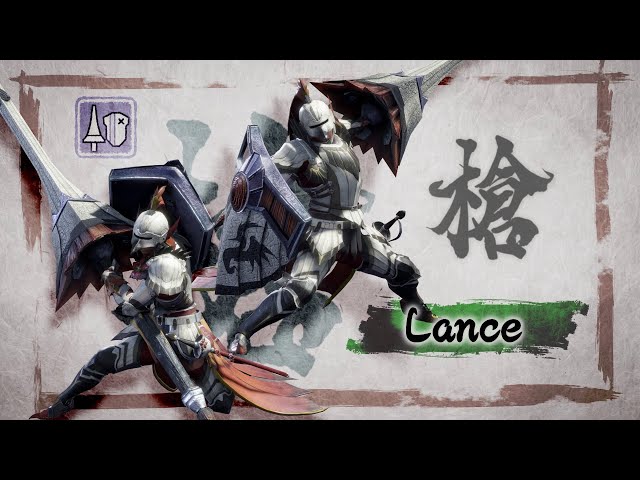
Lance
Dash Attack – A charging attack using the lance. You can continue to speed up for a certain amount of time by gaining momentum. The charge attack continues until you choose to cancel it, have no more stamina, or crash into a wall.
While holding ZR, press X + A.
Press X for a final thrust attack
Press B to cancel or to lead to other moves.
Shield Charge – A charging attack with the shield up. You can dash for a limited amount of time while fending off attacks with the shield. Crashing into a monster will cause shield-based blunt damage, making it an offensive and defensive skill.
While holding ZR, press X + A.
Press X to perform a shield bash
Press A to lead into a leaping thrust
Another set of skills is unlocked via the following quest:
Complete ‘Learn the Lance’ to unlock (Gathering Hub HR5)
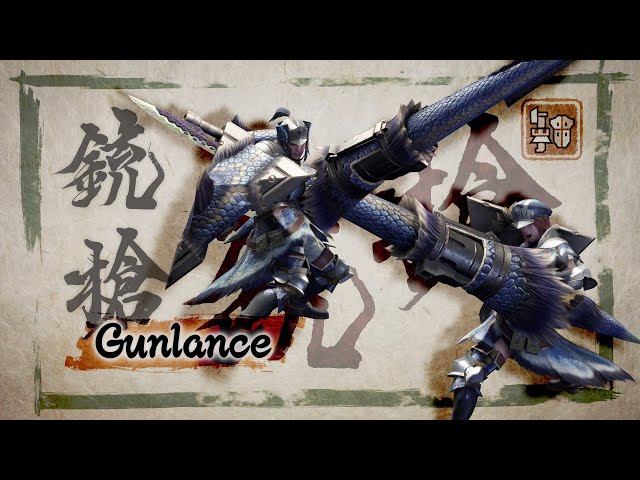
Gunlance
Hail Cutter – Uses a Wirebug to launch you upward performing a Rising Slash on the way up and an Overhead Smash on the way down. You can reload in midair, which reduces the cooldown time for Wyvern’s Fire. Wirebug Gauge recovery speed is Fast.
While holding ZL press X (Costs two Wirebug Gauges)
Can be used after firing in midair
Ground Splitter – Uses a Wirebug to move forward and jump into a vigorous upward slash. Scraping the gunlance on the ground heats up the barrel, temporarily increasing the damage dealt by shells, Wyrmstake Shots, and Wyvern’s Fire. Wirebug Gauge recovery speed is Slow.
While holding ZL press X (Costs one Wirebug Gauge)
Another set of skills is unlocked via the following quest:
Complete ‘Grasp the Gunlance’ to unlock (Gathering Hub HR6)
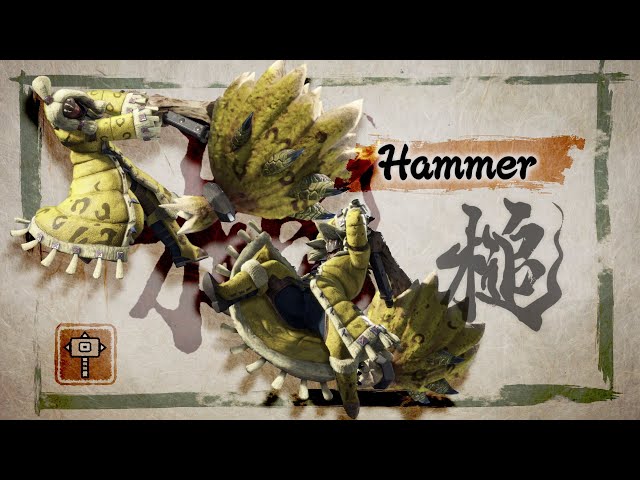
Hammer
Silkbind Spinning Bludgeon – A spinning attack using a Wirebug. It moves along an arc pattern much like midair spinning attacks performed on a slope, but is just as effective on flat terrain. Wirebug Gauge recovery speed is Fast.
While holding ZL, press X (Costs one Wirebug Gauge)
If you charge before launching the attack, the charge level will be preserved. You can also hold ZR after launching the Wirebug to charge the attack.
Dash Breaker – An attack performed by rushing forward with the help of a Wirebug. Any enemy attack damage is negated while launching forward. Wirebug Gauge recovery speed is Fast.
While holding ZL, press X (Costs one Wirebug Gauge)
If you charge before launching the attack, the charge level will be preserved. You can also hold ZR after launching the Wirebug to charge the attack.
Another set of skills is unlocked via the following quest:
Complete ‘Honing Your Hammer’ to unlock (Gathering Hub HR5)
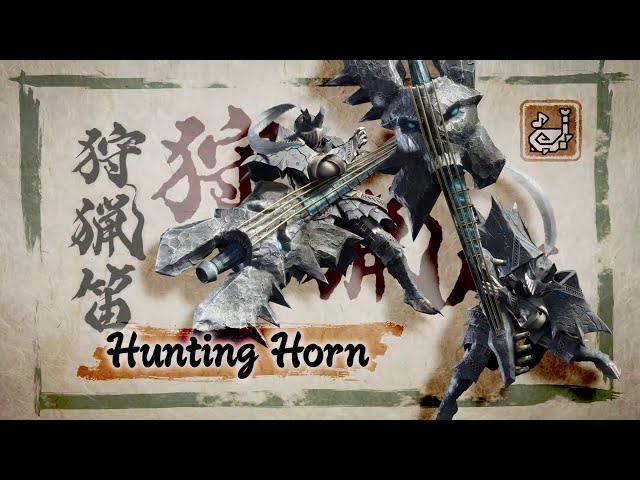
Hunting Horn
Melody Mode: Performance – An action affecting invigorating melodies. Two attacks of the same note in a row generates a melody effect. Playing using ZR boosts your own abilities. A mode focused solely on combat.
Press ZR (Alters the way the Melody is created)
Melody Mode: Echo – Generates a melody effect from the musical staff using ZR, while boosting your own abilities.
Press ZR (Alters the way the Melody is created)
Another set of skills is unlocked via the following quest:
Complete ‘Honing Your Hunting Horn’ to unlock (Gathering Hub HR4)
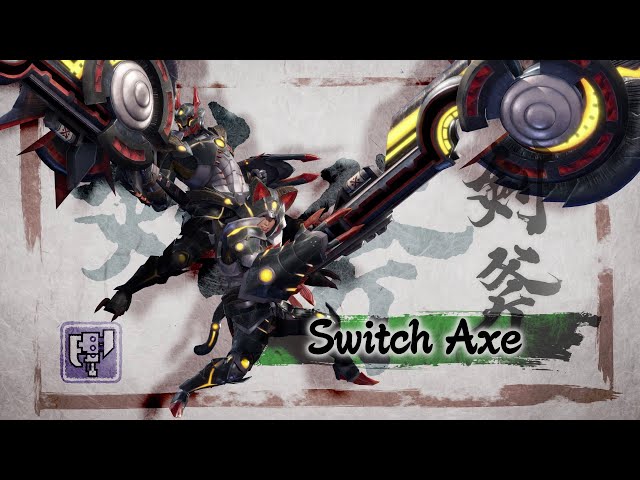
Switch Axe
Invincible Gambit – A technique using a Wirebug to surge forward and dish out three strikes. You’re impervious to knockdowns until the strikes are complete, making this attack useful in a slugfest or pinch. Wirebug Gauge recovery speed is Medium.
While holding ZL, press X (Costs one Wirebug Gauge)
Soaring Wyvern Blade – Uses a Wirebug to fly up while slashing, ending with a forward slash from midair. If the forward slash is successful, the weapon’s activation gauge fills up,and a large explosion goes off where the slash connects. Wirebug Gauge recovery speed is Medium
While holding ZL, press X (Costs one Wirebug Gauge)
After jumping up, pressing X performs a forward slash. In midair, a forward slash is performed regardless.
Finishing Discharge – A finishing blow for the Element Discharge attack. Performs a thrust attack while fortifying elemental energy, ending with a massive explosion. If the Activation Gauge is full and the target is a large monster, the action becomes a point-black Element Discharge.
X after an Element Discharge (pressing multiple times increases the number of hits). By tilting the left analog stick backwards, this move will fire off a quicker, simplified explosion.
Compressed Finishing Discharge – A finishing blow for the Element Discharge. Puts you into a knockdown-resistant stance and delivers a swift strike accompanied by an elemental explosion. The Activation Gauge has no effect on this action.
X after Element Discharge
Complete ‘Study the Switch Axe’ to unlock (Gathering Hub HR4)
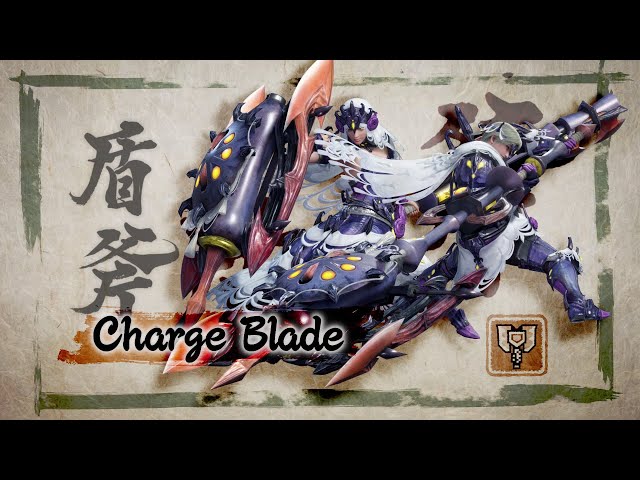
Charge Blade
Condensed Element Slash – While charging, elemental energy gathers on the sword to strengthen it and generate a powerful bash effect. The damage dealt by the sword temporarily increases and incurs additional damage. Reinforcing the sword while using this skill, however, requires the shield to also be elementally boosted.
Hold X while charging. Release X at the right time. Releasing too quick or too late will result in a failed execution.
Condensed Spinning Slash – Activates the Element Regeneration system while charging. The shield rotates and acts as a spinning saw blade. This technique switches the weapon into Axe Mode, allowing multiple hits until you disengage the mode. Longer hits in Axe Mode turn the energy into phials.
Hold X while charging. Release X at the right time. Releasing too quick or too late will result in a failed execution. Holding the attack button while making successful strikes with the axe will result in multiple hits.
Another set of skills is unlocked via the following quest:
Complete ‘Charge Blade Coalescing’ to unlock (Gathering Hub HR5)
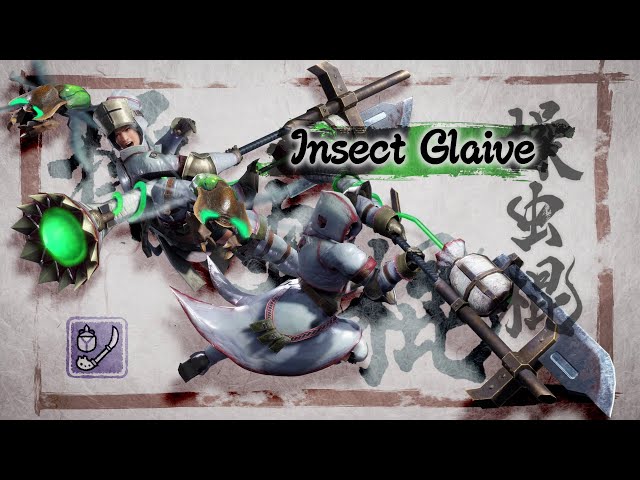
Insect Glaive
Tornado Slash – A hefty slash is performed after a bludgeoning attack, using the entire body to swing the weapon. The second strike is particularly powerful while remaining versatile.
With Red Extract loaded, perform a Leaping Slash and press A
Tetraseal Slash – An attack that delivers four strikes on the spot. One of these attacks is a hit with the handle’s seal, which can lure in Powder Kinsects.
With Red Extract loaded, perform a Leaping Slash and press A
Another set of skills is unlocked via the following quest:
Complete ‘Invoke the Insect Glaive’ to unlock (Gathering Hub HR6)
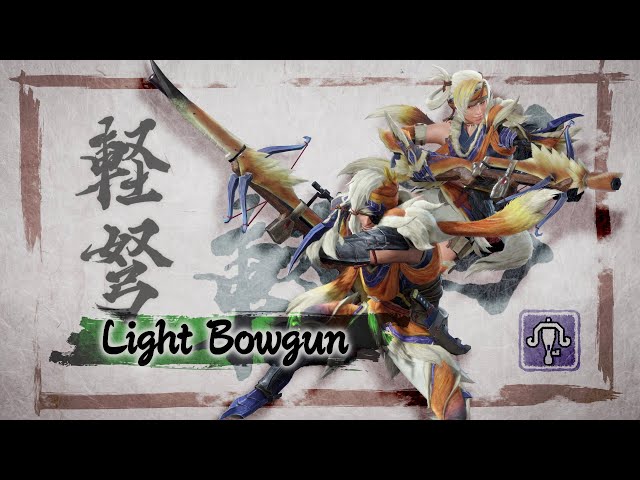
Light Bowgun
Fanning Vault – A jumping action using Wirebugs. While airborne, you can fire Wyvernblasts directly underneath to land a direct hit on a monster. Wirebug Gauge recovery speed is Fast.
While holding R, press A (Costs one Wirebug Gauge)
Fanning Maneuver – A manoeuvre using a Wirebug and centrifugal force to quickly flank left or right. Also temporarily ups attack power. You can fire shots while in motion. Wirebug Gauge recovery speed is Fast.
While holding R, press A (Costs one Wirebug Gauge)
Another set of skills is unlocked via the following quest:
Complete ‘Learning the Light Bowgun’ to unlock (Gathering Hub HR4)
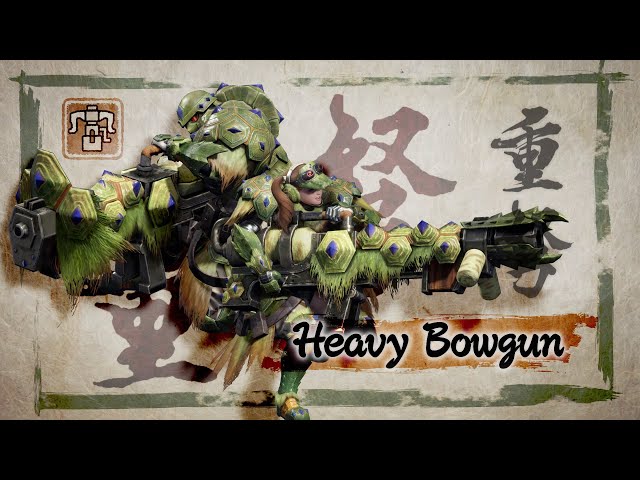
Heavy Bowgun
Mech-Wyvernsnipe – Fires a specialised shot, which is different depending on the weapon. The number of rounds is managed via its own gauge and replenishes over time.
Press A to switch modes, press A again to switch back. ZR to fire
Healing Mech-Wyvernsnipe – Fires a specialised shot, which is different depending on the weapon. The number of rounds is managed via its own gauge and replenishes over time. Regular Wyvernheart and Wyvernsnipe shells inflict less damage, but hits will replenish the hunter’s health.
Press A to switch modes, press A again to switch back. ZR to fire.
Another set of skills is unlocked via the following quest:
Complete ‘Hone your Heavy Bowgun’ to unlock (Gathering Hub HR5)
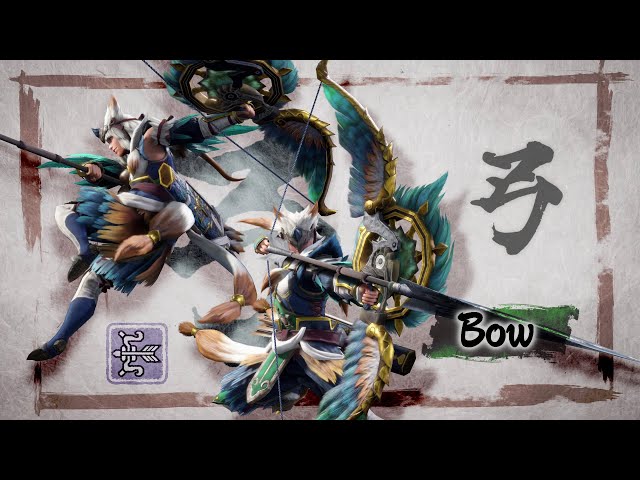
Bow
Charging Sidestep – An evasive skill that covers a lot of ground. You can raise your charge level while dodging, and you can control the direction you dodge in by tilting the left analog stick forward, backwards, left, or right.
Tilt analogue stick + Press B while aiming the camera. Press B during a combo
Dodgebolt – A spinning evade that doubles as an attack. Baiting the attack and making it a near-miss can fill up the charge level considerably. Also allows you to move forward, backwards, left, and right.
Tilt analogue stick + Press B while aiming the camera. Press B during a combo
Another set of skills is unlocked via the following quest:
Complete ‘Be One with the Bow’ to unlock (Gathering Hub HR6)