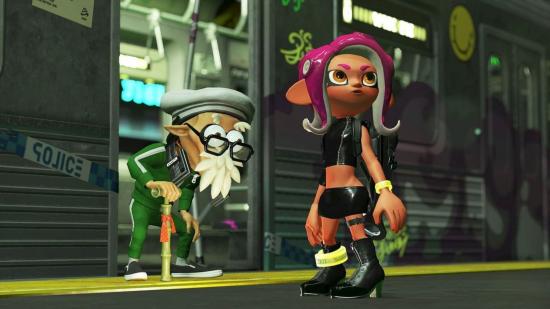
The Splatoon 2 Octo Expansion was a welcome surprise for many. Not only does it offer a whole tonne of new single-player content for you to blast through, but these levels are also some of the most challenging stuff in the series to date. An already stellar multiplayer experience now also has an A-star single-player campaign.
One of the rewards for completing the Splatoon 2 Octo Expansion is the ability to play as an Octoling in the multiplayer. This has no gameplay effect, but changes the way your character looks. A mark of prestige? A way to stand out from the crowd? Simply a cool skin? Whatever you think it’s for, lots of people want to be an Octoling.
So, if you want to blast through this single-player campaign and just get that lovely reward, then read on. And, if it takes your fancy in future, I highly recommend seeing all the challenges that the Splatoon 2 Octo Expansion has to offer, as there are some lovely things throughout. If you can’t wait for the next in the series, check out our Splatoon 3 release date guide, or find out about the Pokémon Legends: Arceus starters to be ready for some open-world Poké action.
Splatoon 2 Octo Expansion thang locations
In the Splatoon 2 Octo Expansion, there are eighty levels to conquer, all corresponding to a different station on the Deepsea Metro. There is, however, a way to fast-track straight to the ending and get the ability to play as an Octoling. Just collect all four thangs by following our route below, and the final mission will become available.
How do I get all four thangs in the Splatoon 2 Octo Expansion?
The foundational thang
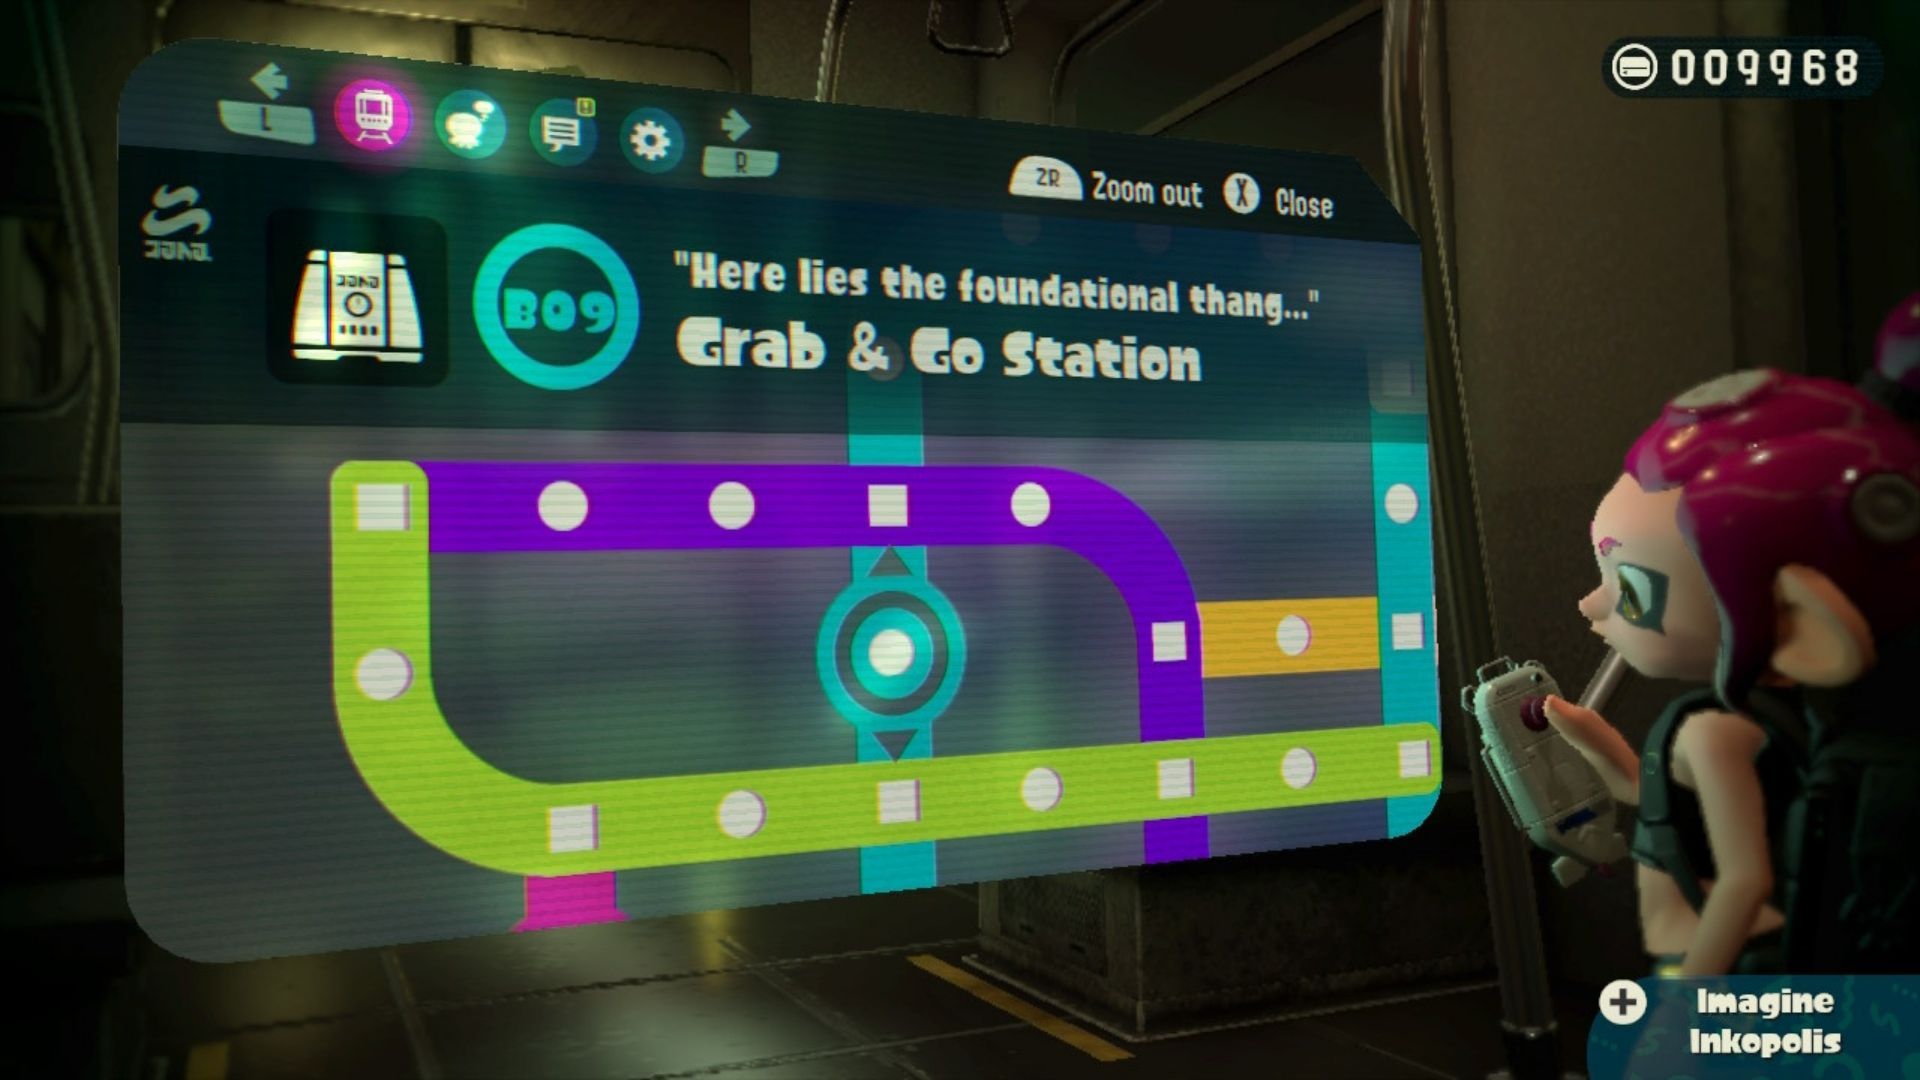
The first thang is located at station B09, at the Grab & Go Station. The quickest route there means completing seven levels before reaching B09, going west from Central Station. There are three routes all the same length from here, but the easiest is changing at B01/A03 to Line I, and riding that I05/B08, then the first thang is just one stop north.
You can see a detailed walkthrough of this route below. While this is the quickest route, it isn’t the easiest, as some stops on Line G are particularly tricky. You can always ride Line B all the way to B09, but it takes you through quite a few more levels.
A05 – Fake Plastic Station
In the first station, you face a handful of hostile Octolings. In the first room, there’s only one enemy equipped with a blaster. In the second, there are two – one with an umbrella, and one with a roller. In the final room, there’s only one enemy with a pair of Splat Duelies, but they immediately get the Inkjet special, so watch out.
The general strategy you use in any Splatoon game applies when facing off against these AI enemies. Keep moving, find some high ground, and use your projectiles. There are handy towers in each room that give you a good bit of elevation. If you’re struggling with the Octoling with the Inkjet in the third room, run and hide until their special runs out – this makes them a lot easier to take out.
A04 – Roll Out Station
A bit of a platforming gauntlet, this station puts you in the Baller special. Roll around in your ball to the end destination. The best practice here is to use B to jump and keep up a lot of momentum. Don’t forget that the Baller can climb up inkable walls, so you’ve got a lot more freedom of movement than you may think. A bit of trial and error is inevitable, so just stick with it.
B01/A03 – Wassup 8-Ball Station
Here, you need to fire at a ball to get it to the destination. In the first section, leave the ball behind you and head forward to take out any enemies (they’ll shoot at the ball trying to knock it off). After the first mob of enemies there’s an elevator: shoot at the fan to make it move, being sure to get as high as possible before trying to shoot the ball onto terra firma.
In the last section, there’s a little puzzle: get the ball in the glowing red circle, ride the elevator it activated, climb the structure, kill the enemies, grab the key, and then send that ball flying with a balloon fish. Just make sure you time it right.
I09 – Poppin’ Fresh Station
A rail-riding balloon-popping pain in the butt, this level will take a lot of practice. Use whichever weapon you’re most comfortable with, shoot balloons as soon as possible, and press B to switch rails. It’s tough, but super satisfying once you’ve got it down. Good luck!
I08 – Radio Station
Here, you have your first encounter with Octostomps. They’re super easy – just keep your distance, bait them into an attack, and blast their butts. Later, there are some Octo Commanders – Gatling gun-wielding tentacles – that are similar. They have a cooldown after an attack, so wait for that moment before you attack. There are some other irritating enemies, but just keep moving and you’ll be fine.
After the final checkpoint you have a choice: ride the rail left or right. I think the left path is a bit easier, but that comes down to personal preference. Take the rail and shoot through a gauntlet of enemies. There are a lot of hiding places here, so, if you get overwhelmed, just retreat and take a breather. Get to the top of the gauntlet, and use the specials up there to take down the enemies on the path not taken. Phew, that was a tough one.
I07/G07 – Ride with Me Station
Another very tough one here. Jump across the cars, and ride the rail to another car ride, and you’ve done the easy bit. Then there’s a whole load of enemies and more car-jumping to get through. As mobility is restricted here, take down one enemy at a time, jump onto their moving platform, and repeat.
I06 – All Eyez Station
Another combat fest, your only goal is to take down the enemies. The catch here is that your main source of movement is the grapple hooks. It isn’t too difficult, but can definitely take some time. Be patient, use the cover, and get through the horde.
I05 – Righteous Rails Station
This one’s a fun rail ride. Hop on the rail and shoot the blocks as you pass them by. Press B to switch rails and go into squid form when you see a grate. It’s a nice breather after all that fighting earlier.
B09 – Grab & Go Station
Whoa, you made it. Follow the corridor, enjoy the great music, shoot away, and grab your first thang.
THE SURROUNDING THANG
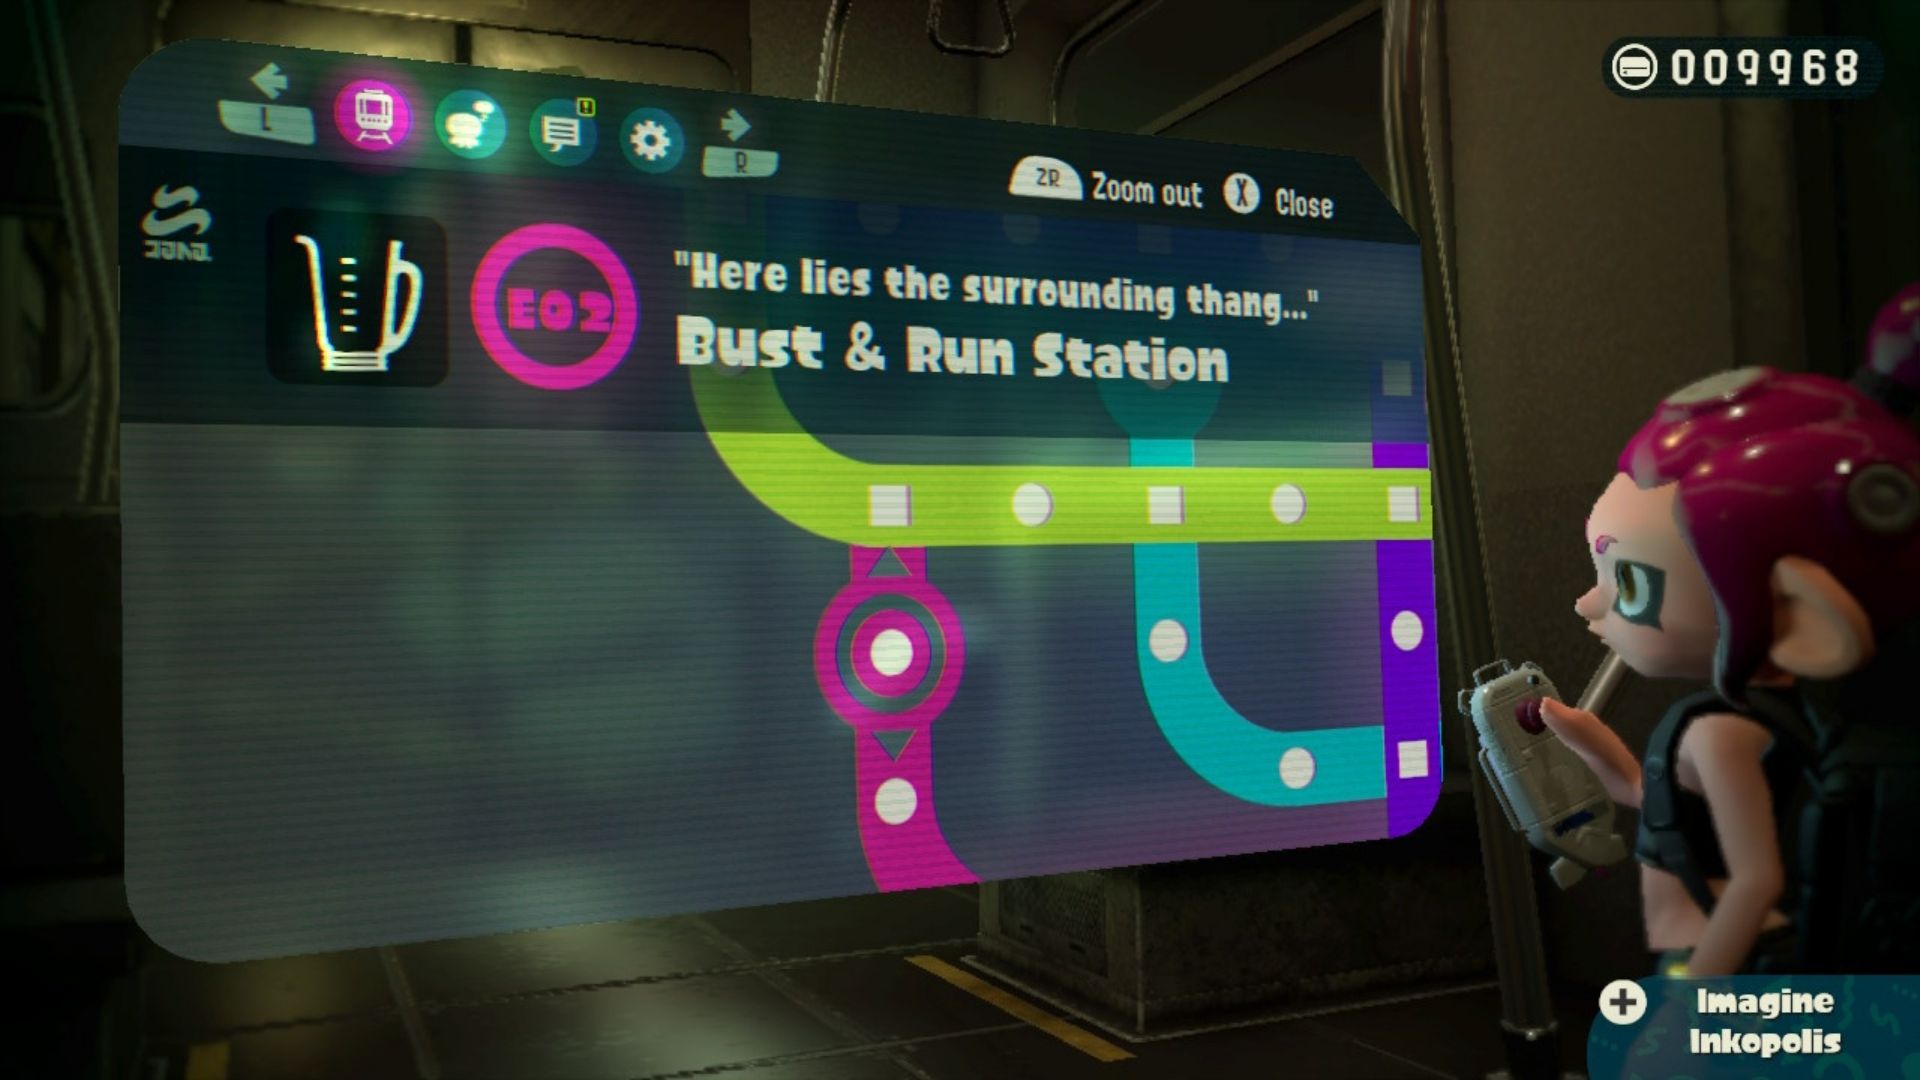
Right next door to the foundational thang is the surrounding thang. Just ride four stops via Line I and change at I03/E01 to get to E02 and snag the surrounding thang. Some tricky levels lie between you and your destination, but it’s much speedier than any other route. You might start to notice what these four thangs create, some blender-looking thing. But what for?
I04 – Can’t Touch This Station
This one is quite punishing, but if you keep following the same rules you’ve learned so far you should be fine. Your aim is to get to the goal without touching any enemy ink. You can’t take any damage or even step in it. The simple solution is to take enemies down and then make your path through – although this is easier said than done.
I03 – No Whammy Station
In No Whammy Station, you have to defend an orb from a barrage of attacks while using a turret. Simple idea, but still tough to get through. The trick is to focus on the bigger rockets in the later stages. Remember you have five lives, so don’t worry about using some to get the hang of it.
E02 – Bust & Run Station
That was a nice short journey, wasn’t it? Grab the surrounding thang and you’re halfway there.
THE SEALING THANG
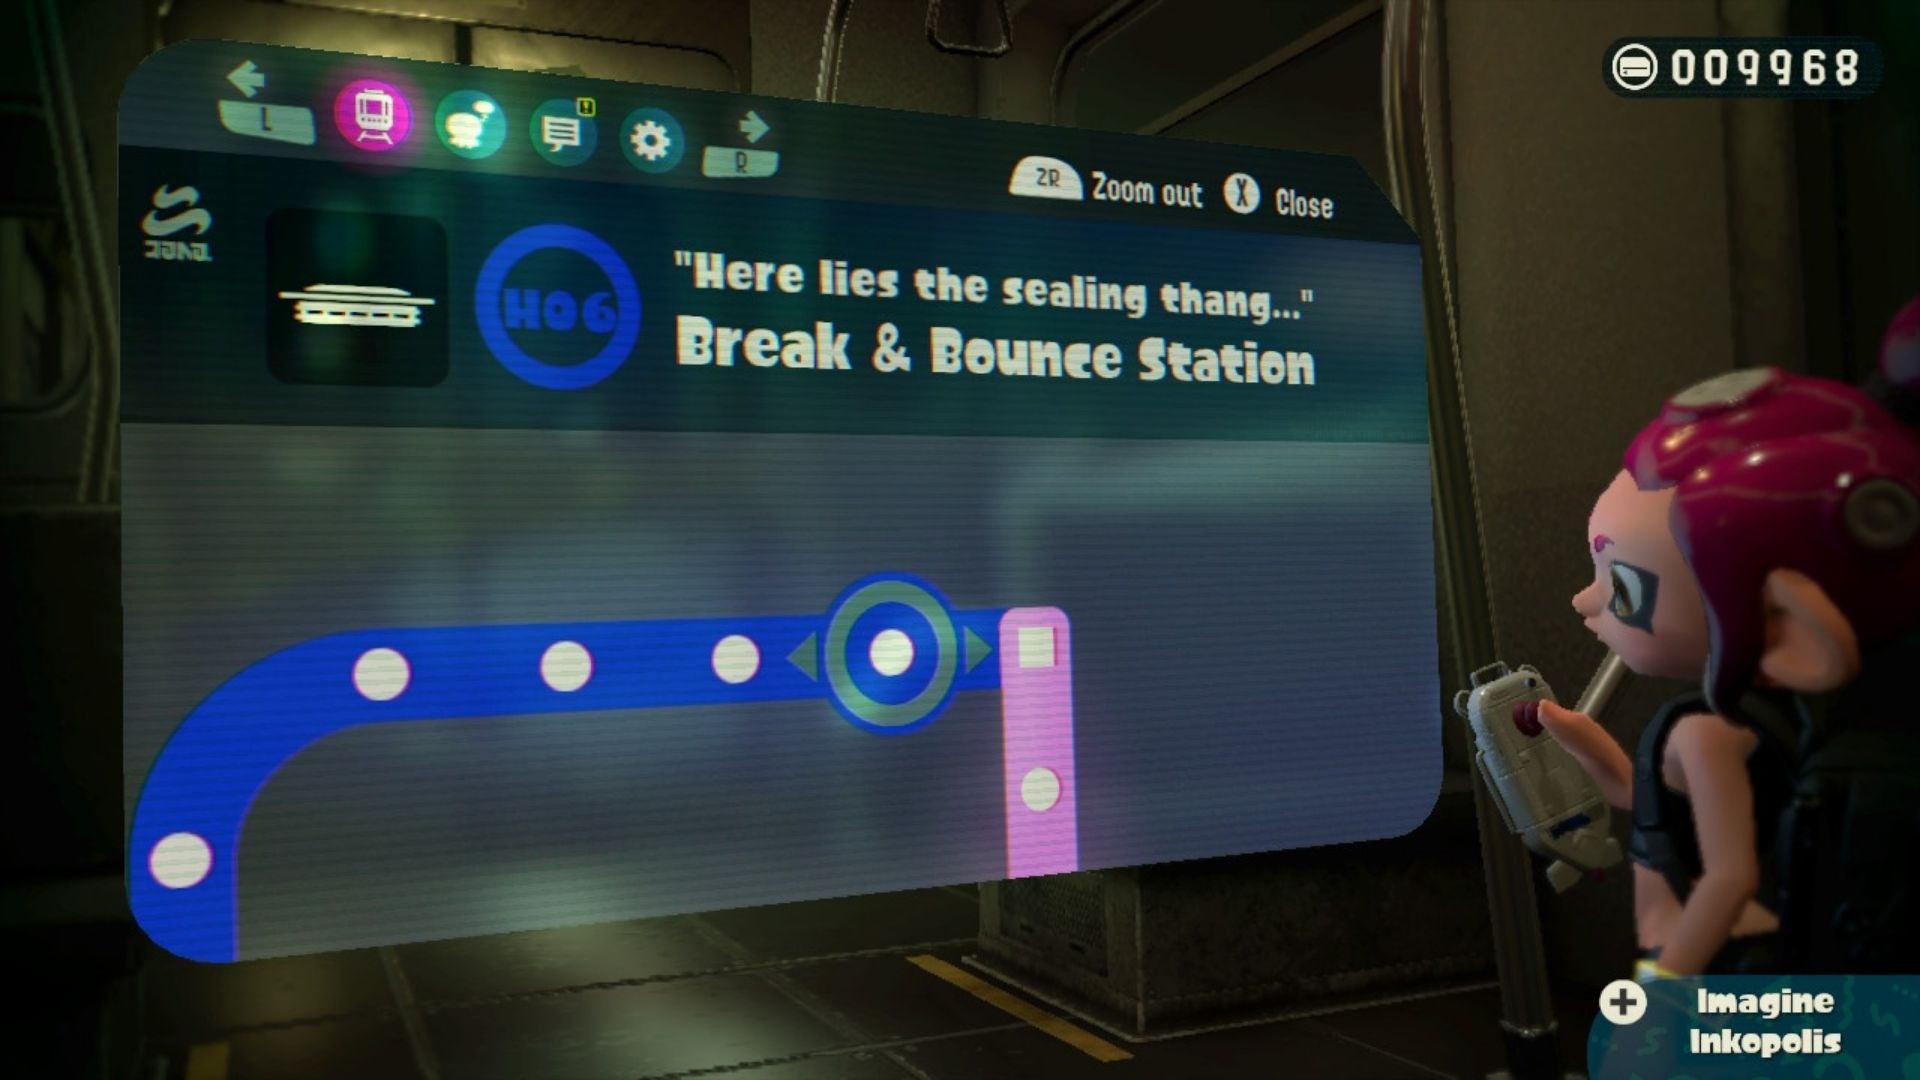
Now head back to where you started as it’s time to take on the eastern portion of this Deepsea Metro. Head east on Line A, change at C03/A08 and head north for two stops. Change at D06/C01 and head west for two stops. Change at J03/D08 and head north for two stops before changing at the end of the line to get to H06. You’re getting close to the end now.
A06 – Bounce with Me Station
We’re back to some easier levels now. Bounce with Me Station says it all with the name: use the yellow bounce pads to complete this platforming section. Hold down B to bounce higher. Easy peasy.
A07 – Maverick Station
You’re now equipped with an Inkjet again. Fly past enemies and platforms, use the grapple hooks to advance, and try not to fall into the abyss. There’s no specific trick here, just simple jet-pack fun.
A08 – Bumpin’ 8-Ball Station
Here, we have another ball-rolling challenge. Shoot the ball to get it to the goal, and don’t let it fall off. You’ve already completed a harder version of this level in the Wassup 8-Ball Station, and the same rules apply – clear out enemies ahead of you if possible before going back for the ball.
C02 – Shrinky Ink Station
This is your first time having a limited amount of ink, so keep your trigger finger tentative. Don’t use ink on the enemy after your ride up the rotating platform. Only use ink to expand the sponge, climb the wall, and shoot the pufferfish full of ink. You’ll have more than enough leftover.
C01 – Radical Rails Station
Let’s get back to rail riding! This one is great fun – you have one minute to ride up the rail tower and shoot all the blocks. Don’t worry if you fall, the ground is made out of those yellow bounce pads, so just get back up on the rail and keep going.
D07 – Targetbuster Station
Even if you enjoyed the time limit in the last level, you’ll probably hate it here. You have 35 seconds to destroy 35 targets. There is no time to spare, but the execution is relatively simple. Just don’t miss the free ink refills on your way, and smash away as quickly as possible.
D08/J03 – Girl Power Station
Have you heard of Girl Power Station before? It is the most challenging station in all the Deepsea Metro. Like No Whammy Station, you have to defend an orb from a load of attacks. The difference here is that the attackers are Octolings, and tough ones at that.
When you get into the arena, you have the opportunity to choose any weapon – it’s best to pick the one you’re most comfortable using in the multiplayer modes. Then, use the launchpad and get into battle. Keep in mind that there are lots of super handy specials dotted around the arena to pick up. Go straight to the back of the arena where the Octos spawn and take them down ASAP.
After the first wave of enemies at the back of the arena, Octos spawn on the left and right side. Pick a side, take them down, and get to the other side as quickly as possible. Then two more Octos will spawn in the back corners of the square. It’s easy to get caught up with these ones, so be careful.
After that there’s another two on the left and right, and this is where it can get a bit messy, so it’s time to use your specials. The Inkjet is particularly good if there’s a handful of Octolings crowding the orb. If you keep them at bay for long enough, then you’ll pass this gruelling level. It just might take a few tries.
J02 – Matchmaster Station
A puzzle! What a welcome surprise after that horrible ordeal in the last station. Here, you need to match the shape of the big structure with the destructible wooden boxes next to it. All the boxes you need to destroy are marked in orange, so it’s actually just a tedious game of ‘shoot the orange’. Do that and don’t shoot any not-orange boxes and you’ll pass. Easy.
J01 – Cool Your Jets Station
Boss time. Luckily, this is an easy one. In phase one, take out the tentacles holding up this UFO-looking fella. Use the wall boosts to get some extra height if needed. Once down, shoot his big tentacle that pops out (gross). In phase two, there are four tentacles holding the boss up. Take them out, avoid the enemy attacks, and shoot the tentacle when it pops back out.
In the final phase, the boss goes all out. With lots of ink flying your way, it’s easy to get overwhelmed. Take out the tentacles, use the pillars for cover, and get the boss’ tentacle to pop out again. Give it a few shots, and then boom! All done.
H06 – Break & Bounce Station
That’s definitely the hardest run of levels on this route, so well done. Another one down, only one to go.
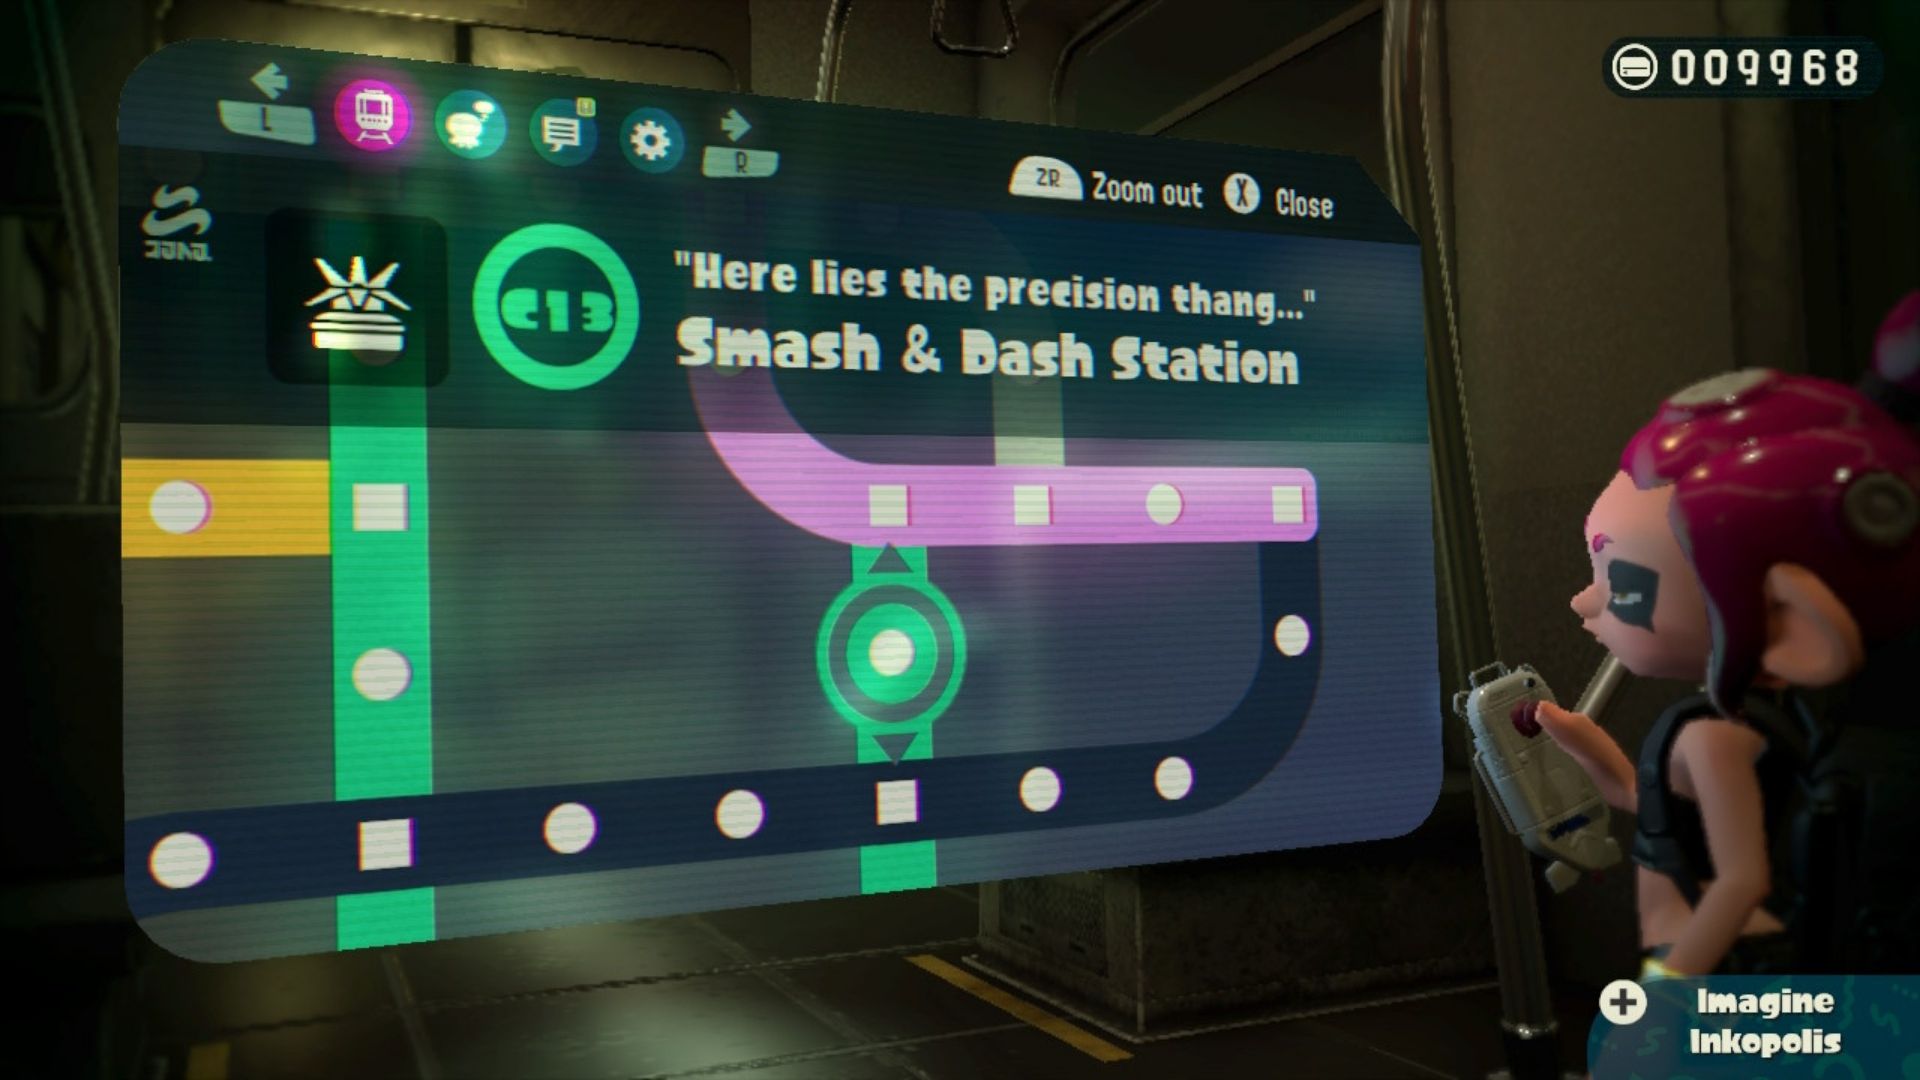
THE PRECISION THANG
Now, head back the way you came, but stay on Line J and change at J05/C14 to get to the final thang at the Smash & Dash Station, C13. That’s the last thang you’ll need to work out what these objects form.
J04 – Footloose Station
Here, you have to defeat all the enemies within the time limit, while standing on destructible platforms. Take care not to destroy the area yourself, as you’ll quickly run out of space. Focus on the fast shooting enemies, and take out the slow shooting ones afterwards.
Once you’ve cleared the first wave, there’s a Gatling gun-wielding tentacle and a sniper. Remember that the Gatling gun enemies have a long cooldown after an attack. Once they’re down, two Rocket Octobombers will spawn, firing splat bombs all over the place. Take them out quickly before they destroy the ground you’re standing on, and you’ve completed the station.
J05/C14 – Stick ‘n’ Move Station
In this station, you have to ride rails and dodge obstacles to get to the goal. Shoot the targets to make the green ink rollers spin around. Shoot until the path is clear. Use the launchpad and do the same again with the next set of rails. Don’t forget to switch rails by jumping off with B. The final stage follows the same rules, just don’t get too trigger happy or the roller will spin all the way around and hit you from behind.
C13 – Smash & Dash Station
The final thang, congratulations! Head back to Central Station and the gateway to the surface will be available, taking you through a seven-level gauntlet to the final boss.
If you want more, there are a lot more Deepsea Metro stations to take on. If you complete all of them you can also discover the secret final boss. It’s a crushing battle, but well worth the effort. There are a lot more games out there if you’ve done everything you can in Splatoon 2, so check out The Artful Escape Switch review to see if it’s another Switch fix for you.
