The Legend of Zelda: Skyward Sword HD remaster is finally upon us, so it’s time to fight your way through Hyrule and rescue Zelda, again – it’s just another day in the office for our hero Link. Of course, there’s always one thing that set Skyward Sword apart from other Zelda titles: its motion controls, which return in the Switch adaptation. So, move your joy-cons as though you’re swinging a sword and wielding a shield, and get ready to dive back into this classic adventure.
In our Skyward Sword bosses guide, we aim to provide you with details on the bosses themselves, from their role in the game, to who they are, and how you can best them in battle. Overall, there are 14 boss battles, though there’s only nine individual bosses – two of which have three fights each.
Assuming you’re a Legend of Zelda fan, why not check out our BotW Amiibo guide to see what in-game benefits these figures can give you. Alternatively, if you’re after a different open-world RPG, you could check out Genshin Impact. In which case, you might want to use our Genshin Impact codes guide to grab some freebies. We also have a Genshin Impact tier list that details the best-performing characters.
Right, let’s get onto the Skyward Sword bosses.
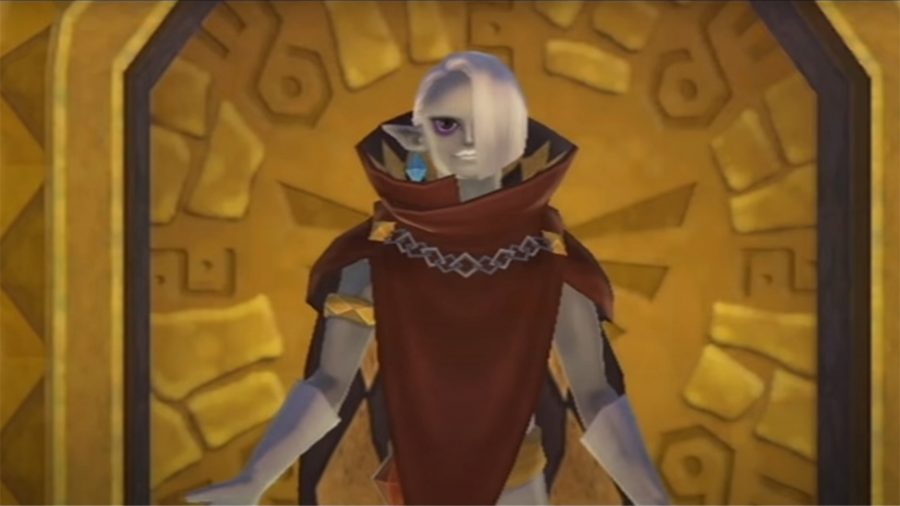
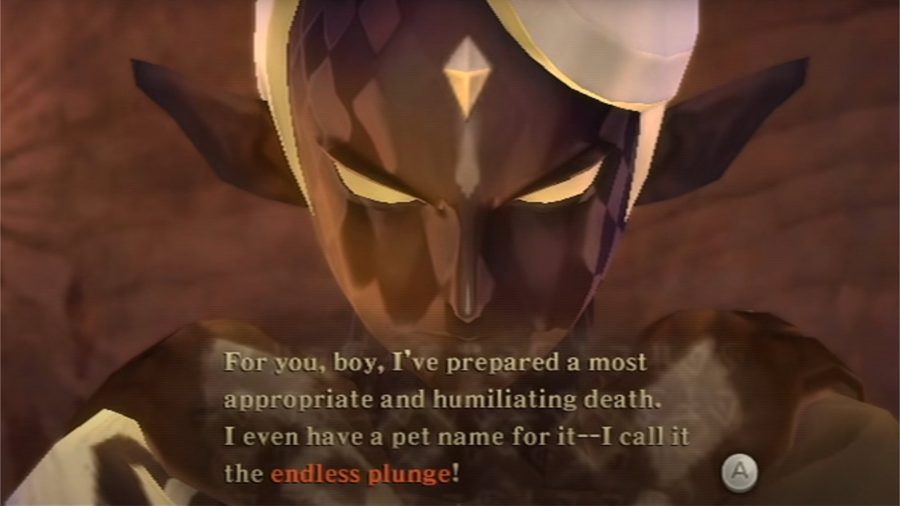
Ghirahim – first battle (Skyview Temple)
Ghirahim is a unique boss because he’s one of two bosses that Link faces three times.
The three locations are:
- Skyview Temple
- Fire Sanctuary
- Hylia’s Realm
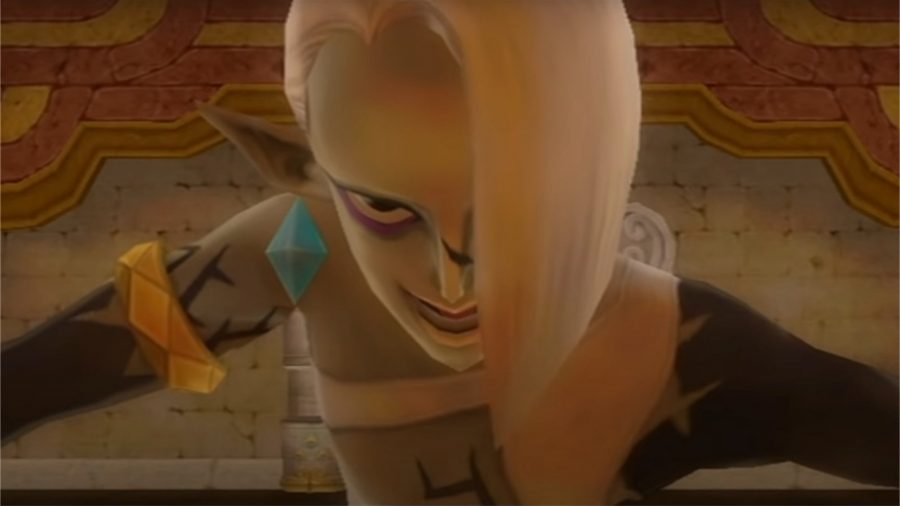
He’s a Sword Spirit Demon, and a powerful foe. His role in Skyward Sword is simple. He wants to capture Zelda – who doesn’t? – to use her in his plan to resurrect Demise, his master, and perhaps the one being he respects.
Now then, for phase one of the first encounter with Ghirahim, be wary that he will grasp your sword with his right hand. Therefore, you will want to launch an attack from his left-hand side. However, should he catch you, swing your sword in the direction in which Ghirahim’s hand opens, or swipe your blade upwards to break free.
As for his second phase, he will start to teleport and throw daggers at you on three planes – vertical, horizontal, and diagonal. Of course, you could repel them, but this takes considerable skill and is not a guarantee. As such, we recommend dodging, then readying yourself for an attack when he appears. Usually, he takes a moment before striking, giving you a good indication of which direction he’ll move in.
Bear these tips in mind, and only take risks should you feel confident in your abilities. Otherwise, pick your moments in phase two.
Scaldera
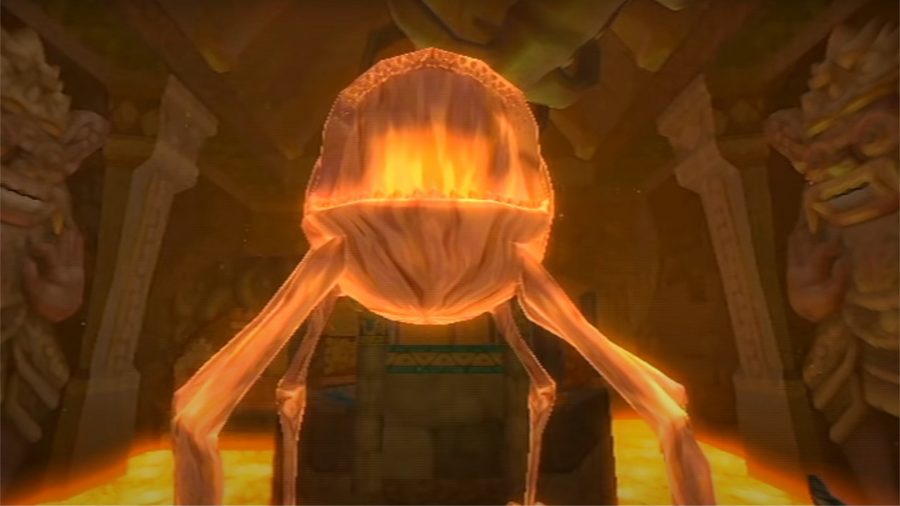
The second boss fight of the game is found in the Earth Temple, and is an insect-like creature with six legs and a single eye in the centre of its head. Oh, and its body is molten lava, just in case you’re wondering where the name Scaldera comes from. However, rocks form its outer layer, this shell offers armour-like protection.
Okay, so when facing this boss, it’s important to remember that its outer shell is essentially armour, which means your sword will do diddly squat, but bombs will cause considerable damage due to the explosions they cause. And let’s be honest, it’s nice to take a break from sword-swinging.
Throwing bombs will lead to victory. Make sure you throw an explosive into Scaldera’s open mouth when you can, which will shed some of its rocky exterior and cause it to fall to the ground, exposing its eye. Now, it’s time to use your blade until the boss gets back to its feet, then the cycle of running and throwing bombs repeats – keep doing this until you claim victory.
Moldarach
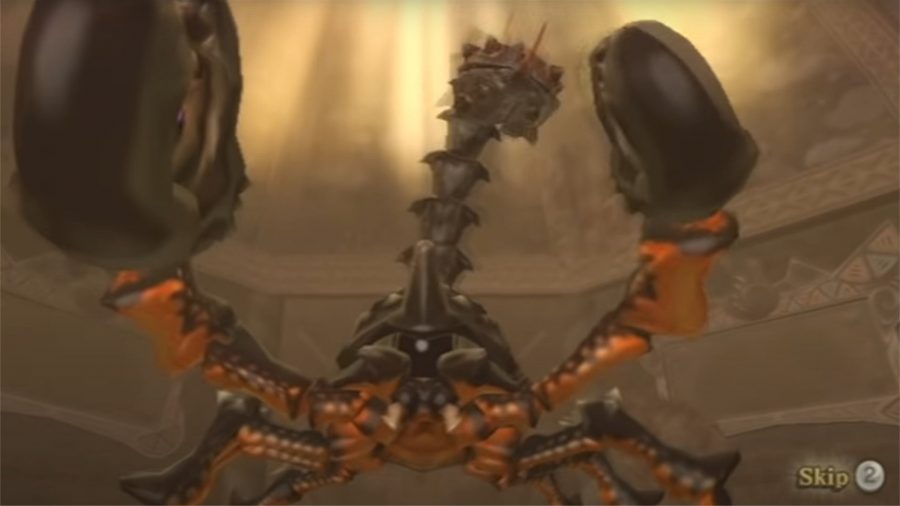
Do arachnids freak you out? Well, this next fight will either have you screaming in fear or gleaming at the chance to slice and dice a giant scorpion. Skyward Sword’s third boss fight is in the Lanayru Mining Facility, and is with the Thousand-Year Arachnid Moldarach.
Much like our hot friend in the Earth Temple, Moldarach has a hard outer shell, leaving little of its body vulnerable to attack – yes, this includes your sword.
When you go toe-to-toe with this giant arachnid, you need to target its pincers – we know how crazy that sounds, trust us. However, the angle at which you strike determines whether or not you cause any damage, so make sure you hit it at the right angle. Much like certain arachnid species in real life, Moldarach likes to bury itself in the sand, and the chances are it’s going to attack you with its tail when below the surface. So, it’s crucial to blow the sand away to eliminate this boss’ environmental advantage.
Finally, after you rid the beast of its pincers, you can attack its eye, which will prove fatal, putting this overgrown, nightmare-inducing scorpion to rest.
The Imprisoned – first fight
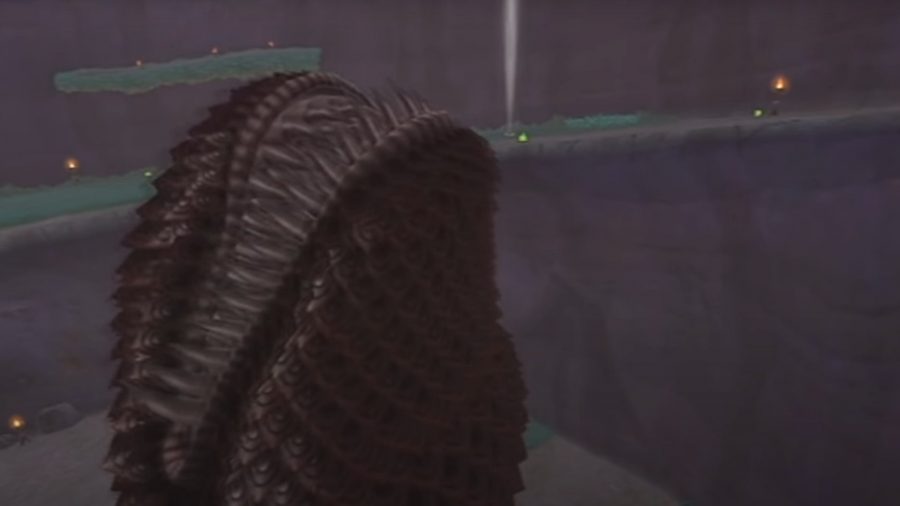
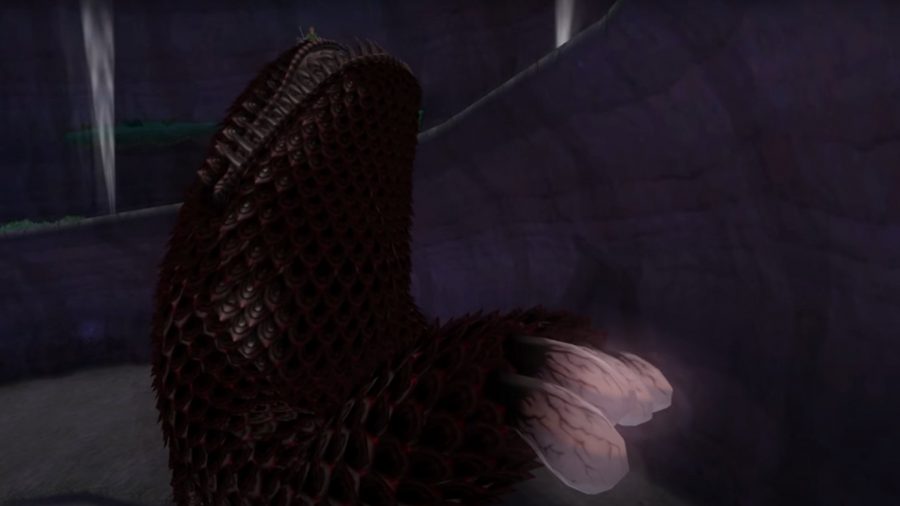
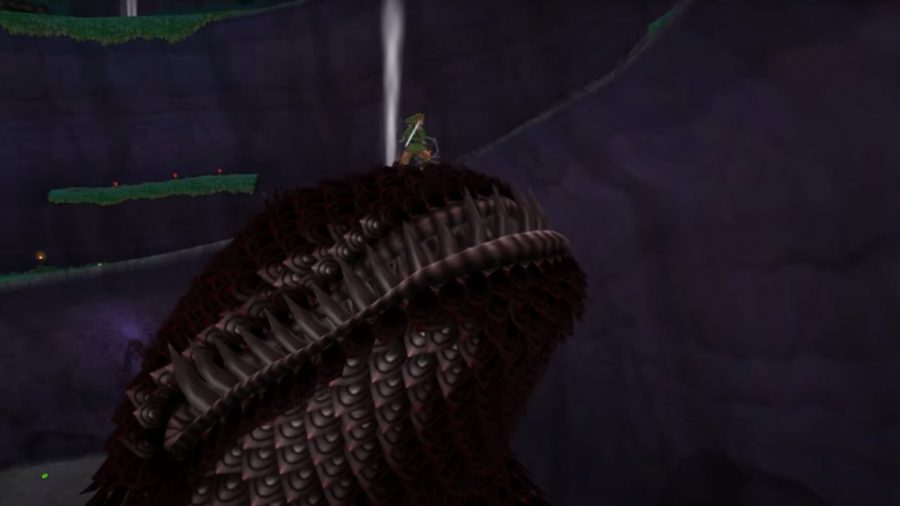
The Imprisoned is the second of two bosses that Link goes to war with three times throughout the game – all battles with this boss take place in the Sealed Grounds. Another thing that makes this boss interesting is that it’s Demise, but in a beastly form due to a spell by the goddess Hylia.
The bigger they are, the harder they fall, rings true here. To defeat The Imprisoned, you need to hack away at its feet, causing enough damage to stop it in its tracks. Once you destroy all of its toes, it will not be able to move. Rather than chasing behind this giant beast, use the vents around you to get in front. Of course, bombs are also effective if you want to fight from a distance. After a while, you can reach the sealing spike on top of the boss’ head, allowing you to trap it once more.
Koloktos
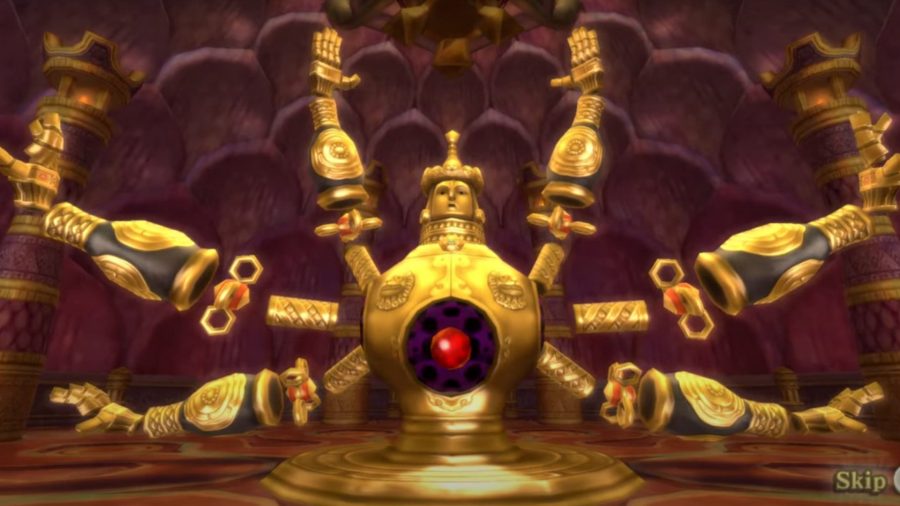
Up next is the enormous automaton known as Koloktos, whose sole task is to eliminate intruders that trespass the Ancient Cistern. Interestingly, Ghirahim plays a part in why the boss is so powerful, as he uses an energy supply to corrupt the ancient automaton.
When fighting Koloktos, be aware of the swords it wields with its top arms, for sometimes they’re thrown at you, though they are easy to dodge. Once you close the distance between you and the boss, you can bait some attacks from its arms, allowing you to use your whip to break the arms cores – keep doing this, and eventually, Koloktos’ chest is exposed, leaving an opening to get some hits in.
Eventually, after inflicting enough damage, Koloktos pulls its legs out of the floor, allowing it to chase you around the room with six cutlasses – these will come in handy. Once you successfully dodge an attack, use the whip to remove the arm cores again, then use a cutlass to destroy parts of Koloktos – rinse and repeat until you down the boss.
Tentalus
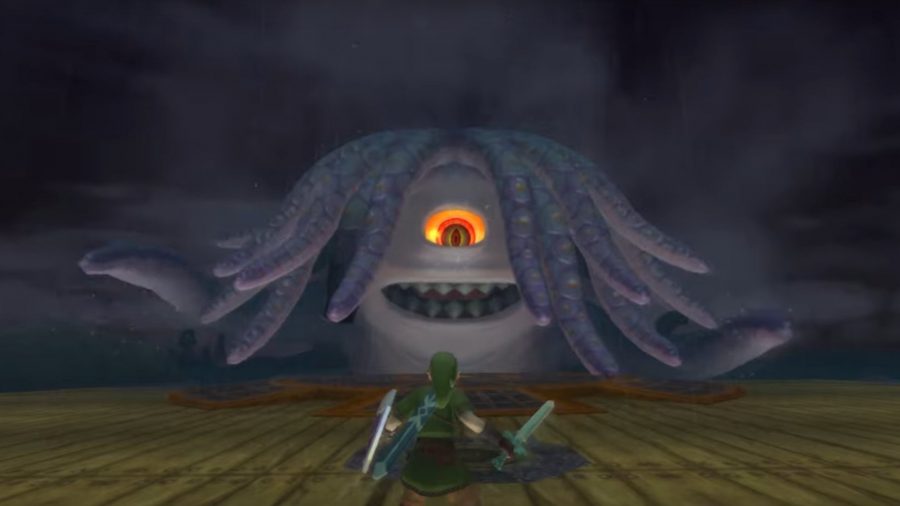
If the Kraken, Medusa, and a cyclops had a baby, you would get Tentalus. Its other title is Abyssal Leviathan, which indicates it’s a tyrant of the seas – it looks like one too. You encounter this giant sea creature on the Sandship.
This boss fight is interesting, because you will see many tentacles before getting an eye full of the beast. When you run around the ship, you need to cut off Tentalus’ tentacles, though this will not do much damage, and they will regenerate over time. The only way to launch a successful offence is to attack its eye, which you do by shooting arrows at it, stunning the boss. You can then rush in and slash away with your sword, causing significant harm. If you start to run low on arrows, cut off some of Tentalus’ hair for a chance at more ammo and hearts.
For the second phase, you climb to a higher deck to continue the battle. Tentalus doesn’t change up its attack much, but it does come at you with its hair over its regular tentacles – repel them with sword slashes. Shoot arrows at the eye, and eventually, Tentalus will fall.
Ghirahim – second fight (Fire Sanctuary)
Time for our second bout with Ghirahim, and this time it’s in the Fire Sanctuary.
Much like the first battle, Ghirahim attempts to grab your sword. Should he succeed in doing so, swing your weapon up and down until he releases it. To damage the boss, you need to strike carefully, don’t come at him from the right-hand side, and make sure Ghirahim’s dagger doesn’t block your slashes.
After sustaining some damage, Ghirahim enters phase two, which alters his fighting style. When he throws daggers at you, make sure you swing your sword in line with his knives to repel them. Now, you need to keep an eye on the boss, he telegraphs his next move, and it won’t take long for a pattern to emerge, opening up counterattack opportunities. Due to Ghirahim using two sabres, you must line your slashes with vulnerable spots, make sure you don’t swing into his swords.
The Imprisoned – second fight
For the most part, you’re using a similar strategy to your first bout with The Imprisoned, except now you want to make use of Groose’s defence apparatus. A direct hit from this will stop the beast in its tracks, making it vulnerable to attack. Rinse and repeat until, once again, you topple Demise’s beast form.
Levias/ Bilocyte
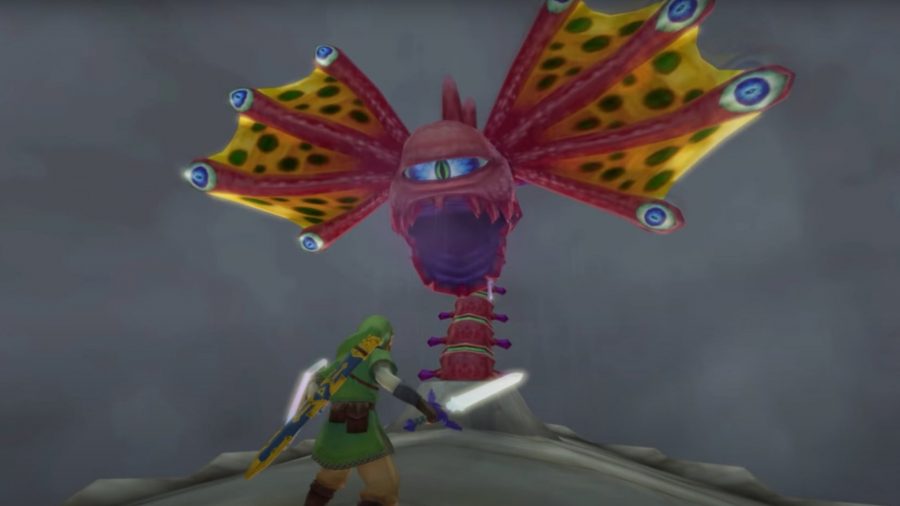
Time to go face-to-face with The Great Spirit Levias, a large whale-like creature that serves as the protector of the skies in Thunderhead.
Levias is not evil but is under the control of a parasite – known as Bilocyte. After you offer it some soup, which it isn’t in the mood for, the fight begins. First, use your spiral charge attack, you need to hit the eyes that sit on the end of its four tentacles. After hitting all four, you have an opening to land on Levias’ back, where the next stage of the fight occurs. The parasite – a long tentacle-like creature with wings – throws orbs at you, which once you hit back at the boss, causes significant damage.
Eventually, the parasite begins dodging the orbs, but the process remains the same. Once it’s taken enough damage, the parasite falls, allowing you to get some hits in, namely on its eye. Keep doing this until victory is yours.
The Imprisoned – third fight
You know the drill, topple the beast by cutting its toes and fingers. This fight is much the same as the last two, though The Imprisoned’s powers are growing, so your sword alone will not finish the job. Also, be sure to use the vents to travel to a lower section, making it easier to reach the sealing spike, sending the boss back to its prison one last time.
Horde Battle
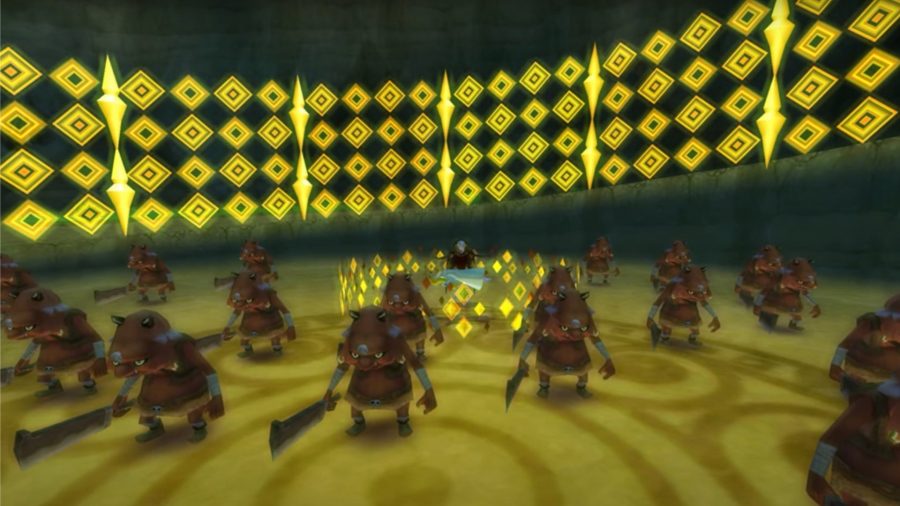
This is the last line of defence before you reach Ghirahim – again. However, it’s not so much a boss fight as it is a string of events. There are five waves of enemies to defeat, and they are as follows:
- Wave one – a large group of red bokoblins and five red bokoblin leaders
- Wave two – weapon-wielding red bokoblins and bomb using bokoblins. This wave closes with three wooden shield moblins.
- Wave three – bokoblins use swords and bombs, while there are also archers and a blue bokoblin to take down.
- Wave four – now you must face archers, sword wielders, bomb users, and two stalfos.
- Wave five – it all comes down to this. You’re facing every type of bokoblin and moblin.
Ghirahim – third fight (Hylia’s Realm)
Finally, it’s time to put an end to this guy, and we mean it this time. His time with Link is a sore spot for Ghirahim, as he’s now surrounding himself with a dark aura and is likely to finish you off in an instant.
This is a three-phase fight, the first of which involves you pushing Ghirahim off a ledge – easier said than done. Of course, the boss avoids the edges of the arena, and while none of your weapons cause damage, you can still push him off the ledge. Once he falls, he will create a new platform to land on, opening him up to a fatal blow attack.
When you deal enough damage, it’s time for phase two. This time, Ghirahim’s chest is his weak spot. However, he defends it with everything he has. You’re a swordmaster that can parry him by now – this opens him up for an offensive assault – though it does take several strikes before parrying becomes possible.
Phew, still with us? Good, because we’re entering phase three. Ghirahim draws a massive sword that’s intimidating to look at, but Link can deal with this weapon. To break the sword, you strike it in the opposite direction to which the boss holds it. Oh, and keeping the momentum going is vital. Otherwise, Ghirahim repairs the broadsword. Eventually, he goes down, but then, one last foe rises…
Demise
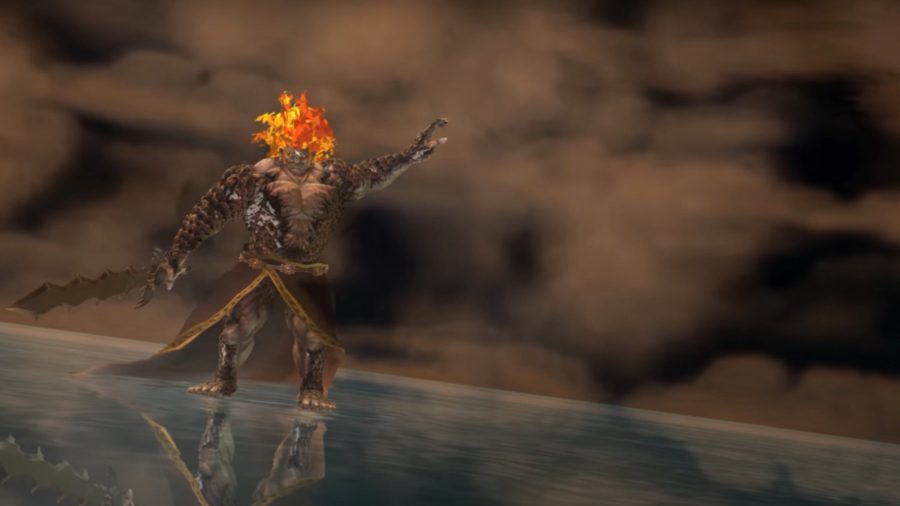
Here’s the final boss, the big bad, the being that Ghirahim worships. Centuries ago, he, and his forces, went after the triforce, only for the goddess Hylia to step in and lock them away. Something Link now needs to do.
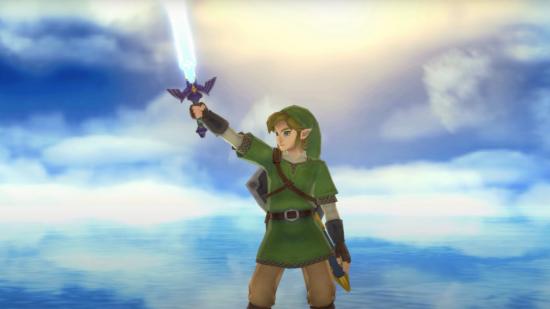
There’s only one thing that can inflict the damage you need to defeat this lord of demons, and that’s the master sword. The best time to attack Demise is when he hoists his sword in the air, less he blocks all your attacks.
Great, now it’s time for phase two, and uh, it’s getting electric – literally. Demise can now store electricity in his sword, and should your blade cross his when there’s energy running through it, well, you’re in for a painful shock. When lightning strikes in the distance, you can store it in the master sword by lifting it in the air, though this leaves you vulnerable. However, it pays off when you land a skyward strike, assuming Demise doesn’t cancel it out with his own. When your strike lands, it will paralyze him, leaving him open to all attacks by you, so get in there and slash away.
Eventually, he will succumb to his injuries, and much like Hylia before you, it’s time to lock him away.
Well, that’s all we have on The Legend of Zelda: Skyward Sword bosses. Be sure to go and check out our list of the best Switch RPGs to find your next adventure.
