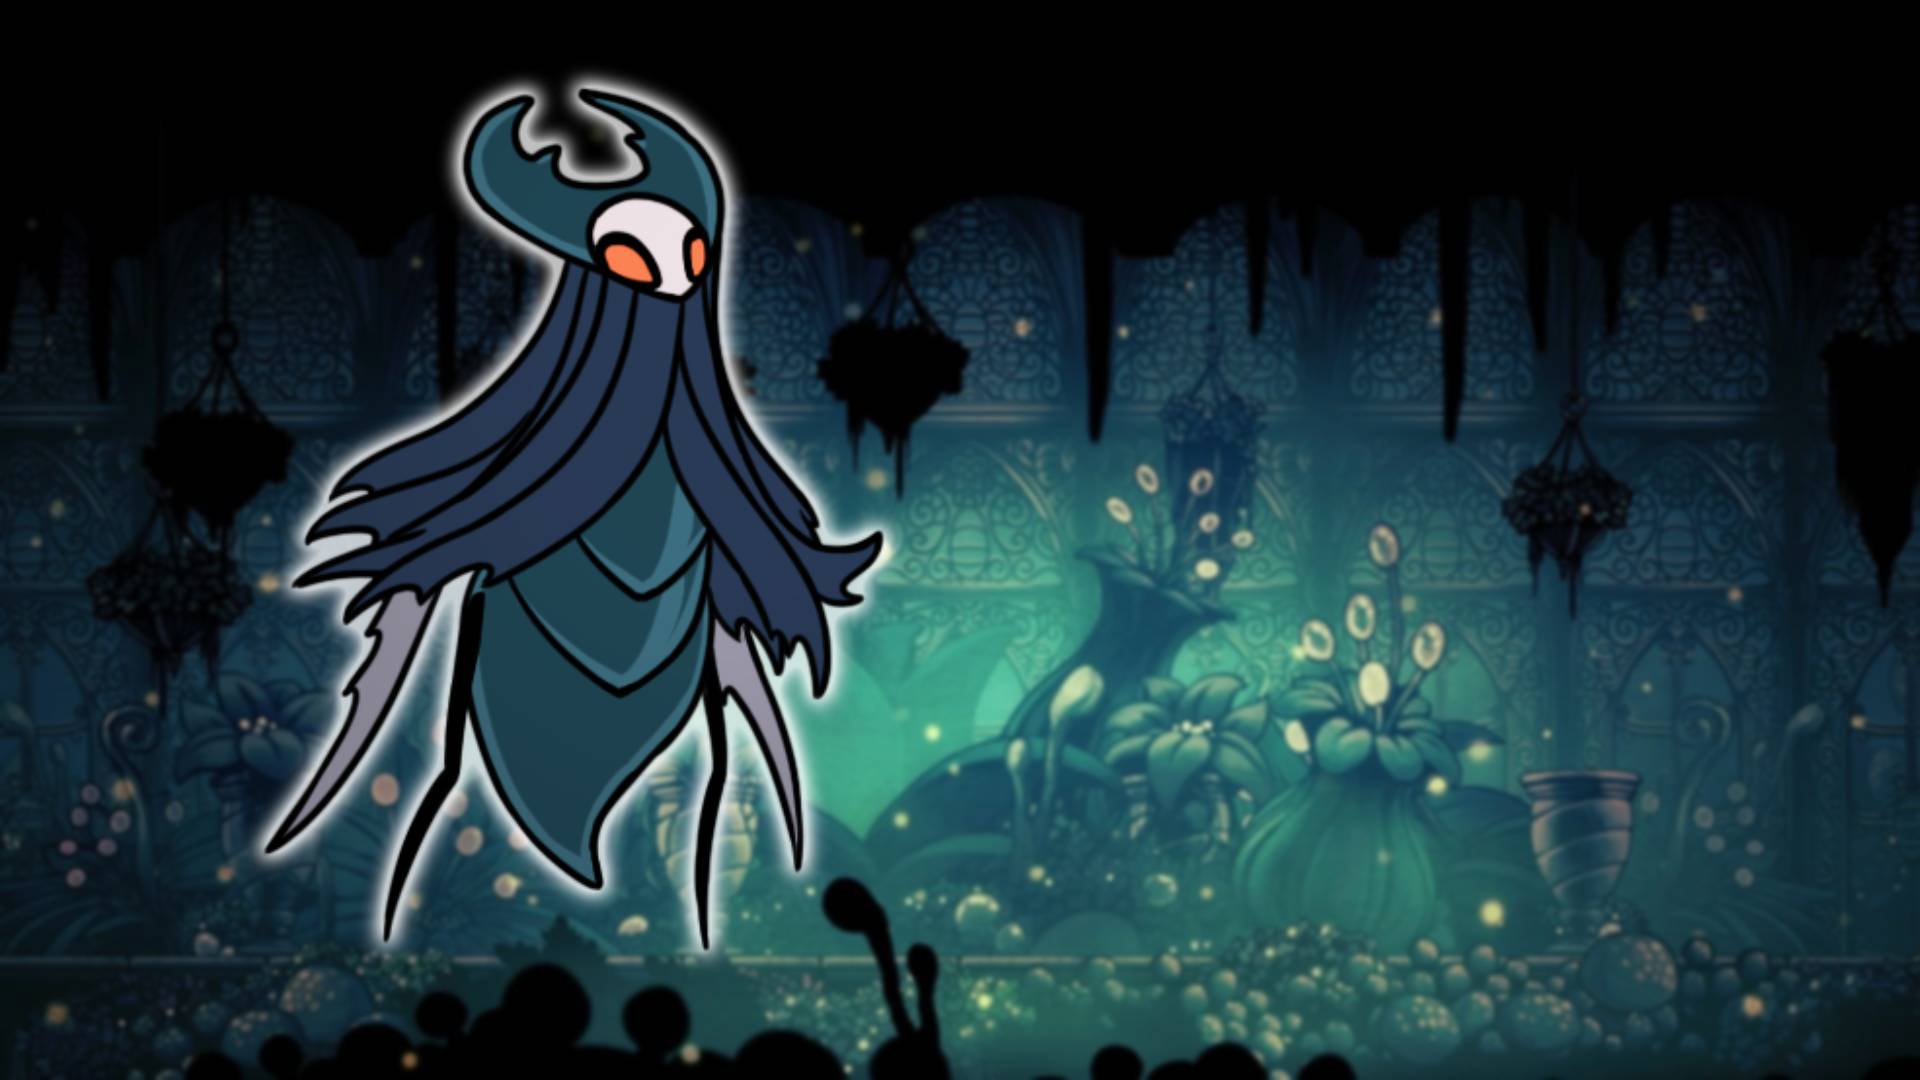
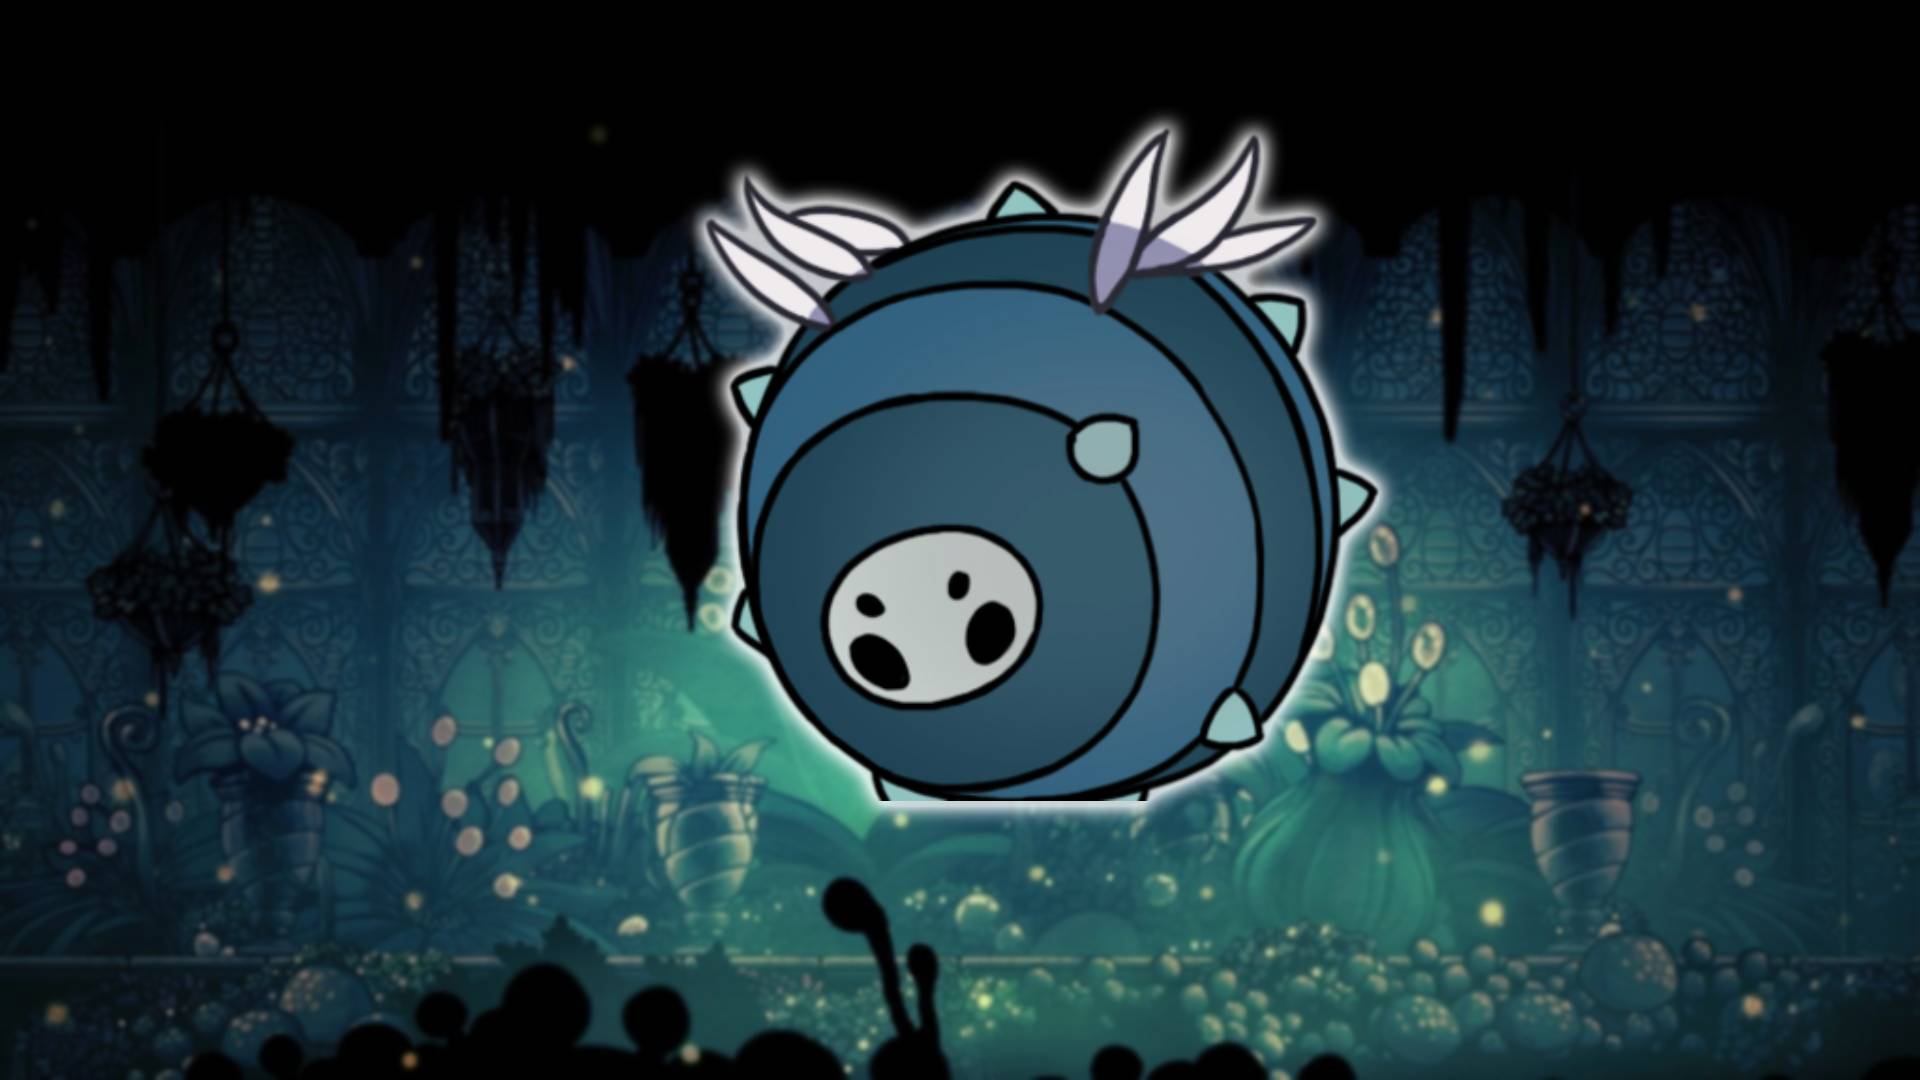
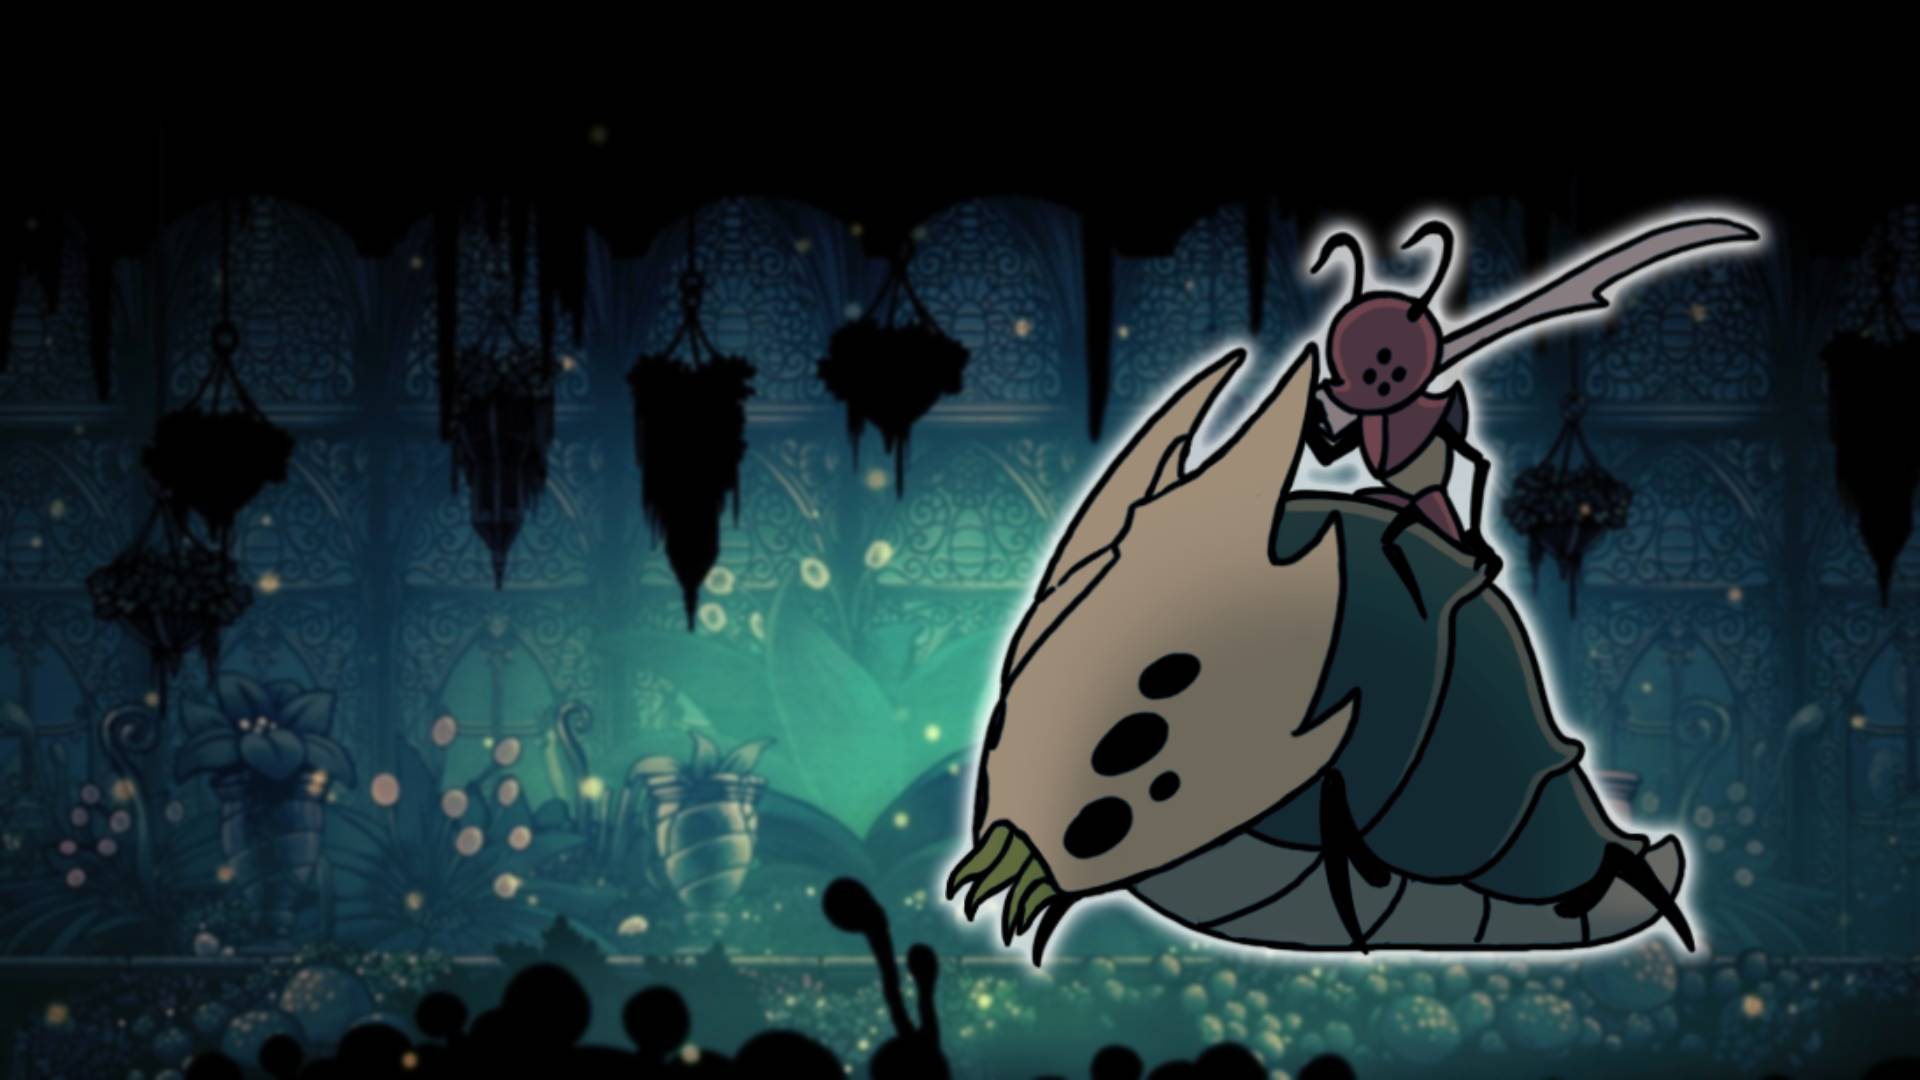
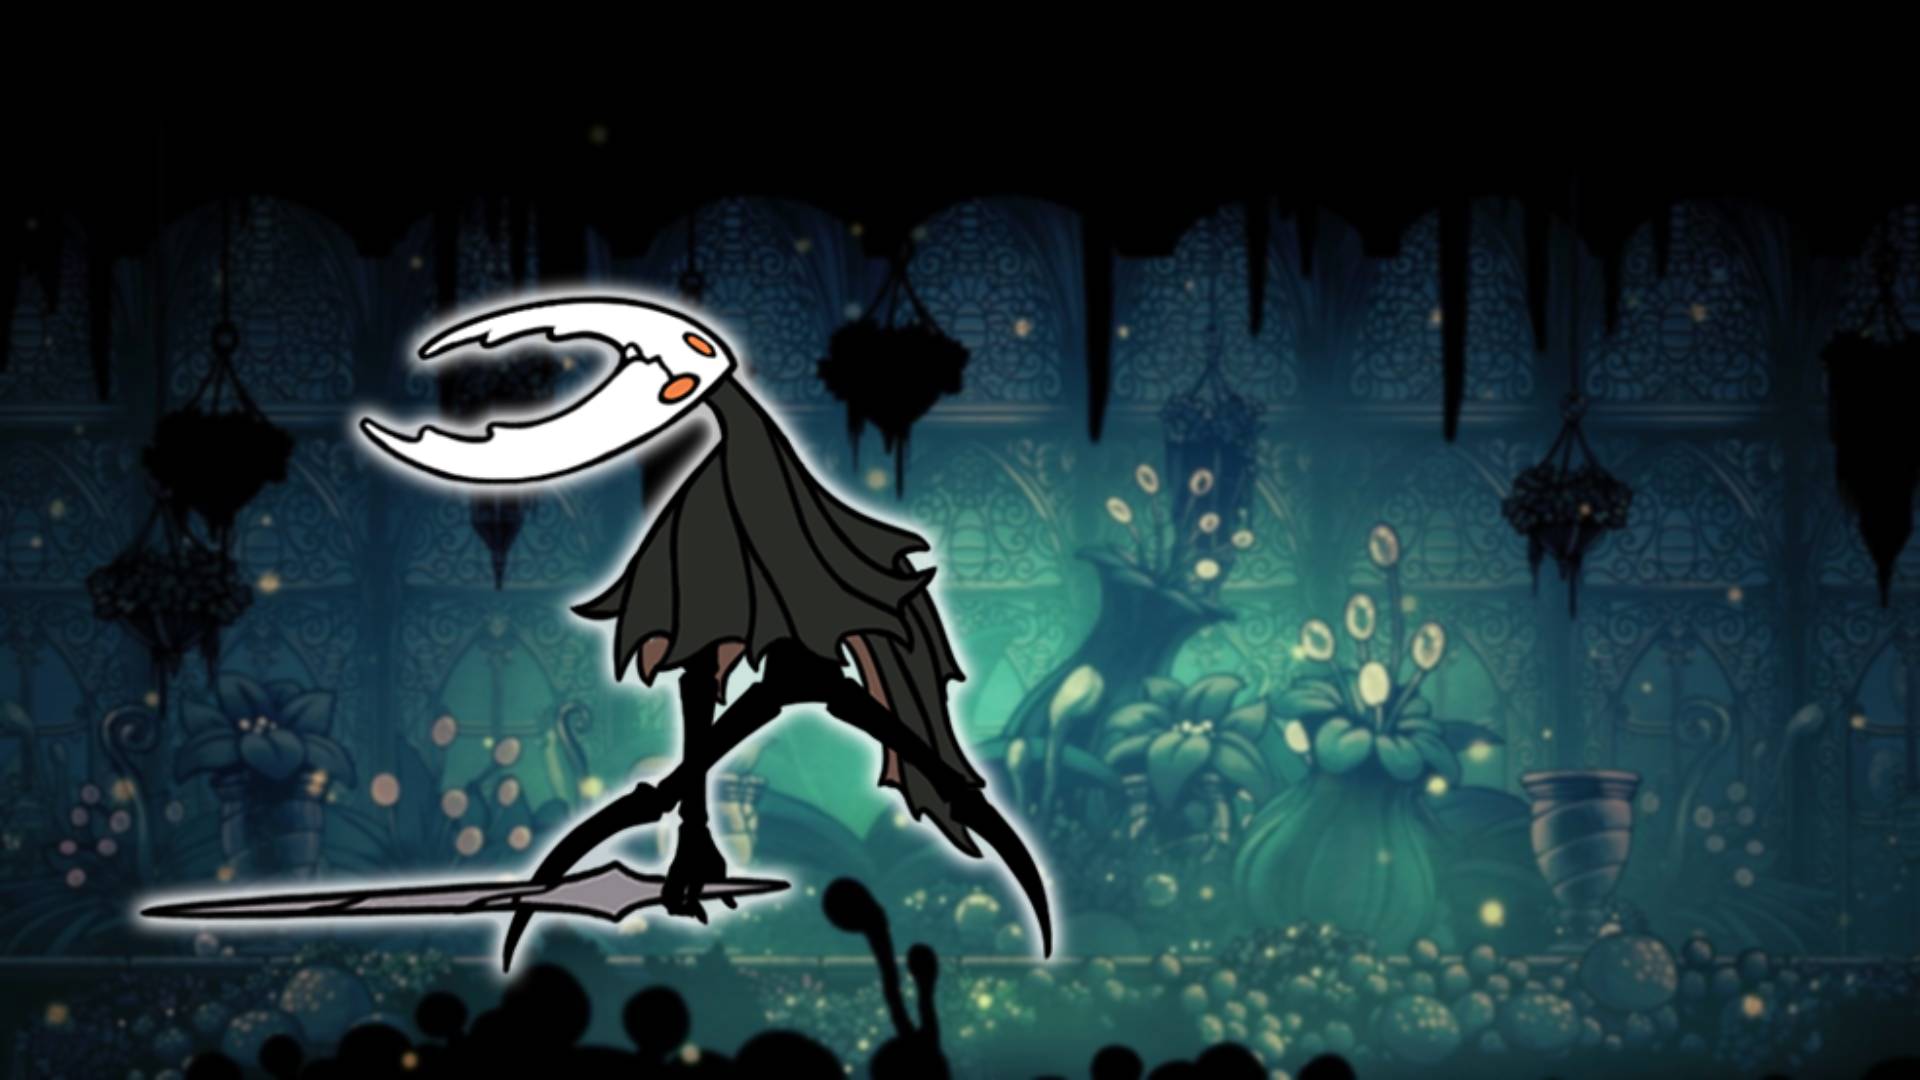
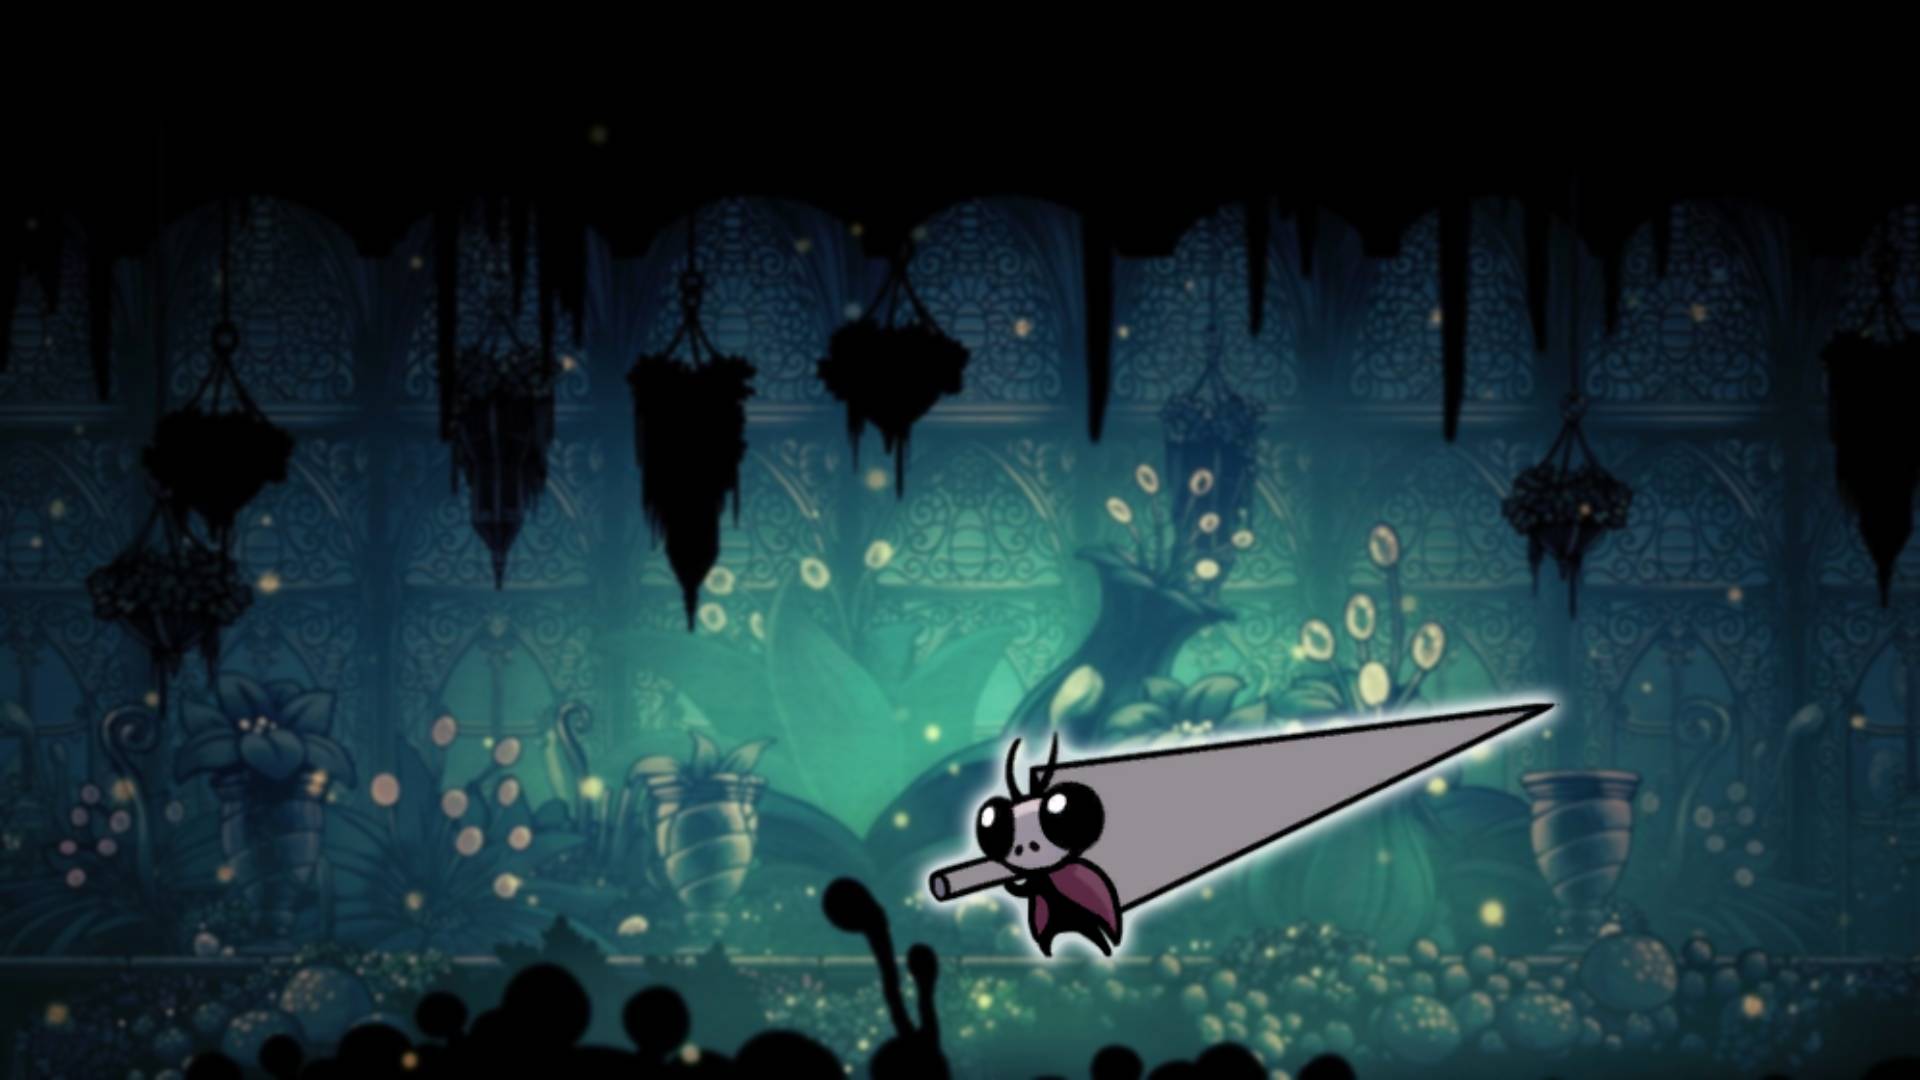
You’re here to find out how to defeat the Hollow Knight bosses, right? Of course you are, we know all too well how Hollow Knight can feel impossible at times, and as you play through the game it’s likely that you’ll get stuck in certain situations, especially boss fights. Don’t worry, it happens to the best of us. Often just finding the right balance of charms to suit your playstyle will help you to have a much better experience, but we’ll talk you through everything you need to know in order to take down the big guys.
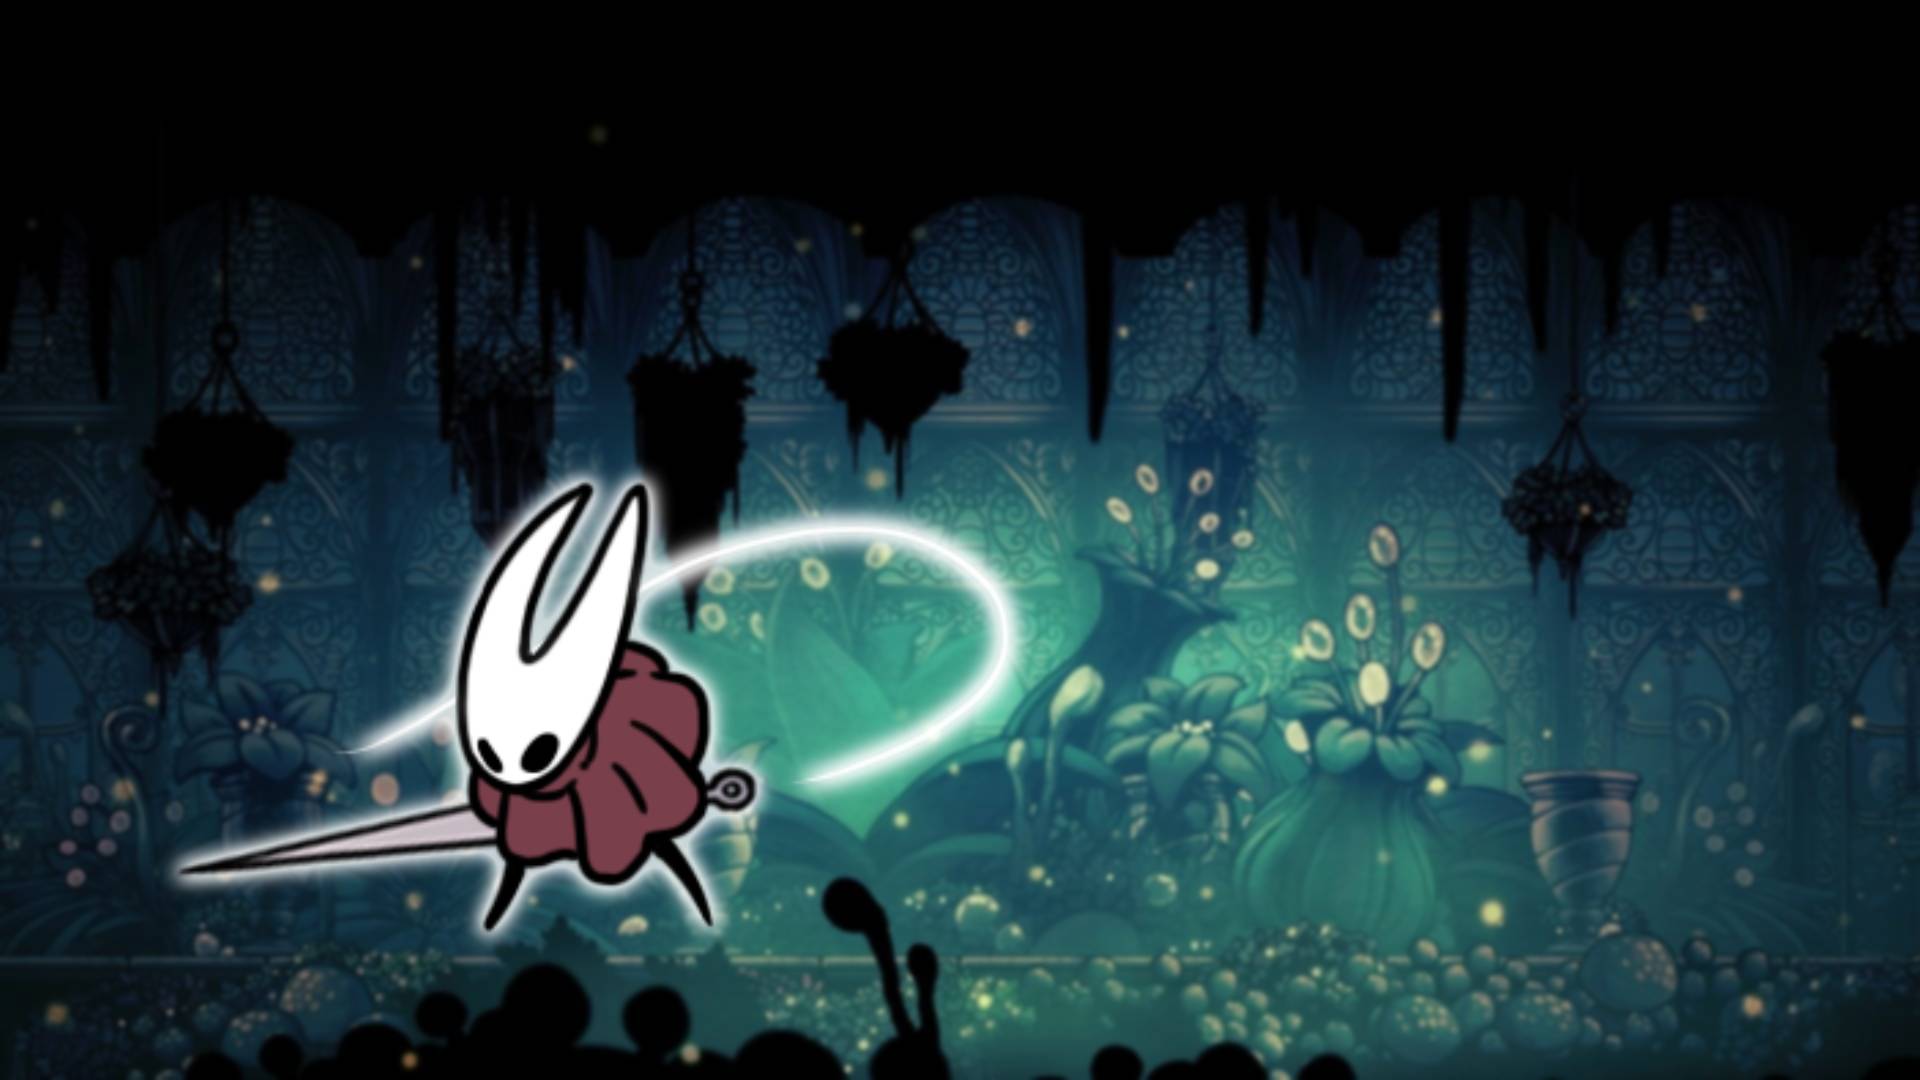
If you’re just setting out on your Hollow Knight adventure, or need some extra help facing off against these bosses, then be sure to check out our Hollow Knight charms guide to equip the best tools for the job. We have already covered one boss with our Hollow Knight Hornet guide, so you won’t find her here (for more on Hornet, check out our guide to the Hollow Knight Silksong release date).
Without further ado, here’s our guide to every Hollow Knight boss.
- False Knight
- Gruz Mother
- Vengefly King
- Massive Moth Charger
- Mantis Lords
- Soul Warrior
- Soul Master
- Dung Defender
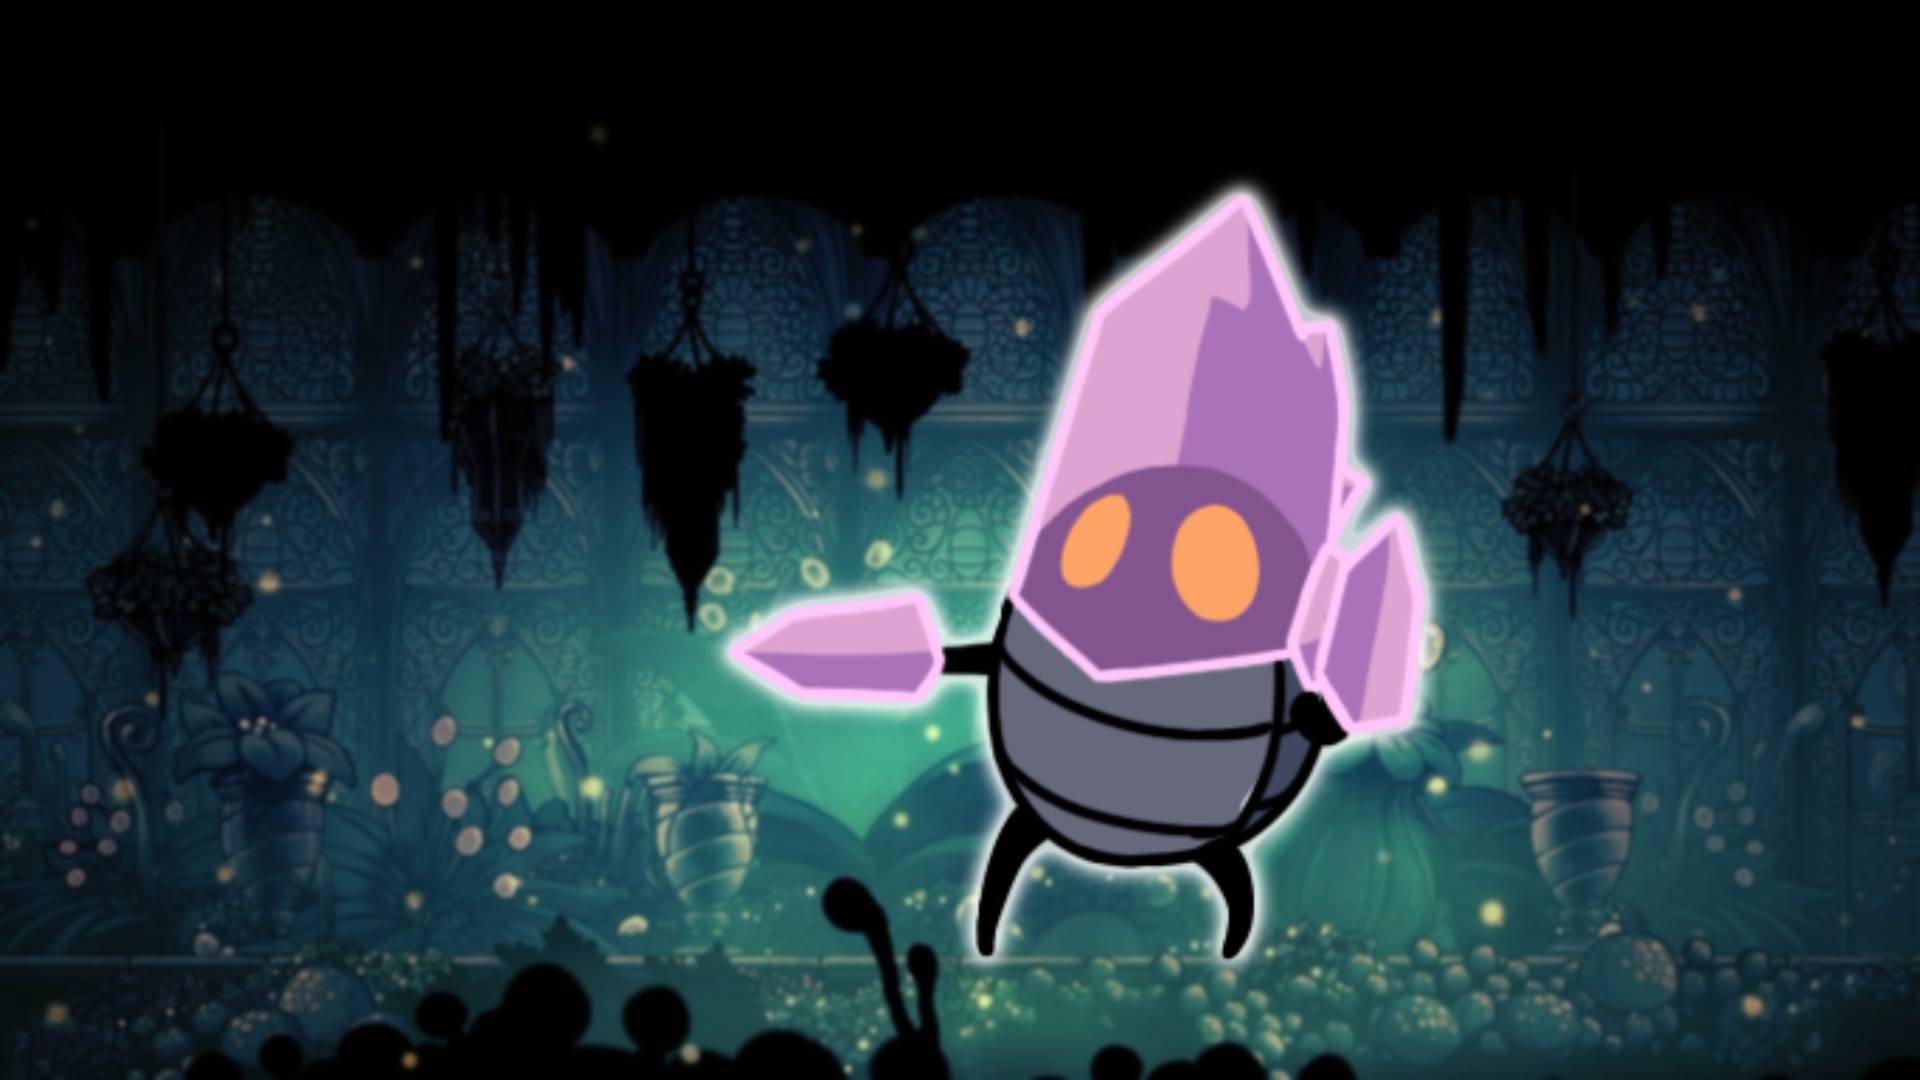
- Crystal Guardian
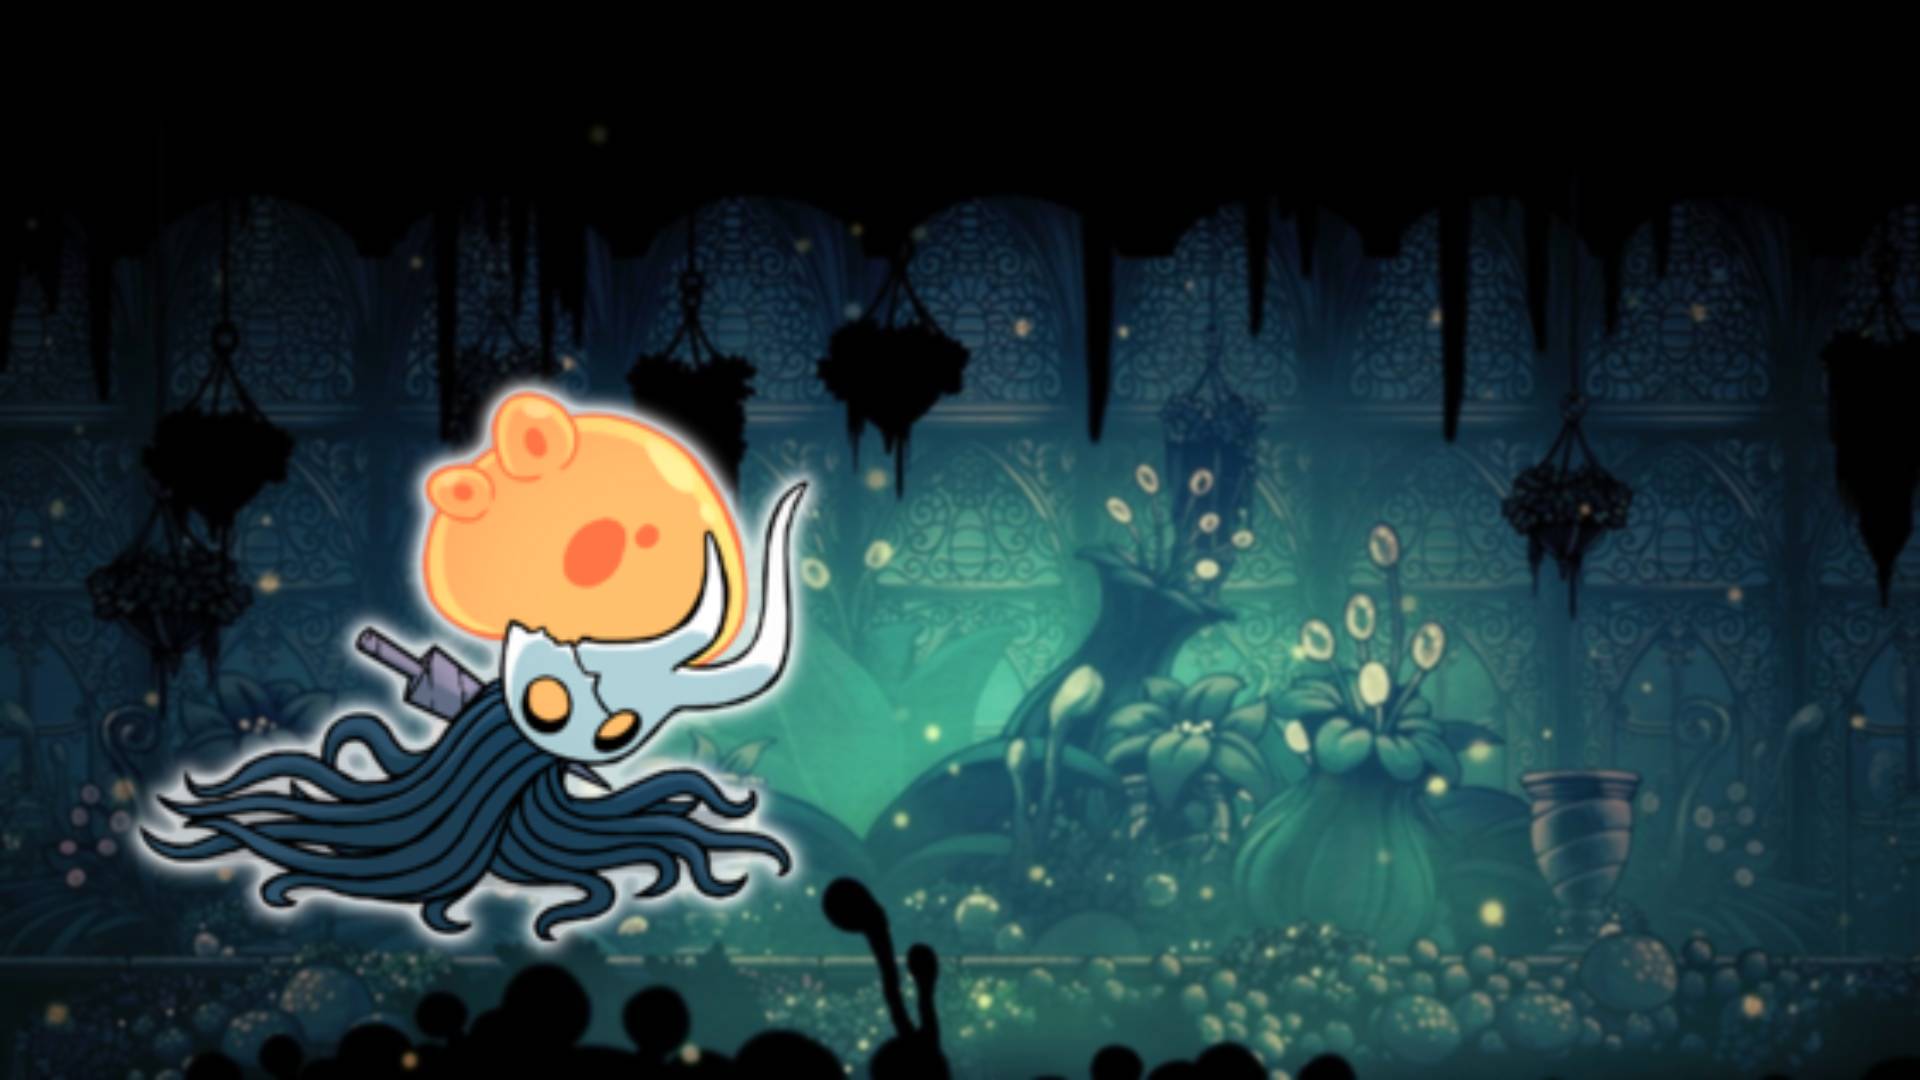
- Broken Vessel
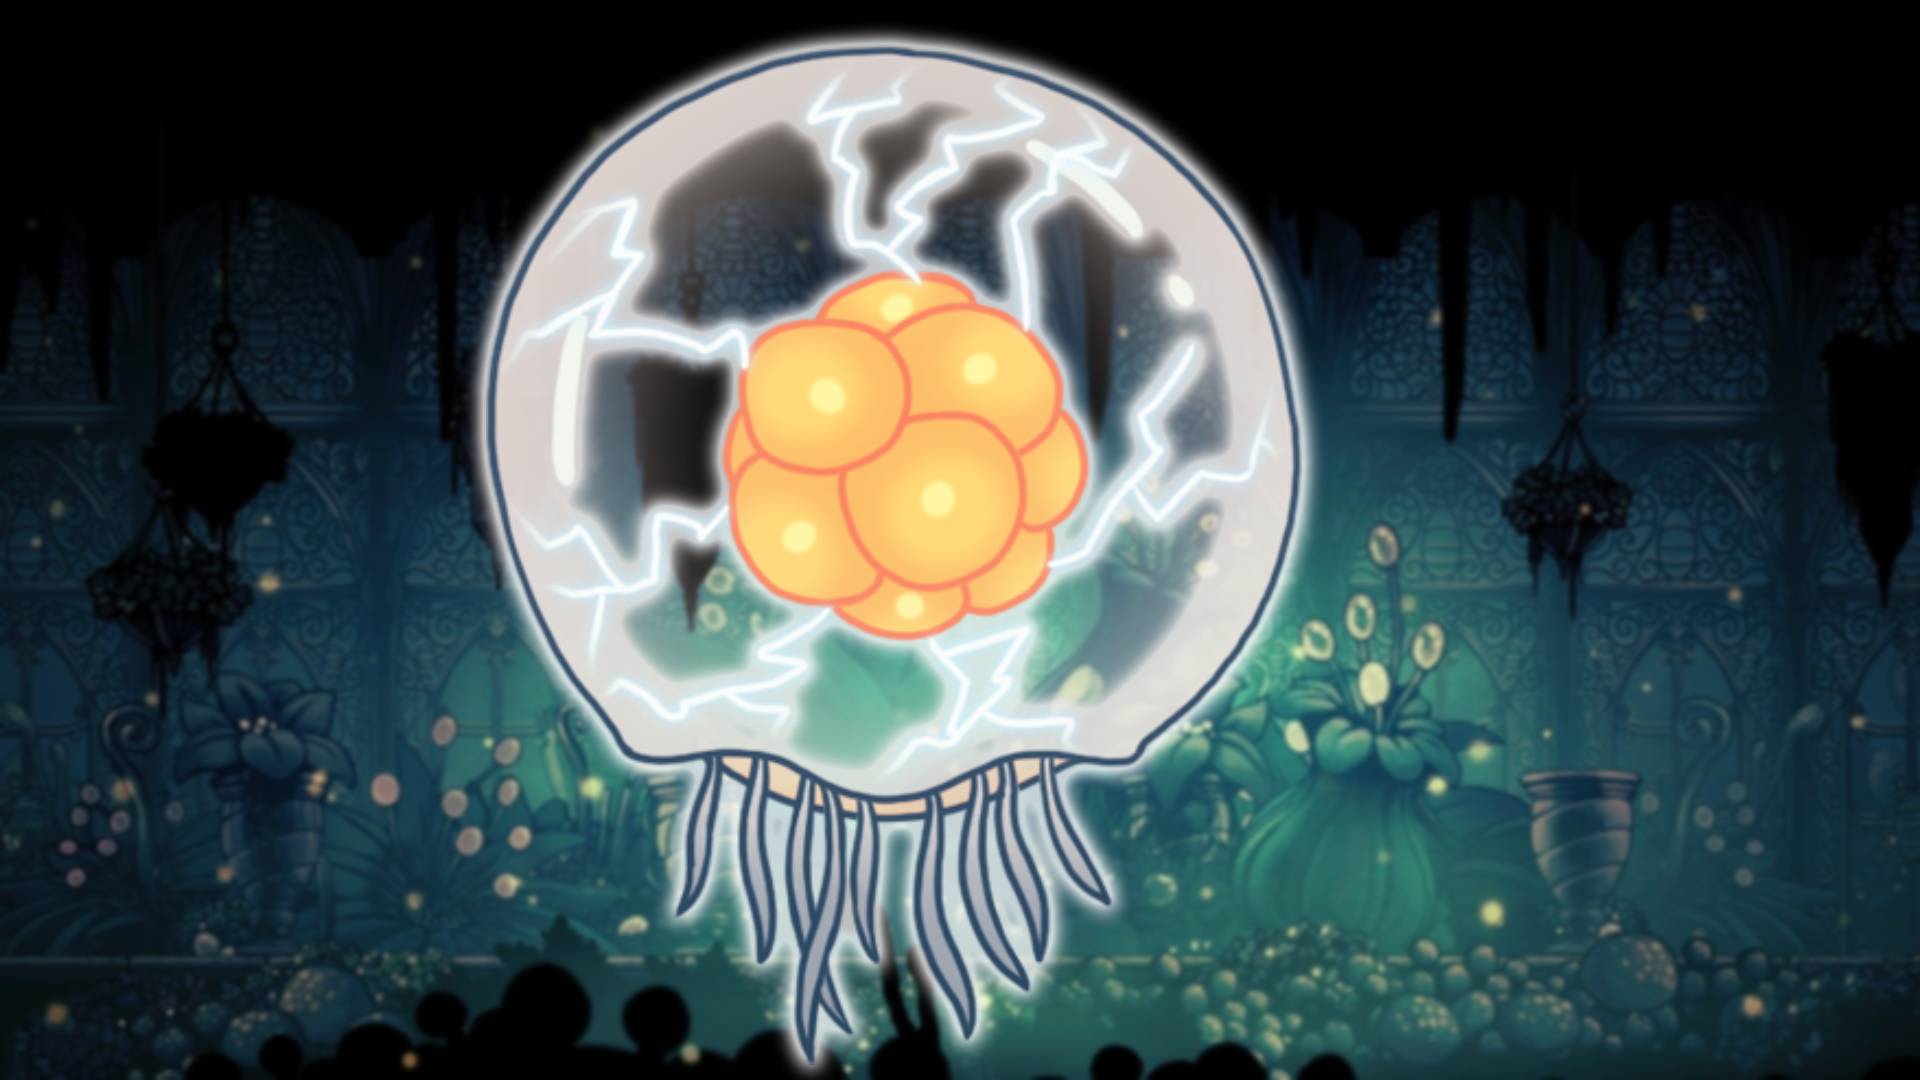
- Uumuu
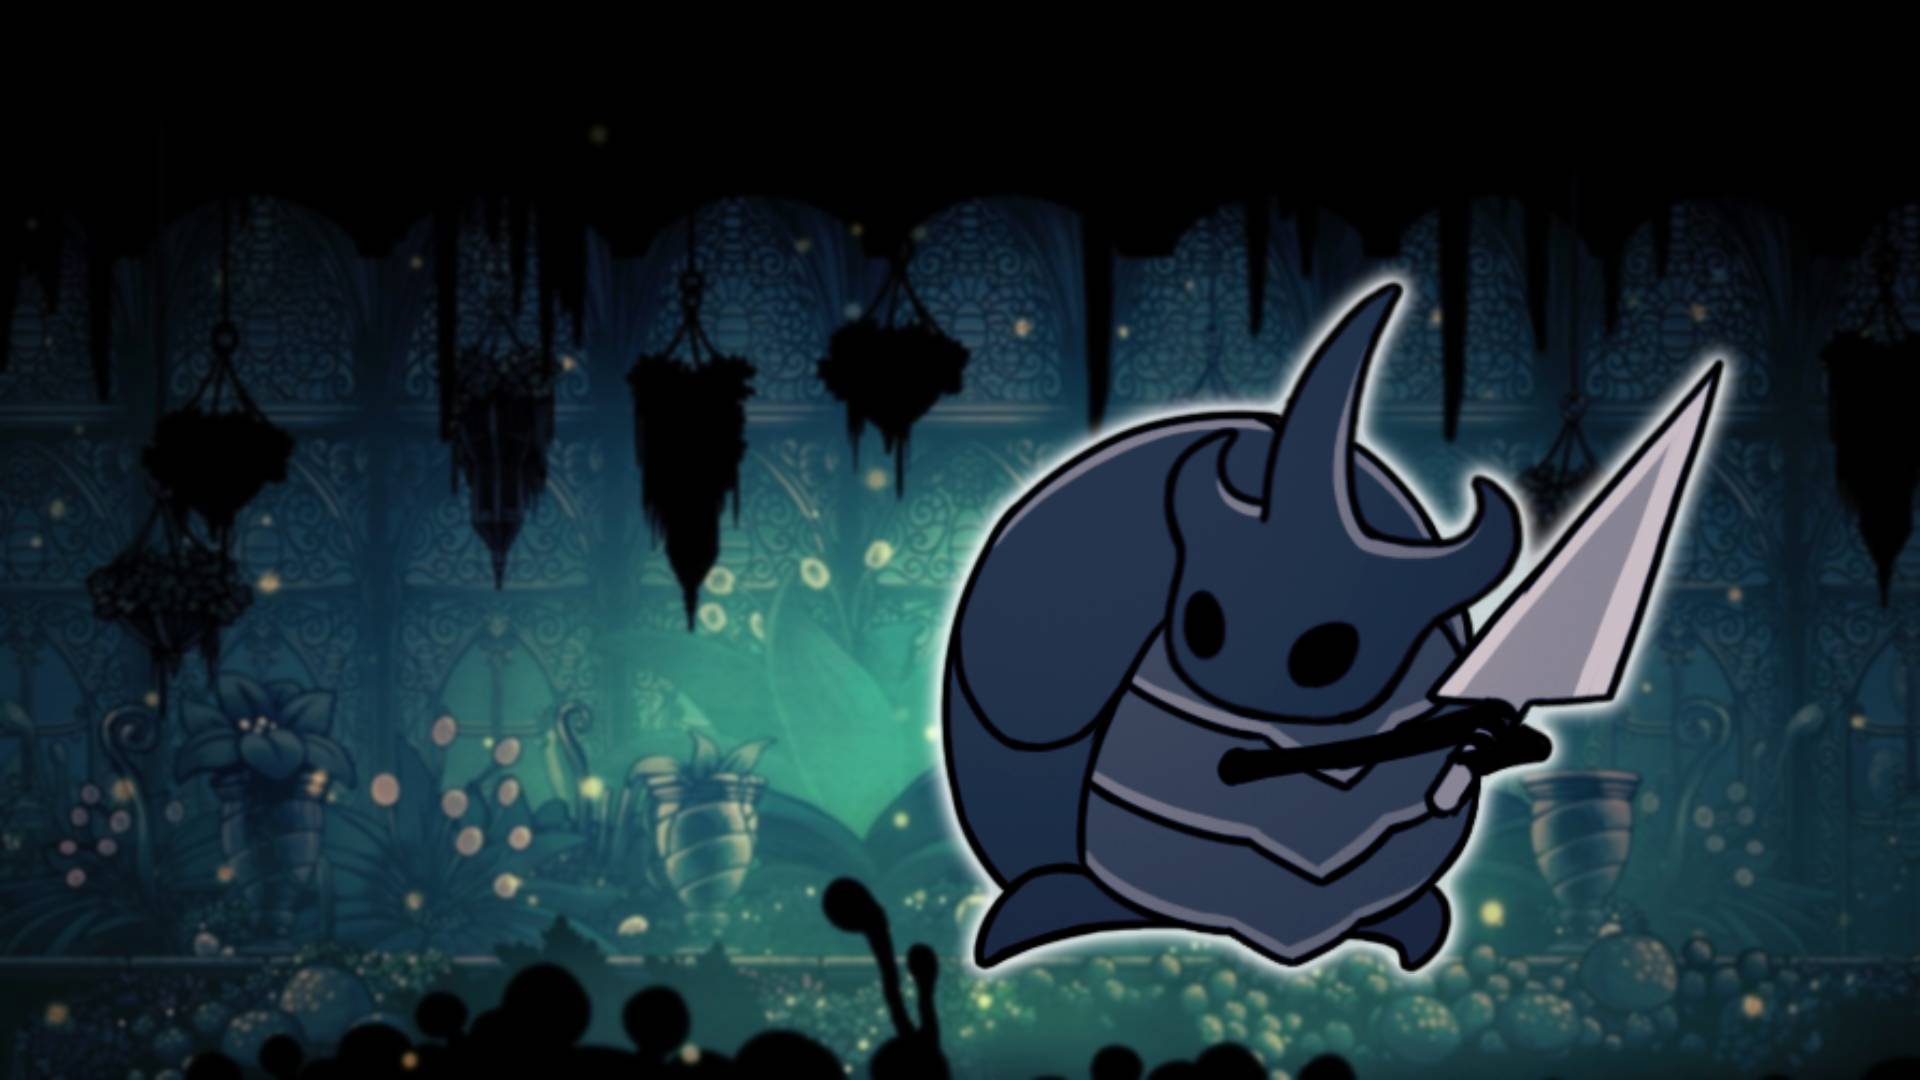
- Watcher Knights
- Hornet
- Nosk
- The Collector
- Brooding Mawlek
- Hive Knight
- Traitor Lord
- Oblobbles
- God Tamer
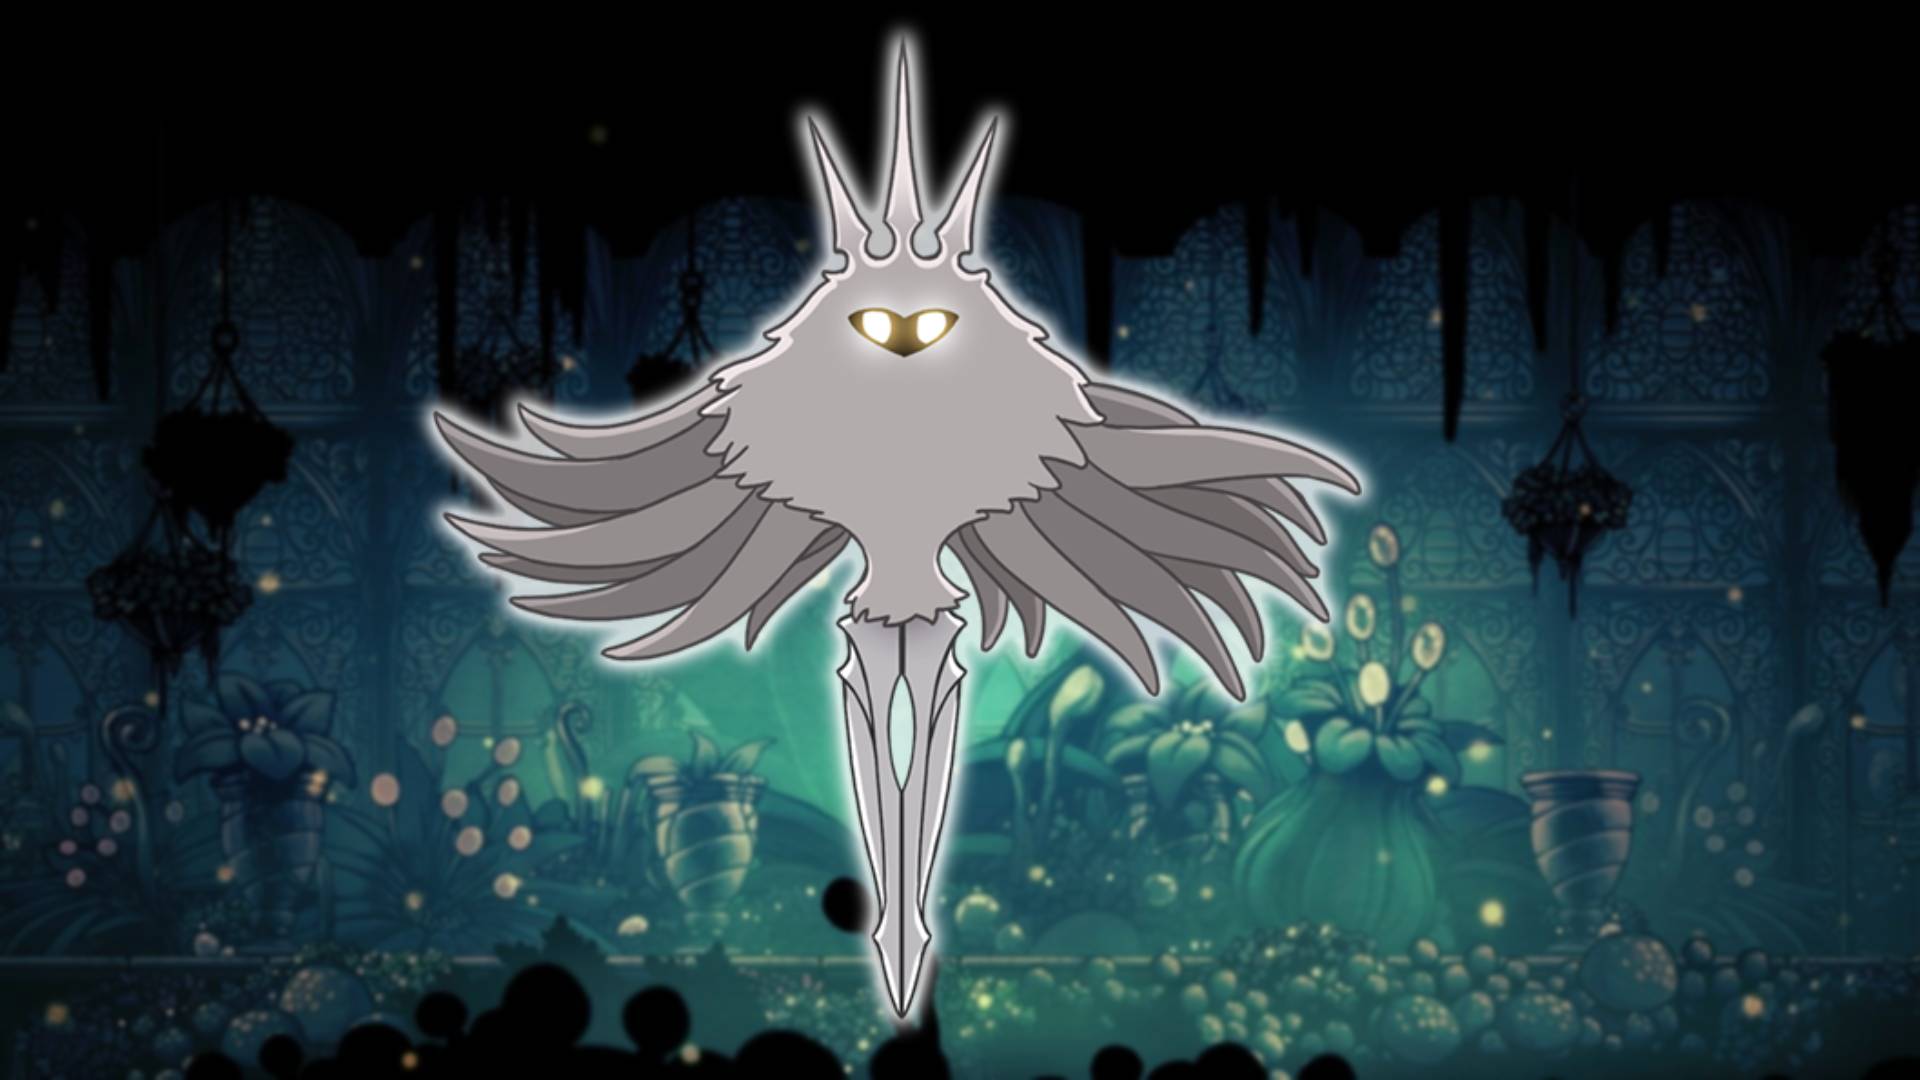
- The Hollow Knight
- The Radiance
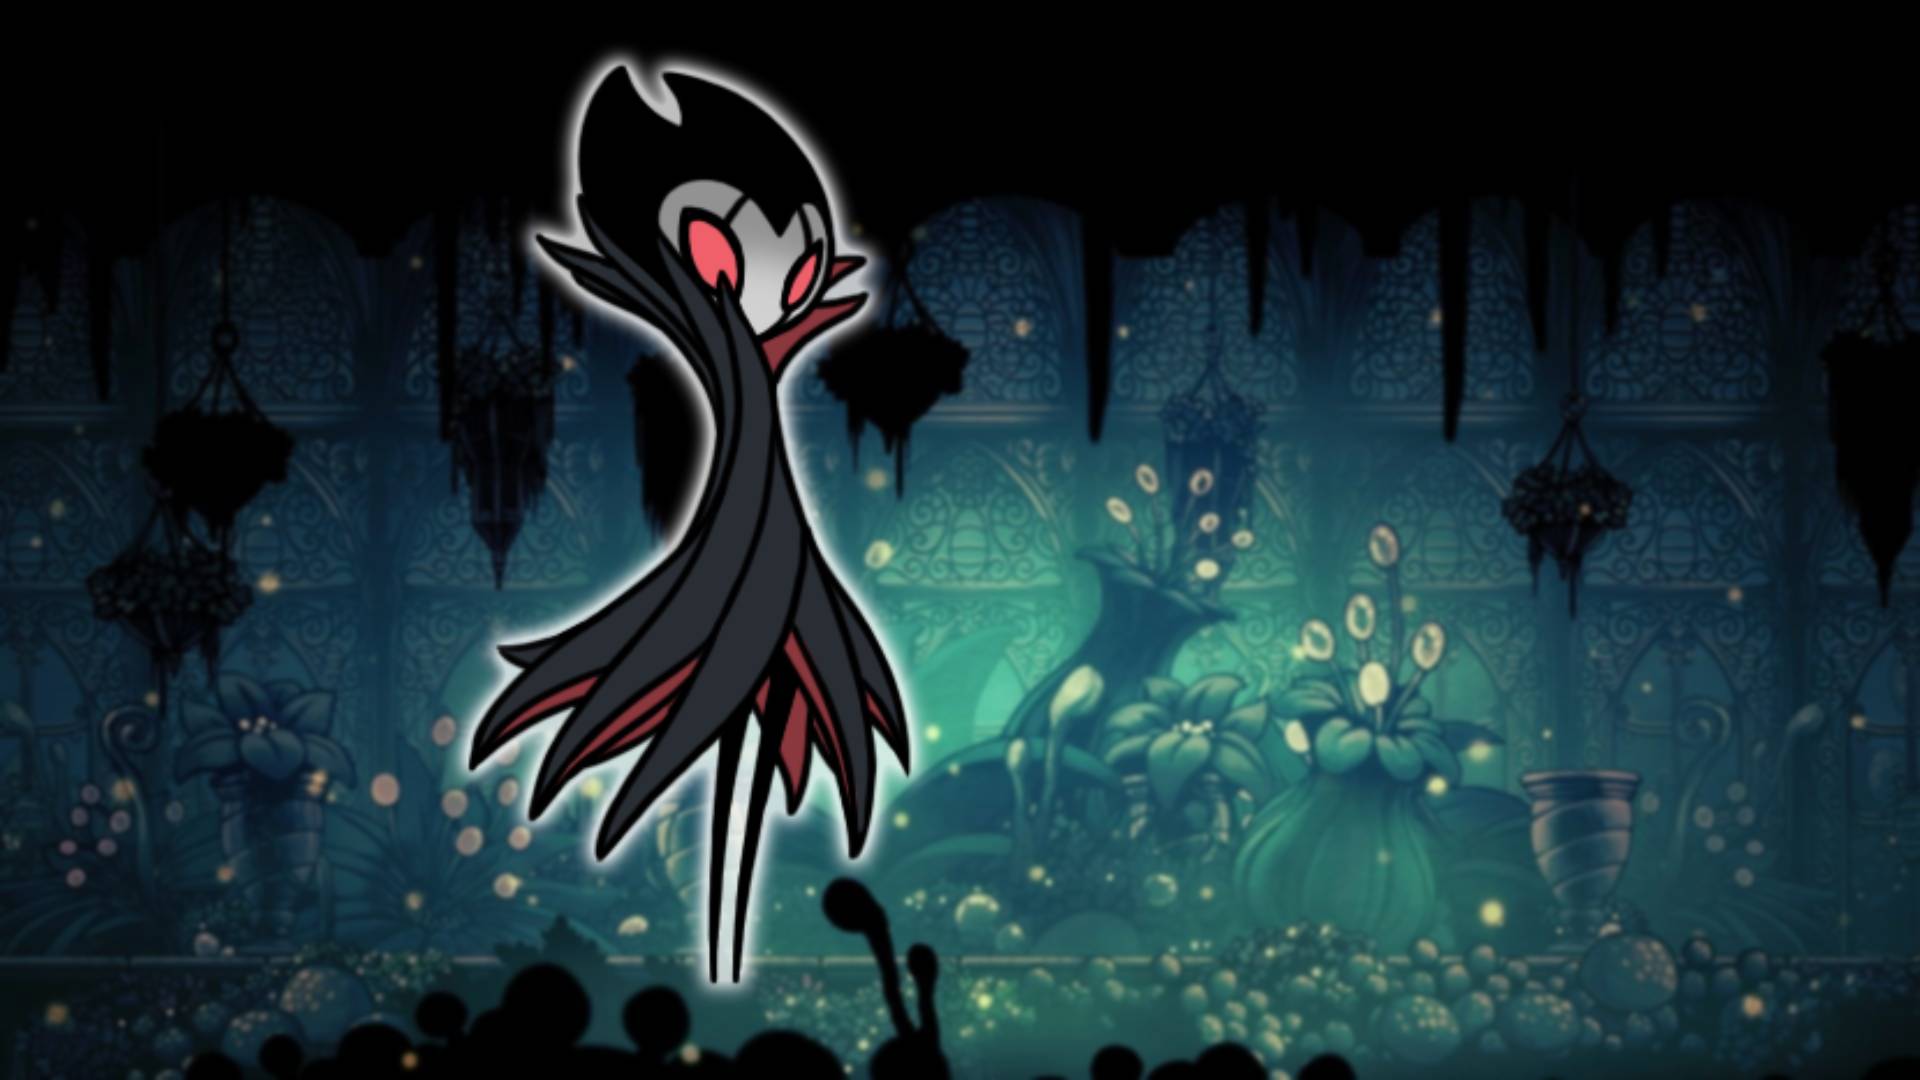
- Troupe Master Grimm
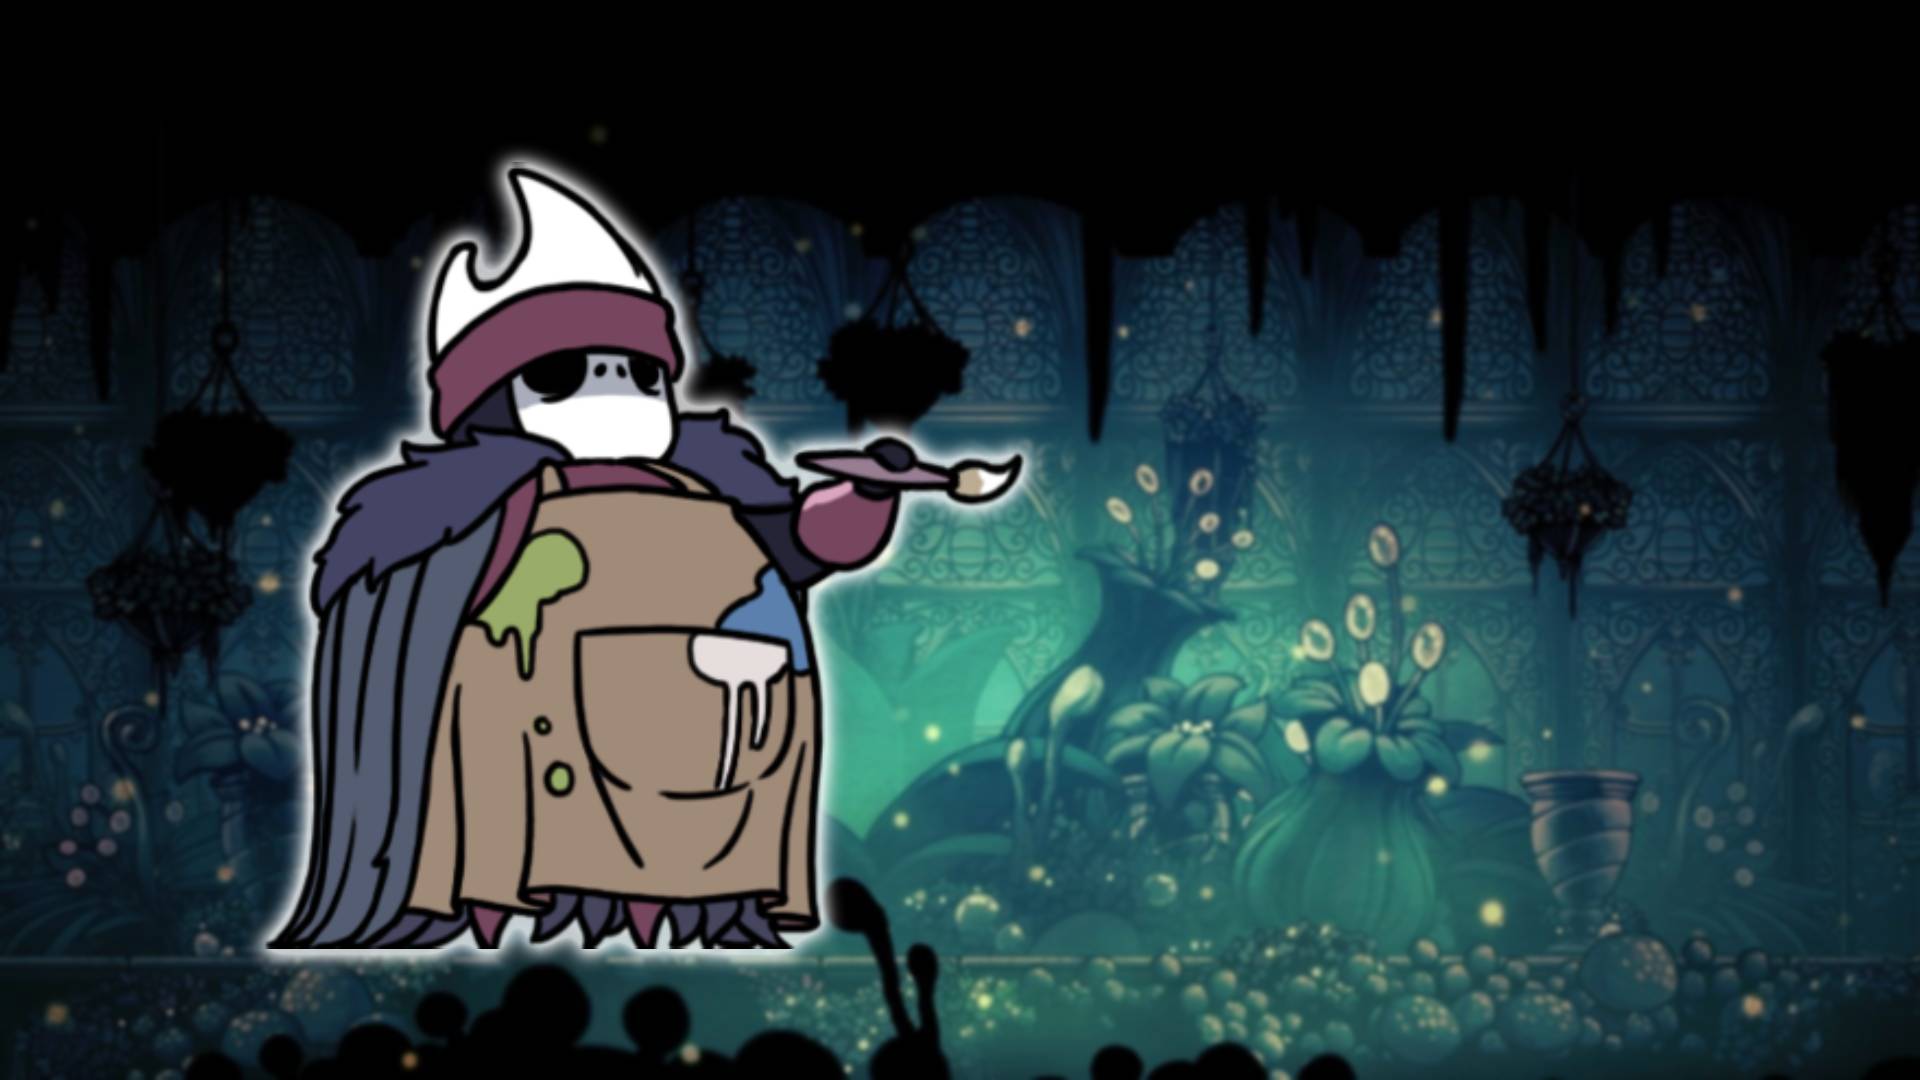
- Paintmaster Sheo
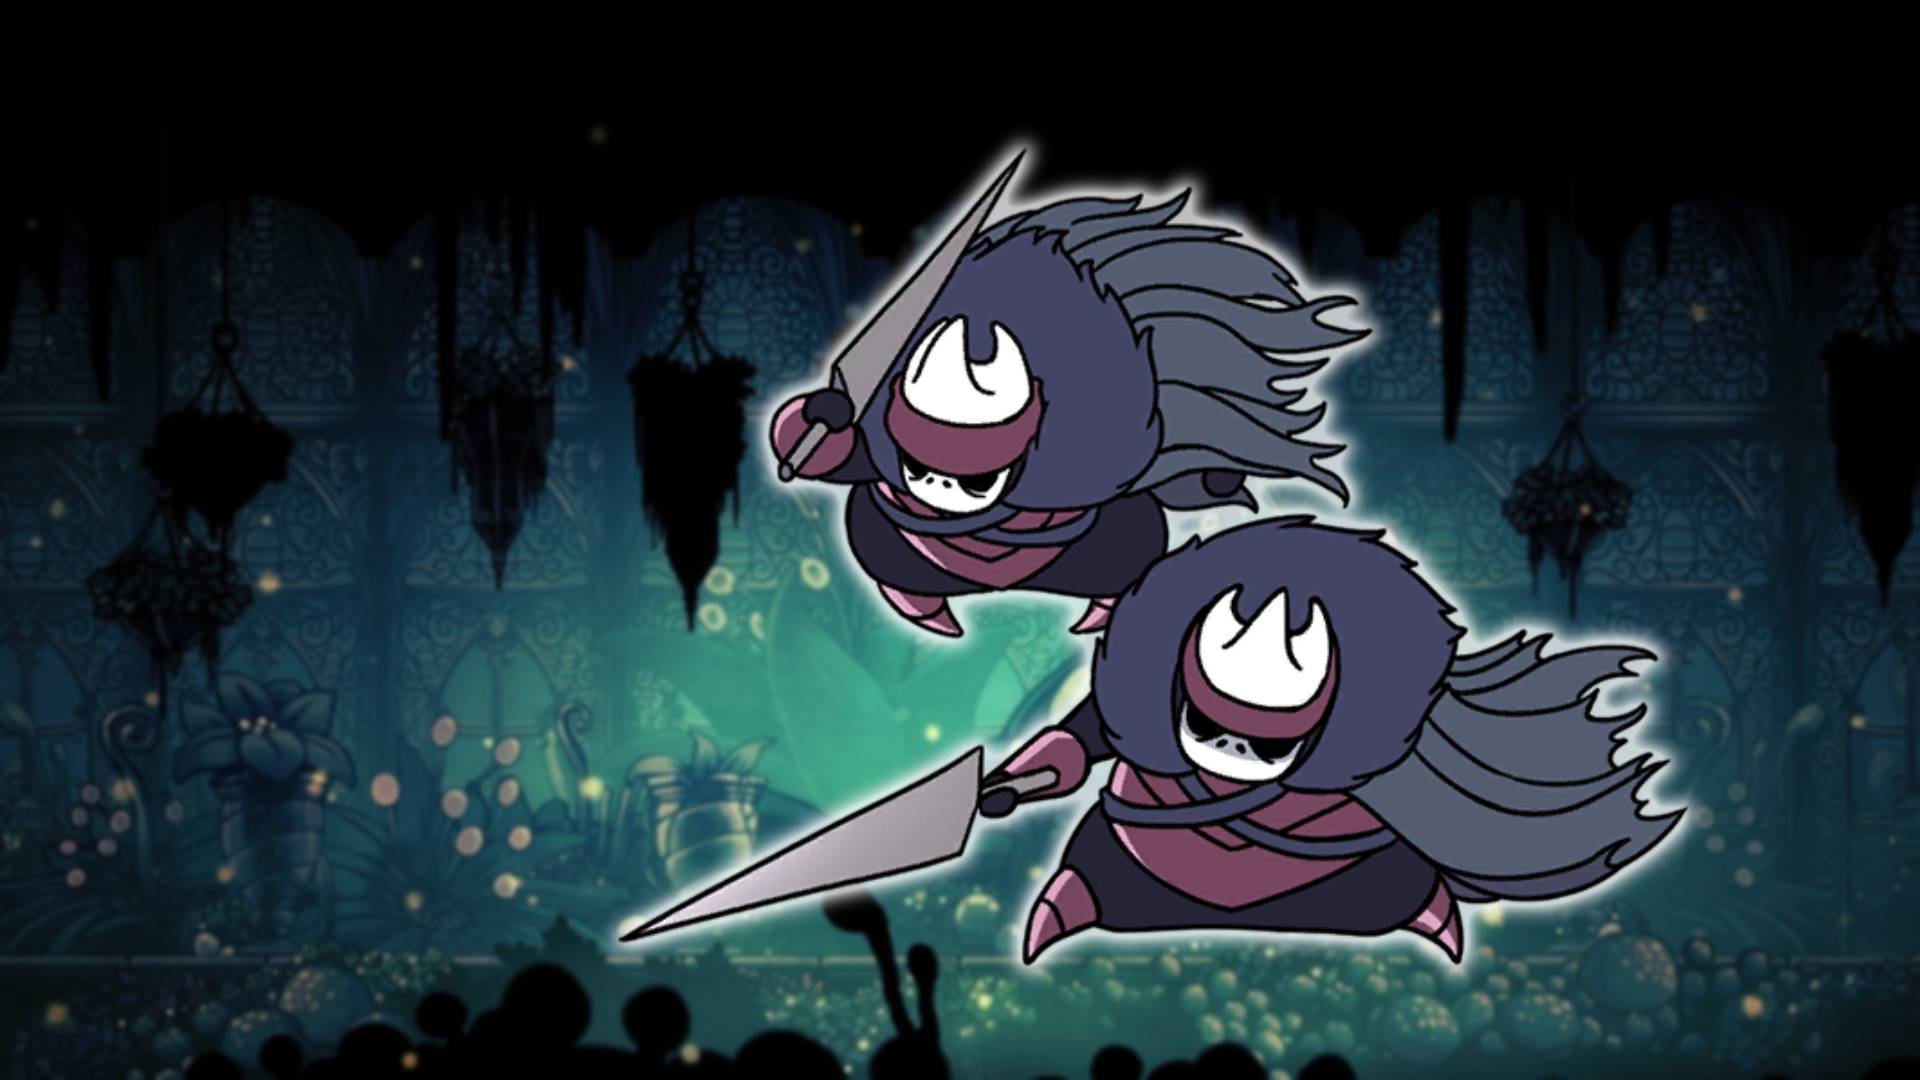
- Brothers Oro & Mato
- Great Nailsage Sly
False Knight (Forgotten Crossroads)
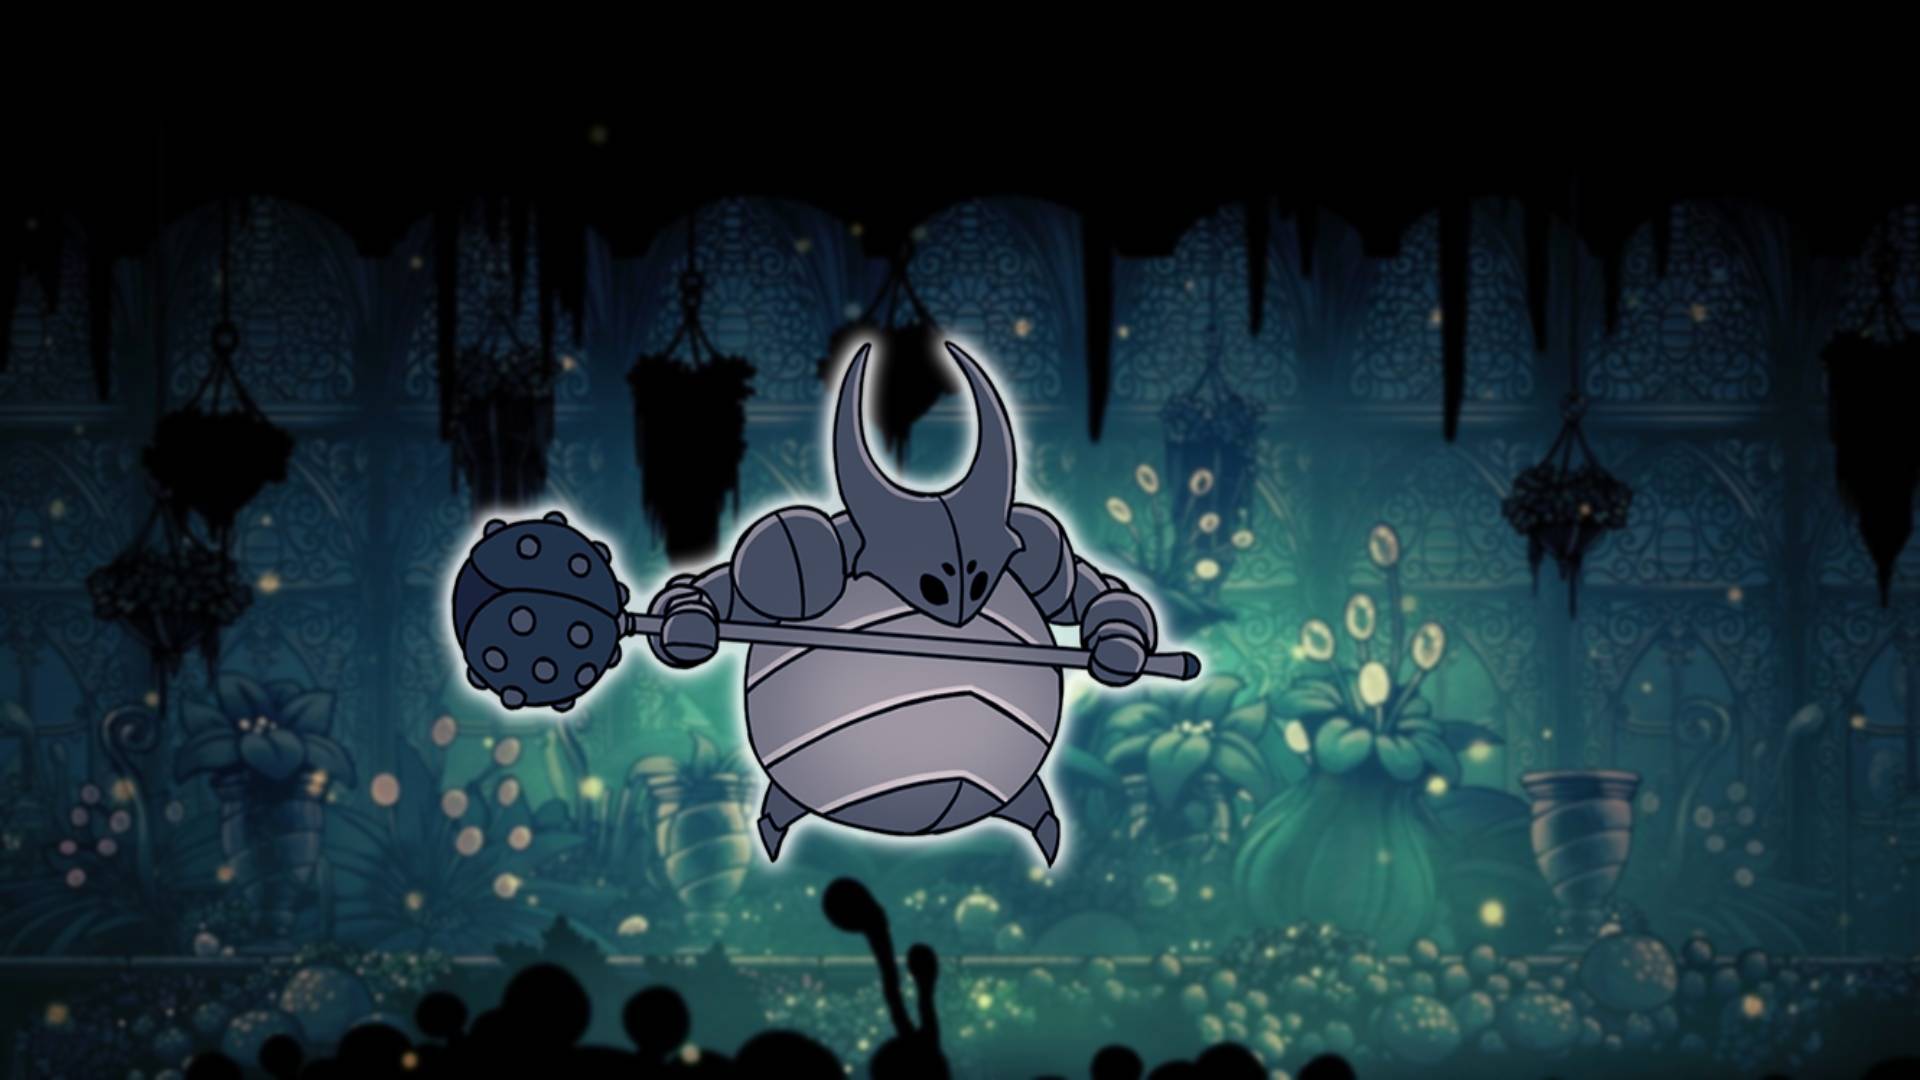
A maggot that has stolen armour, and been driven mad by infection. The False Knight is likely to be the first boss you face and is a good measure of how tough the game will be. False Knight likes to leap in the air, but most of the time you can avoid this by stepping back or quickly running underneath him. Watch out when he pulls back his mace, as the ensuing attack unleashes a shockwave you will have to leap over.
Finally, the False Knight has a raged attack where they smash the mace on either side of them, sending down obstacles as they do so. But once you’ve hit them enough times they become vulnerable, with their head poking out of their armor. Take advantage of this vulnerability by unleashing as many attacks as possible, and you should have this fight in the bag fairly quickly.
Gruz Mother (Forgotten Crossroads)
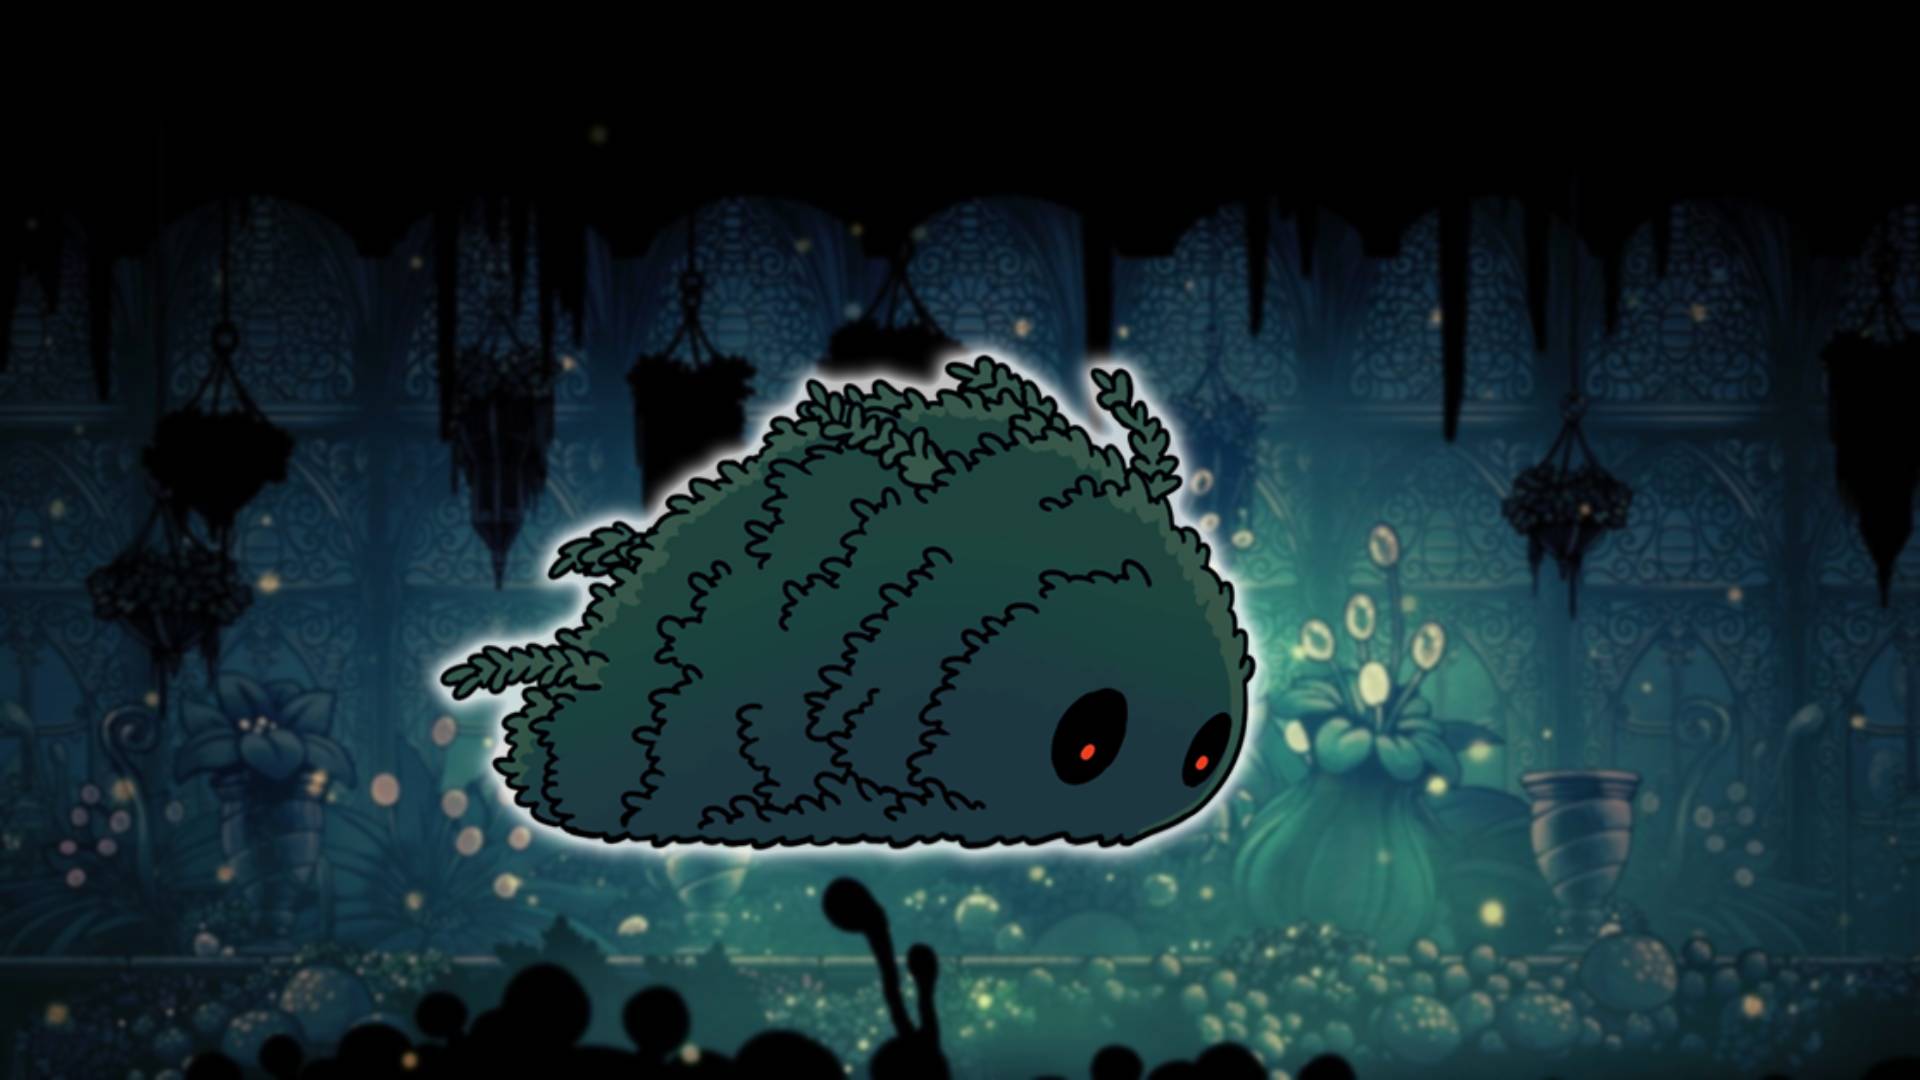
As one of the easier bosses, Gruz Mother is just a matter of patience. As soon as you run into the room you should be able to get in a few attacks before she even takes flight. Then just pay attention to her flight pattern, and avoid her slamming attack. You should be able to land a few upswing attacks when she is floating in the air, but try to avoid taking damage by walking into her.
It’s not really worth trying to heal in this fight, as she will instantly target you. Once you’ve killed Gruz Mother, now is the time to get in a quick heal, just to make sure you don’t get taken out by her tiny babies as they burst out of her. These are pretty easy to finish off, just upswing wildly while walking around on the floor.
Vengefly King (Greenpath)
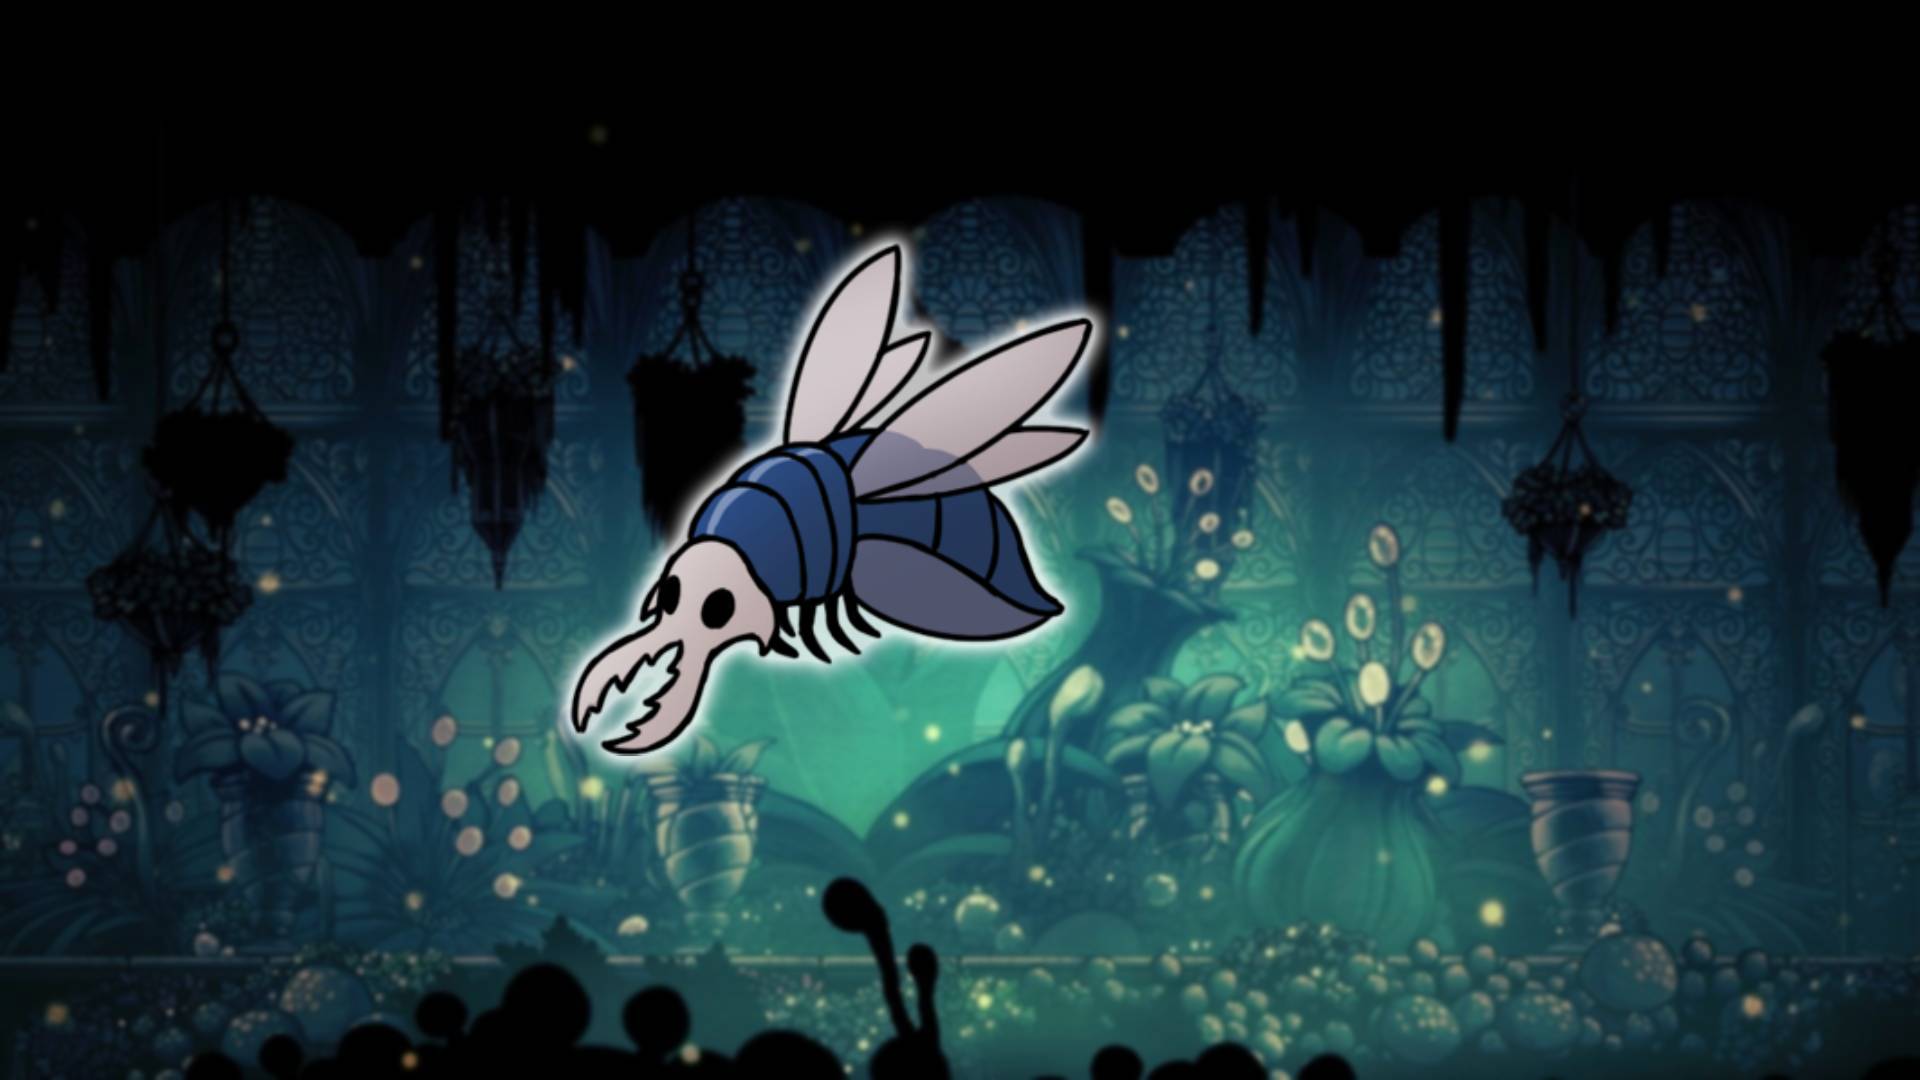
At one point while walking through Greenpath you might hear the mumbling cries of Zote. He’s stuck in the mouth of Vengefly King, and it’s completely up to you whether to save him or not – we recommend that you do, as Zote is a fun character you can interact with on a few different occasions. Vengefly King mostly swoops in from the side, so your best chance is to hit him with a downswing just as he’s underneath you.
After a few attacks, Vengefly King shrieks, unleashing a few smaller vengeflies on you. You’ll want to defeat these guys quickly to give yourself some space. Then, Vengefly King goes back to swooping at you, so be sure to jump over them and swing below yourself. You can also try and let off a Vengeful Spirit attack, but be careful as Vengeful King doesn’t stay static so your attack can go underneath them easily. This is a fairly easy fight, so shouldn’t take you too long.
Massive Moth Charger (Greenpath)
A nice simple one. Massive Moth Charger only has two attacks, one where they charge towards you on the ground, and one where they leap into the air, and then dive back into the ground. It’s probably only worth attacking when they stay on the ground and charge, jumping into the air and hitting them with a downward slash. If you time it right and move sideways with Moth Charger, you can sneak in two attacks before they burrow down again.
Mantis Lords (Fungal Wastes)
One of the first fights that’s a real test, a lot of people have probably never gotten further than this. As the fight starts, you’ll be up against just one of the Mantis Lords. When he grabs onto the side of the stage, he’s about to let rip a boomerang attack. If you dodge it and dash towards the Mantis you can get two attacks in if you’re lucky. Next is the sideways dash, which is probably the easiest way to land a hit. Just pay attention to which way the Mantis is facing, jump, and hit them with a downward slash while moving towards them. Then, when they pause at the end of the attack, quickly slash for another hit.
Finally, they jump in the air and attack straight down. They teleport away after this attack, so, as long as you sidestep it, you’re safe to unleash a few attacks, hopefully hitting them at least twice.
Once you’ve taken out the first Mantis Lord, you have to do it all over again – but now you’re facing off against two at once. Just be patient here, and pay attention to when they jump above you. The downward strike is the quickest attack, so it’s the one you need to pay the most attention to. During this phase, keep in mind that it might be better to simply get one attack in and then quickly dodge. Don’t forget that you can bounce off the boomerang with a downward slash, and eventually, you’ll make it through!
Soul Warrior (Soul Sanctum)
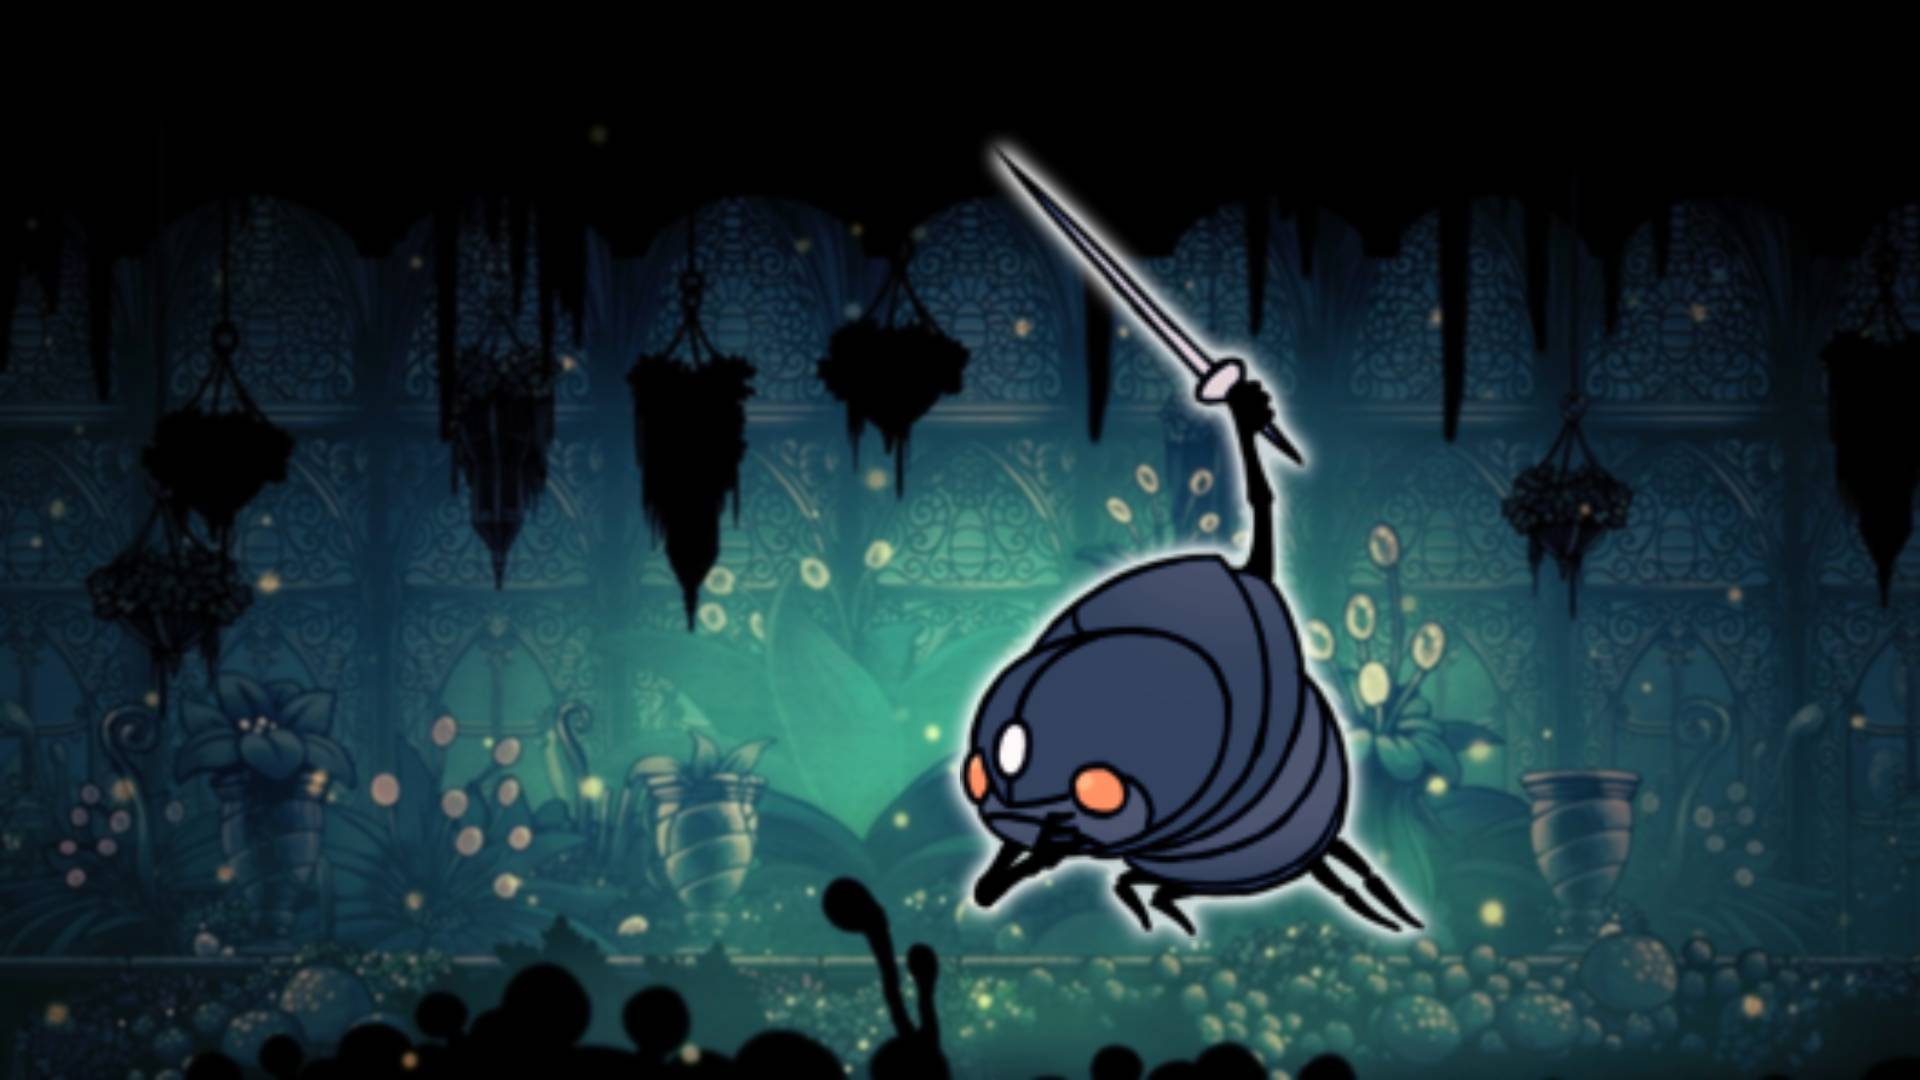
This fight is a nuisance. Soul Warrior moves quicker than his rotund little form would imply, dashing around the stage very quickly while unleashing floating Follys, and fire projectiles to boot. This is a good time to equip the Defender’s Crest if you have it, as the tail of it will help to take out the floating Follys. When Soul Warrior jumps into the air and dashes straight down, try to sidestep them and get in a quick attack before they move.
When they’re on the ground and lift their sword, they’re about to do a side dash. Do your best to jump above them and attack straight down. With so many other obstacles, this fight makes it tough to heal and to get in close. If you feel like you need it, you can equip the Baldur Shell to heal with a bit of safety. Otherwise, use charms that increase your Soul like the Soul Catcher or Grubsong, and try and get in a hit with Vengeful Spirit whenever you can. Keep dashing and this should be over soon!
Soul Master (Soul Sanctum)
A large and imposing foe, you have to do lots of dashing here. As soon as the fight starts, you can get in a couple of good licks while he’s floating in the air. From then on, be careful of his downward slam, and the shock wave it makes on either side. You might be able to sneak an attack in here, but your best bet is to do downward slashes when he moves from one side to the other. He also floats over one side of the arena and launches four projectiles, and while it’s possible to land a hit here, it’s better to just avoid him and jump around these flying blobs.
For the final phase, just dash whenever he attacks from above. There’s so little chance to get an attack in here, it’s not worth risking your health for the most part. The only chance you get is when he launches projectiles, especially if you can sneak underneath him. A ranged Soul attack can also be a huge help, and hopefully, you should soon have this formidable foe beat!
Dung Defender (Royal Waterways)
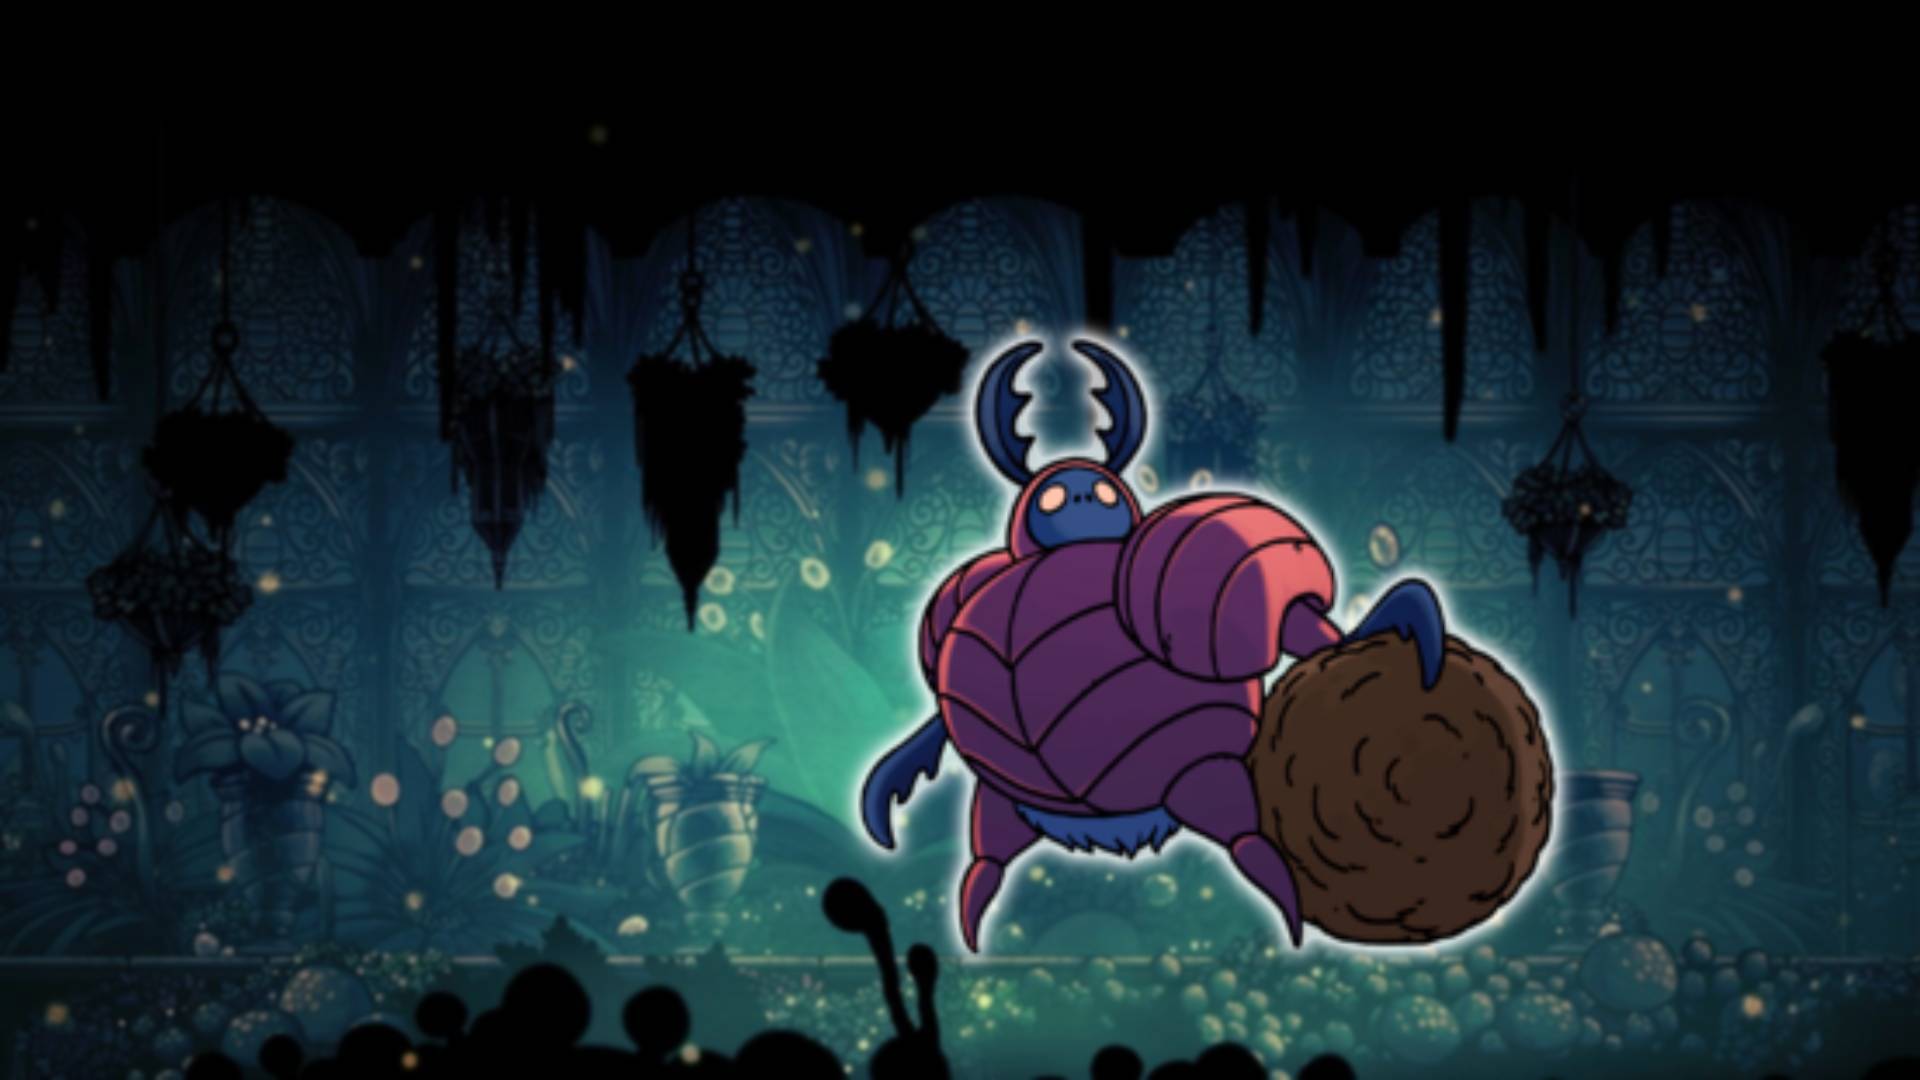
As soon as this fight begins, hit the floor with a ground pound and you’ll knock Dung Defender on his back, allowing you a few quick hits. This is the main way to get any damage in, so keep an eye out for when he is completely submerged while burrowing. His sideways swimming attack is a pain, so you’re better off just trying to dash over those. and waiting for a better chance to attack.
The trickiest thing here is avoiding the dung balls and the attack where he curls up into a ball and bounces around the stage. Hiding in the far corners will help you out here, especially on the left-hand side. You can still get hit, but the dung balls have a better chance of bouncing somewhere else. There’s little use for Soul attacks here as everything moves so quickly, but, if you’re struggling, Thorns of Agony can help you get in a few extra attacks so you can finally best this fierce fecal foe.
Crystal Guardian (Crystal Peak)
This is a short but sweet fight, that’s much more about patience than anything else. Like most bosses, you can get a good few attacks in during the opening moments, as the Crystal Guardian stands in place and roars. When the guardian leaps into the air, just try and quickly sidestep to dodge and get in a couple of attacks when he lands. There’s no point dashing as you’ll be too far away, and you need to land those attacks quickly.
As soon as he lifts his arm, it normally means he’s going to let off his ricocheting beam attack, so quickly jump and dodge to avoid it. If you’re quick, you should be able to squeeze in a downward slash, but mostly this is just the time to avoid him. There aren’t many opportunities to heal in this fight, so equip the Baldur Shell if you’re really struggling, or the Grubsong to get some extra soul. If you jump over him you can cast a Soul attack while he’s firing his laser, but honestly, you’re better off just attacking with normal nail attacks consistently.
Broken Vessel (Ancient Basin)
This one is trickier than you might assume, as the Broken Vessel moves quite quickly, and unleashes some nasty attacks that are really hard to avoid. The main things to look out for are the dash attacks, which Broken Vessel will signal by winding up slightly first. The dash is a little too quick to sneak in a downward strike, so your best bet is to jump as quickly as you can, and attempt to land beside him to get in a quick strike.
Next, he has a jump attack, which unleashes projectiles when he lands. As tough as it is, the closer you stick to him, the safer you are. The projectiles take up most of the map, but there’s a narrow safe spot beside the Broken Vessel that you can squeeze into. When he stands in place and swings from side to side, this is a great chance to either get in a heal or unleash a Soul attack from a distance.
He has another attack where he releases an absolute barrage of projectiles that can be really tough to avoid. Here is where a charm like the Thorns of Agony can help, especially if you’re still trying to stay close to the Broken Vessel. Beyond this, there is an overhead dash, but treat this much like the regular dash, and just try to judge where he’ll land, get an attack in, then move away. Hopefully, this helps you get through this fast-paced battle.
Uumuu (Teacher’s Archives)
While this giant jellyfish might not look very imposing, this is a tricky fight thanks to constant electric attacks that require you to keep moving all the time. You also can’t deal damage to Uumuu until it deflates. Luckily, you’re aided by the NPC Quirrel here, who strikes at Uumuu so you have a chance to attack. The rest of the fight primarily relies on you keeping on your toes in order to avoid the electric attacks, so be as quick as you can.
Because you have limited time to attack Uumuu, it’s pretty essential to have upgraded your nail. Another great way to do a lot of damage very quickly is to unleash an Abyss Shriek attack with the Shaman Stone attached. As long as you go into the fight with plenty of Soul already, you should be fine – but you can also equip Grubsong for a bit of extra help with Soul. This fight can take a while, so just be patient, and remember to strike as soon as Uumuu is vulnerable.
Watcher Knights (Watcher’s Spire)
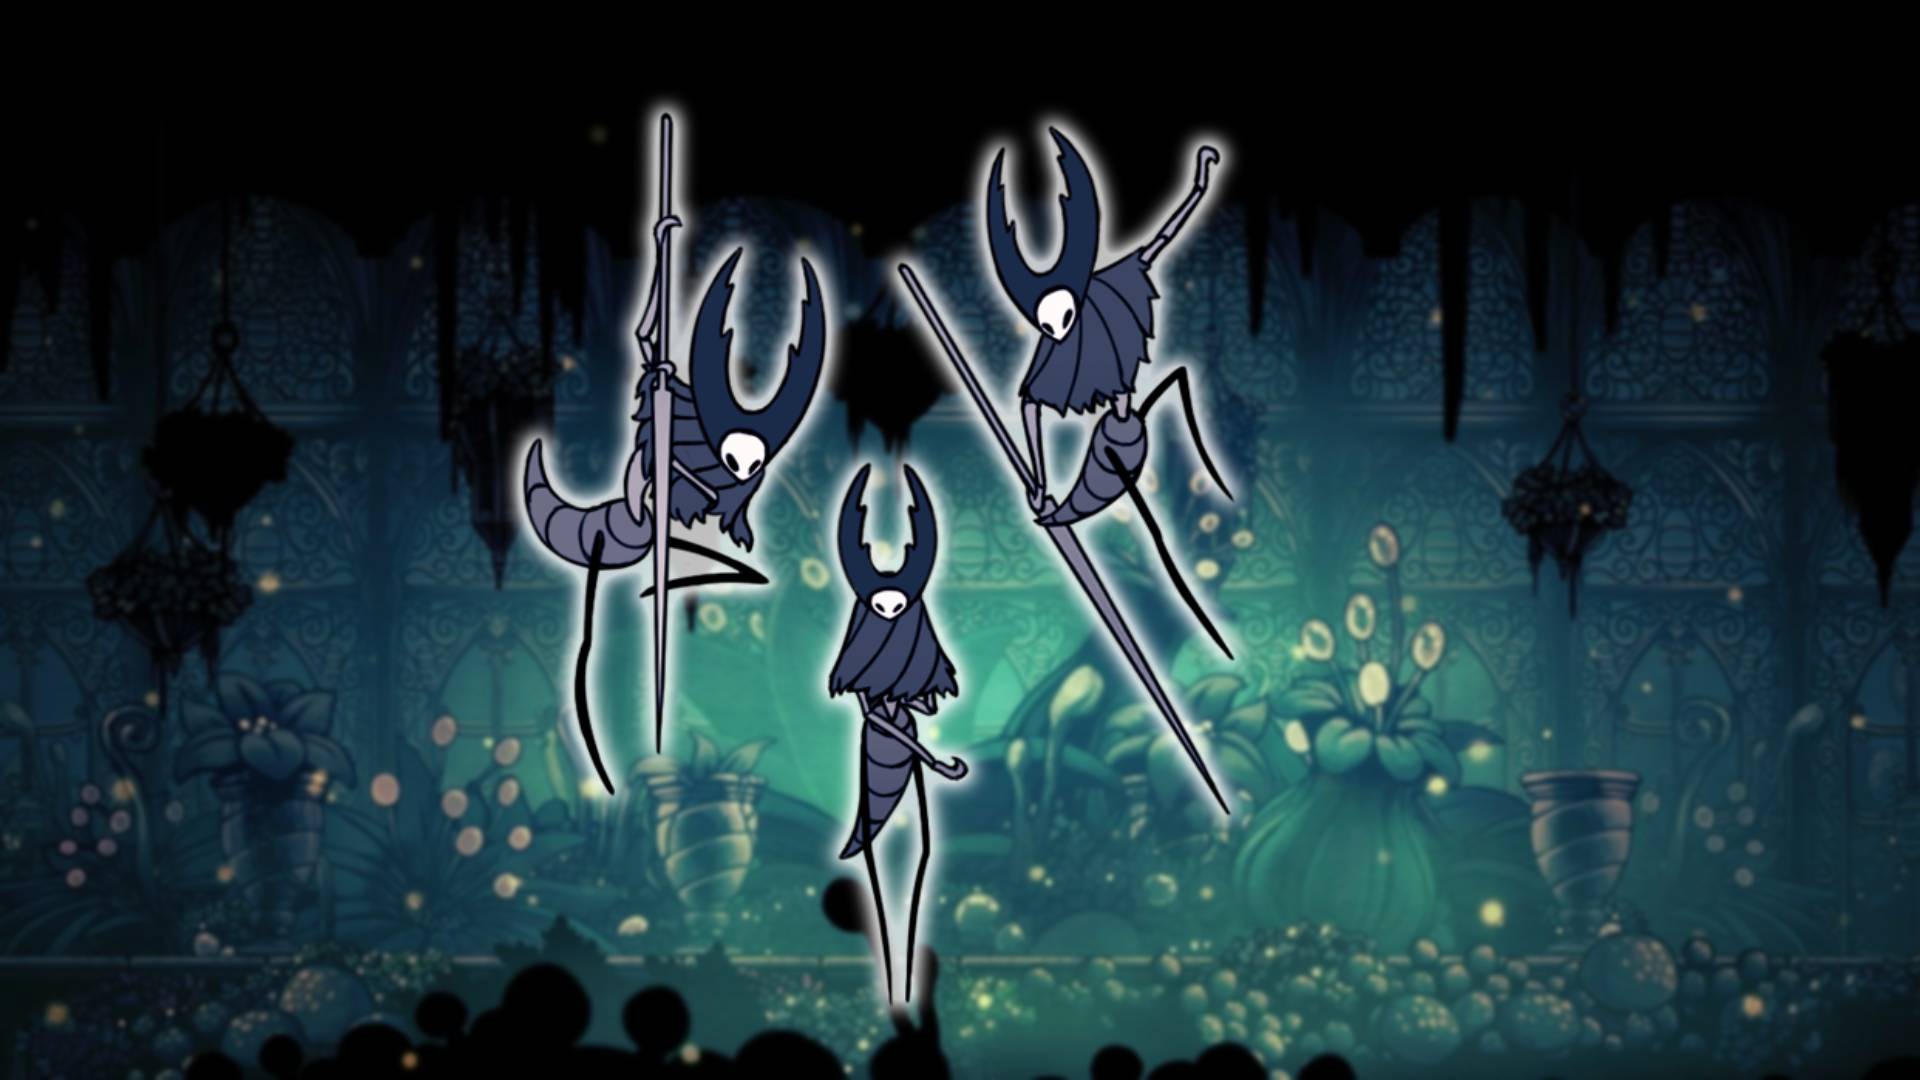
I’ll be honest, this is where I originally put down the game for six months before returning. This fight is tough, but also infuriating because there are so many attacks coming from different angles. The first trick to this fight is the chandelier. Once you’ve ridden up the elevator to the room with the Watcher Knights, don’t enter yet. Just above the elevator switch, there’s an alcove. Jump up and strike the ceiling to find a secret room. Hop up into the secret room to find the exposed rope. Attack it to drop a chandelier on one of the many Watcher Knights. It doesn’t get rid of everyone, but it really helps.
Aside from that, the trick here is to simply pummel them with attacks the second they appear, even if it means taking a couple of blows. You don’t want to tackle too many of the knights at once, so equipping Quick Slash, Stalwart Shell, and Thorns of Agony really helps. You can also go for the Defender’s Crest to try and get in some extra damage where you can.
When any of the Watcher Knights pull back their sword, it means they’re about to unleash two consecutive sword strikes. Just move backwards, and try and get an attack in when they finish. When they curl up and jump, they’re about to unleash the airborne attack where they leap up and then strike diagonally down. This is the hardest to avoid, and if you can spot it, try to dash away. Finally, when they charge up a rolling attack, they’re about to dash sideways. Jump up, getting a downward strike in if you can, and just try and land near to where you think they’ll finish.
Honestly, there’s so much going on in this fight, don’t worry too much about strategy. Your main focus should be hitting wildly and recovering when you can. Your patience isn’t often rewarded in this one because there are so many ways you can be attacked, so, though it feels wrong, just some wild stabs in the dark can be the best strategy here. If you haven’t already, make sure you have at least partially upgraded your nail before this fight.
Hornet
We’ve already covered both versions of the Hornet fight in our Hollow Knight Hornet guide, so head on over there to get everything you need for this one.
Nosk (Deepnest)
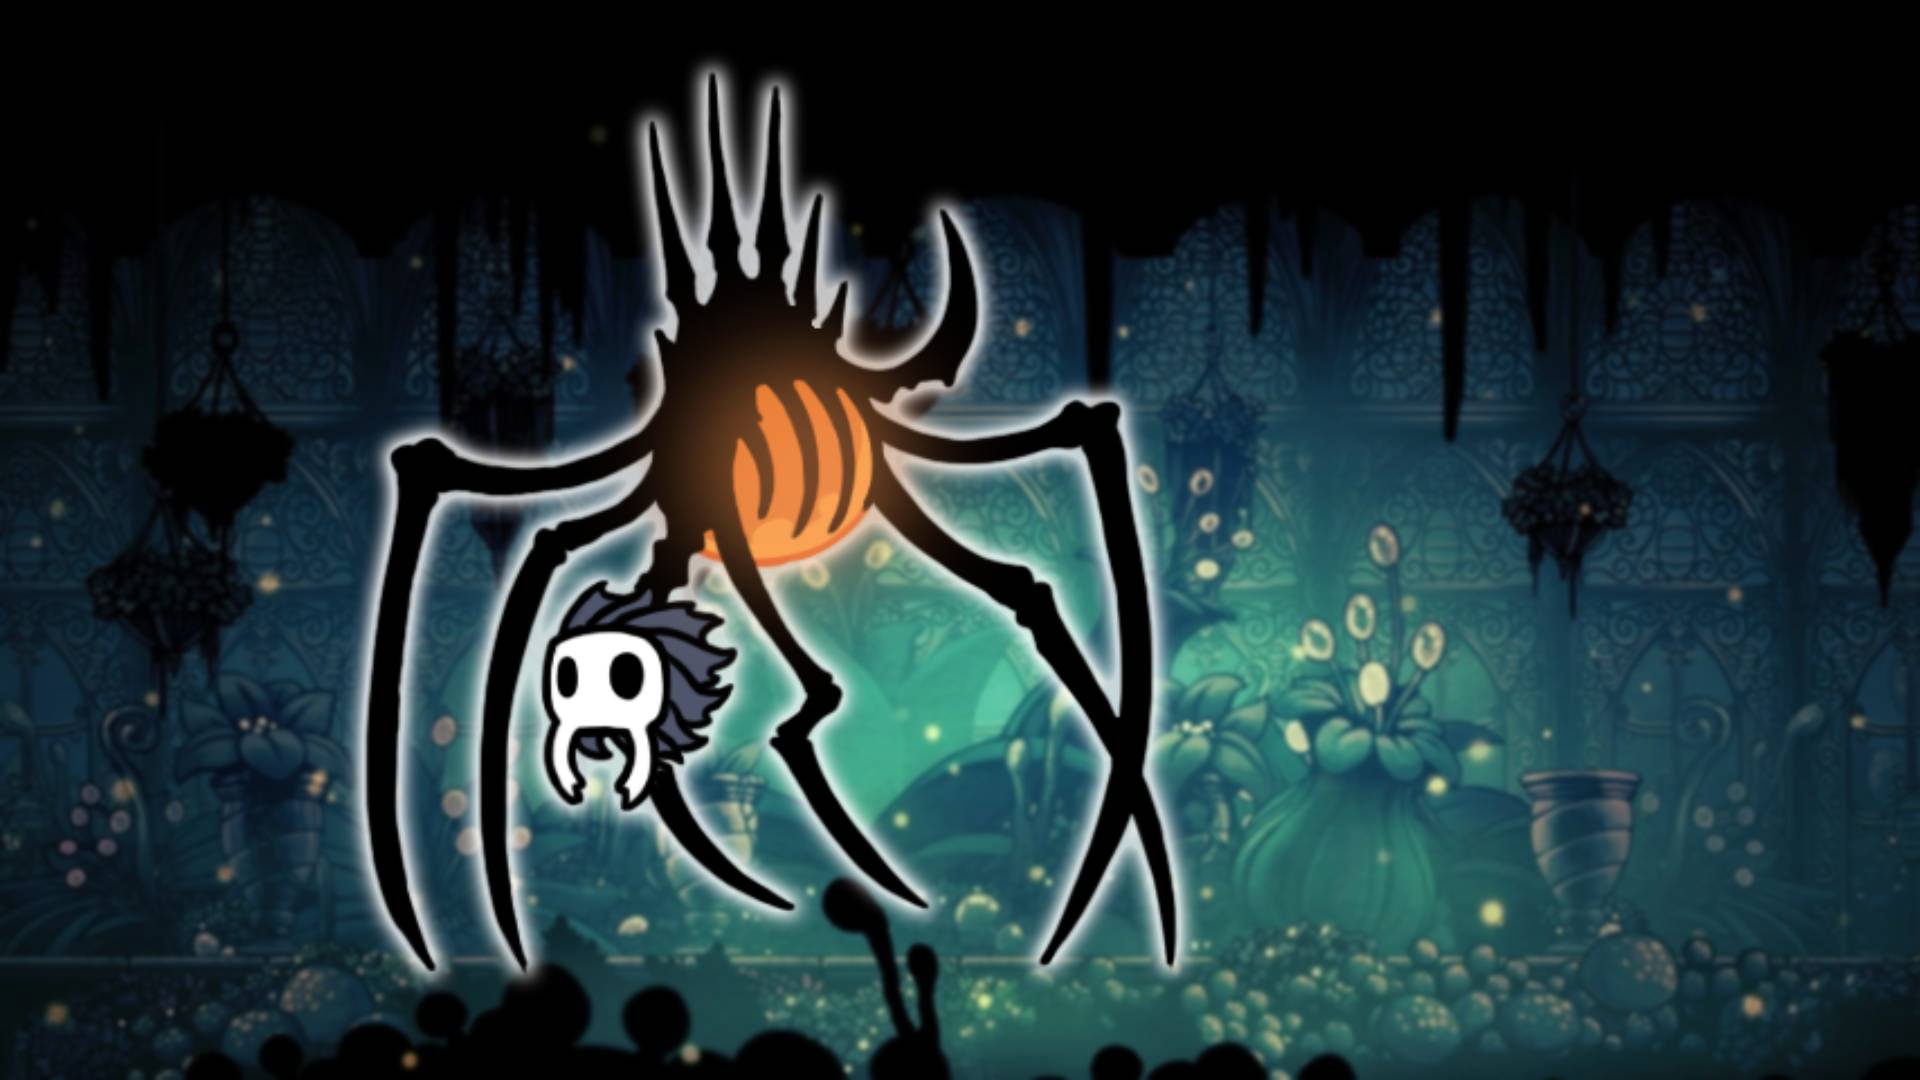
Nosk can seem like a really tricky foe, taking up a lot of space and scuttling quickly like a giant, freaky spider. However, this battle is much easier if you walk towards the platform in the middle, and instead of jumping up, stay firmly placed up against the left edge of the platform. Here, when Nosk runs overhead, they won’t be able to reach you, leaving them vulnerable to an upward strike. When they move from left to right, double jump over them and try to sneak in a downward strike. If you’re still having trouble, you can equip something like the Thorns of Agony to get in a couple more attacks, but with this strategy, this fight is eventually fairly easy.
The Collector (Tower of Love)
Not quite as imposing as some other opponents, this fight is more about attacking the smaller enemies he drops down than worrying about The Collector himself. If you have your nail fully upgraded, then most of the enemies he unleashes should only need a single attack to defeat. So take them out as soon as they arrive to stop yourself from getting overwhelmed.
Actually hitting The Collector shouldn’t be too difficult either. When he drops down, he does a short sideways hop, before jumping up to the ceiling again. Get as close to him as possible when he lands, and then dash in the same direction that he jumps, ready to attack quickly the second he lands. As long as you dispatch all the other enemies as quickly as possible, this fight should be plain sailing.
Brooding Mawlek (Forgotten Crossroads)
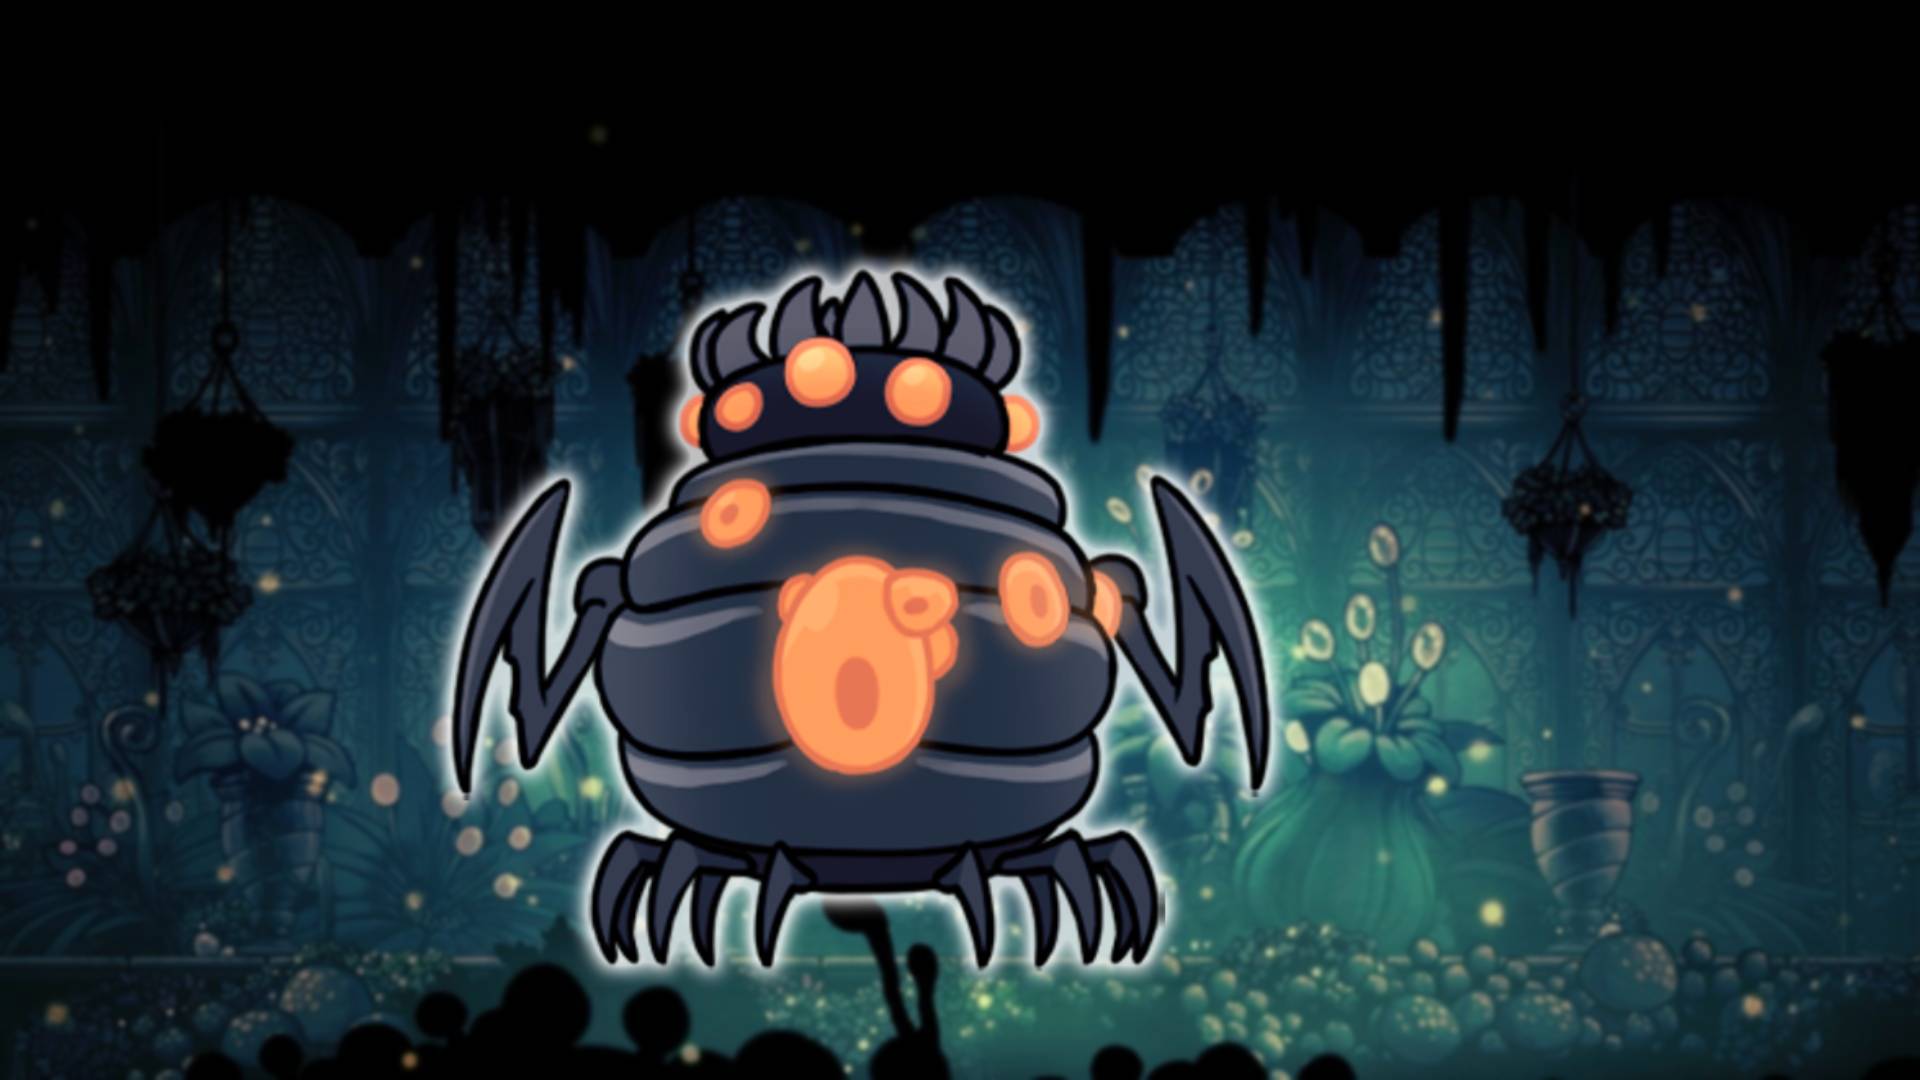
One of the game’s many optional bosses, Brooding Mawlek looks more intimidating than he actually is. For most of the fight, Mawlek doesn’t move from the raised platform, but moves from side to side while spewing fire attacks. When he lets off his single fire attacks, dodge to the best of your ability while getting in the occasional hit. When he pulls back to unleash a huge fire attack, double jump over him and try to nail a downward strike, landing on the other side of the room.
Other than this, he has a leaping attack, but he moves so quickly it’s best to simply dash as soon as he’s in the air. You can try to sneak in an attack here, but it’s much safer to try to hit him when he’s unleashing the smaller fire attacks. Realistically, the only time you can sneak in some healing is after Mawlek double jumps, so try and recover there.
Hive Knight (The Hive)
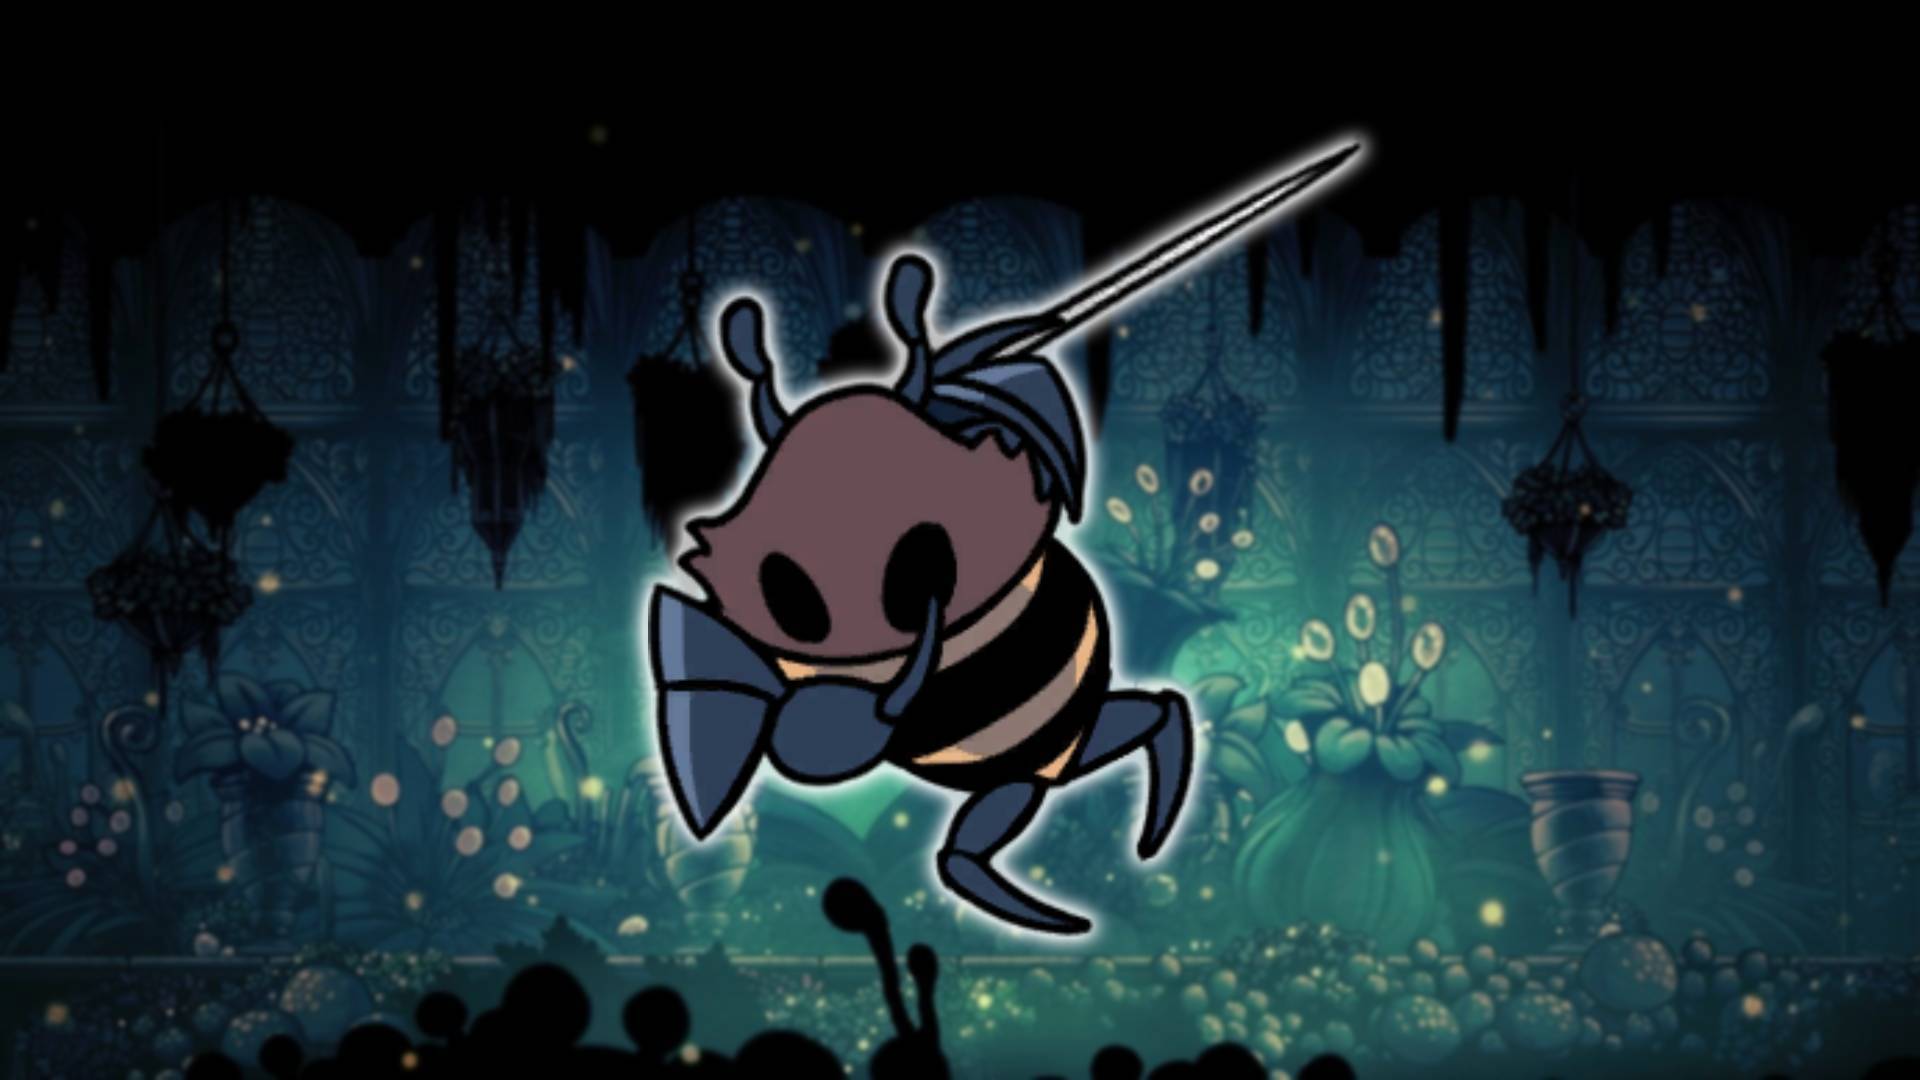
This can be a tricky one, and it doesn’t help that the run from the bench to the boss room is quite long. Take your time so you’ve got plenty of health when you arrive. Like most bosses, wait for his battle cry to be over and get in a few sneaky swipes before he starts to attack. When he unleashes the bees, simply avoid them. They don’t hang around, so it’s not worth the effort to try and attack them, and you need to keep an eye on the Hive Knight at all times.
The key to Hive Knight is staying above him and attacking downwards. His two main attacks are sideways dashes with a surprisingly large range, so staying up in the air and pogoing as much as possible is a good strategy. At this point, you should also have the Sharp Shadow, so you can dash through him and cause additional damage. He also has an air-dash which gives you a good chance to land a hit, as it’s pretty easy to judge where he’s going to land.
When he puts up his spikes ready to fire, try your best to dash through them and be mindful that they’ll explode in the same order they appear in. If you’re really stuck, I found the best tactic is to run under the lowest spike-bomb and align myself just to the left of its vertical spike.
Other than the occasional extra wave of bees, this should be fairly straightforward. If you need to heal, your best bet is to find a safe corner during the spike attack or sneak it in about halfway through the fight when you stun Hive Knight just before he unleashes more bees. Otherwise, there’s very little time to recover here. Just slash like crazy, and hopefully, you should be able to power through. Then congratulations, you’ve earned the Hiveblood Charm.
Traitor Lord (Queen’s Gardens)
Hoo boy, this is a tough one. Not only is there a gruelling run from the bench to the boss, but also you’ll need the Shadow Dash to even reach Traitor Lord. On top of that, you need to beat a few enemies first before Traitor Lord even turns up. They knew what they were doing with this one. Luckily, if you’ve been following the Cloth sidequest and have managed to save her, she’ll turn up to help you with this fight.
There are two main attacks here, a jumping diagonal slash, and twin blades. When he unleashes the twin blade, you should manoeuvre yourself between them and walk with them as they move from one side to another. There’s not a lot else you can do, as they take up so much of the available space. The downward slash can be avoided if you’re quick, but we highly recommend equipping Dashmaster and Sprintmaster for this fight so you can actually get the speed you need.
We found that one of the best techniques is to equip Grubsong to earn some extra Soul, then try to stick to the right-hand side and launch the occasional projectile attack. Next, equip Grimmchild if you have it, to chip away with some damage as well. You could also try the Defender’s Crest, but it’s pretty unlikely that you’ll be able to get close enough to use it against Traitor Lord.
Above all, the most essential part of your kit are the Shadow Dash and the Sharp Shadow ability. Traitor Lord takes up most of the fighting arena, so if you want to avoid getting hit, you’ve got no choice but to dash through them. Then, once they’ve taken enough damage, Traitor Lord unleashes a ground pound attack that fires a wave of white energy from one side of the room to another, taking up so much space that your only hope is to dash through it. Basically, the key to this fight is dashing and avoiding attacks constantly, and trying to chip away with dash attacks where you can. Hopefully, this helps!
Oblobbles (Kingdom’s Edge)
Don’t underestimate these bouncy boys, what they lack in physique, they make up for in firepower. The trickiest part of this boss battle is trying to avoid both of them at once, so it’s best to avoid getting caught in the middle of them. Annoyingly, if you hit them with the nail, they will sometimes move towards you, so using spells in this fight is the best strategy.
You’re constantly avoiding projectiles here, so keeping your distance and letting off a Shade Soul will help a lot, especially as this has the chance to hit both of the Oblobbles. Similarly, you can try to get underneath them and let off an Abyss Shriek where possible. Working with the Grubsong and the Shaman Stone is a good shout, then you can focus on spamming spells from one side of the arena while doing your best to avoid their fire attacks.
Once you take down one of the foes, the other goes into a rage, moving much quicker and firing rounds much quicker to boot. At this point, it’s best to stay on the ground while they’re firing and move by walking so you have the most control over your movement. Get as much distance as you can as soon as they start firing, and you should have enough space to judge where the attacks are heading. Hopefully, you still have some Soul, as ranged spell attacks are your best bet to land any hits here at all. If you’re really stuck, you can try switching to another charm that rewards Soul.
God Tamer (Kingdom’s Edge)
Now, this boss can be very overwhelming. You have to keep track of both the beast and the God Tamer at once, trying to avoid attacks from both. Aim to take care of the God Tamer first, as they actually have a short amount of time where they’re standing still. God Tamer’s main attack has them leaping in the air, then lunging downwards towards The Knight. This follows you wherever you go, so as long as you sidestep from your original position, you know exactly where they’re going to land and can get in a couple of slashes.
Upon landing, they stay in position for a few moments. Annoyingly, if you slash them at this point, the God Tamer will be knocked backwards. But you can use this to your advantage by knocking them into a corner, giving yourself some time to unleash a flurry of attacks. Considering that you’re likely going to get hit by the beast’s fire attacks during this fight, equipping Thorns of Agony to get in some extra strikes, and Grubsong to get extra Soul will really help.
So, you’ve taken care of the God Tamer – now, it’s time for the beast. Though alternatively, if you take out the beast first then God Tamer will give up, but personally, I prefer to take them both out.
The beast rolls forwards and bounces into the air, before lunging to land exactly where The Knight was standing. Try to use this to your advantage by keeping to the side of both enemies, and angling yourself between the wall and the beast as it rolls towards you. Because you know where the beast is going to land, a simple sidestep towards the wall should work – then unleash as many attacks as you can.
There’s also the beast’s sludge attack to worry about, which is a real pain. There’s not much you can do other than dashing towards the wall to avoid it. But, if you have Grubsong equipped, you can use this to gain some extra soul and let off a ranged Soul attack while the beast is firing. It’s worth having Sharp Shadow equipped as well, so, if God Tamer lands in front of you when you dash away from the beast. you have a chance for another attack. There’s a lot going on here, but, as always, once you understand the patterns, you’ll have this under control.
The Hollow Knight (Forgotten Crossroads – Temple of the Black Egg)
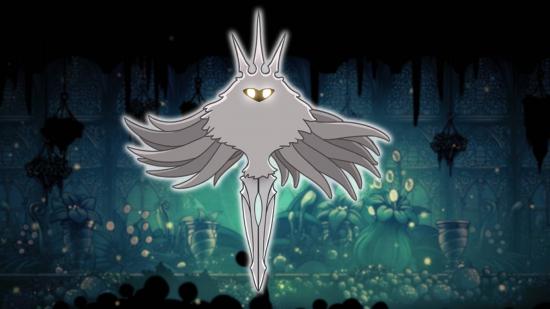
The final boss of the game – well, sort of. The Hollow Knight is an intimidating foe that can take you out very quickly, so it takes some time to get into the flow of the fight and come away victorious. To begin with, you have a few attacks to worry about. Hollow Knight attacks by jumping into the air before striking the ground, firing black twisting tendrils up through the floor which take up the entire room. You can judge where the tendrils will rise by looking at where they poke through the ground. Sneak in between two of these, face Hollow Knight, and let off a ranged Soul attack straight away.
Next, Hollow Knight has a dash attack, which takes up a lot of room. Equipping Dashmaster can be handy, as jumping over isn’t really an option. I find it easier to dash backwards and try to land a hit when he finishes his swing. But Hollow Knight is really tough to avoid as he’s so tall, so the safer option is to dash into a corner and wait for a better chance to attack.
Similarly, when he lets off his ranged attack and shoots out fiery goo, it’s better to quickly dash to the furthest wall to give you some distance, allowing you to judge where the projectiles will land. Occasionally, Hollow Knight hops from side to side, offering a fantastic chance to slip in an attack when they land. When Hollow Knight has taken enough damage they start stabbing themselves. This is an essential opportunity to heal yourself.
Hollow Knight also has a huge projectile attack, where they fill the screen with obstacles. You can try to dash to one side to avoid this, but sometimes it’s easier to stick underneath him, as he doesn’t fire too many straight down. Then he has a slam attack, where he leaps and just mashes his bloated body into the ground. On the fifth slam, Hollow Knight stays on the ground for a moment to recover, so this is your best chance to sneak in an attack.
It’s not really worth using Thorns of Agony or Defender’s Crest, as you likely won’t be getting close to Hollow knight very often. If you’re having trouble, I’d recommend focusing on movement and spells – Grubsong and the Shaman Stone can help there. If you’re using a spell build, you might be able to sneak in an Abyss Shriek when Hollow Knight is above you, but it’s risky. Once you’ve gotten through all this, congratulations, you’ve beaten Hollow Knight! Unless…
The Radiance (Forgotten Crossroads – Temple of the Black Egg)
If you’ve unlocked the Void Heart, and used the Dream Nail when Hornet holds down the Hollow Knight, you’ll find yourself thrust into a fight with The Radiance. If you thought fighting Hollow Knight was tough, well I’ve got some bad news for you. If you die fighting The Radiance, you have to beat Hollow Knight again to give it another shot. Your health recovers at the end of the Hollow Knight fight, so don’t worry about that. However, your Soul doesn’t, so it’s a good idea to try and bank some before the fight with Hollow Knight ends.
Before we even begin, you should really go for a spell build if you haven’t already. Grubsong, Shaman Stone, and Abyss Shriek are your best friends in this fight, as you’ll be spending a lot of time directly below The Radiance with very few chances to actually hit them with your Nail. You can also equip the Longnail if you want to give yourself a better chance at landing some hits, but honestly, it’s rare you’ll be at the height you need to land a nail attack.
Most of this fight is about avoiding taking hits, as there are so many different projectiles and obstacles constantly sweeping across the screen. For the wall of white light, use your Shade Cloak to dash through it – there’s no other way to deal with it. For the yellow projectiles, your best chance is to dash towards and underneath them, leaving them to hit the floor behind you.
Next is the beams of light that The Radiance lets off around themselves. This consists of three attacks, with each attack rotating slightly with every beam. Luckily, you have a brief moment to see where the attack will land, so don’t make any sudden movements, and walk quickly to keep up with the pace of these. Use the same tactic with the radial spike attacks by observing the angle the spike is facing, then positioning yourself underneath The Radiance to avoid them. You can even try letting off an Abyss Shriek if you get the chance.
The horizontal spikes are a bit tricker, and here is where we forget about attacking. Instead, look for a gap in the spikes and dash through there. There’s very little time to do anything else, so just focus on staying alive. When the spikes come down vertically, things are much easier. You’ve got plenty of time to see where they’re going to land, and can easily sidestep them and let off an Abyss Shriek. When the spikes also start to come up through the base of the level, giving you only one half of the platform to deal with, forget about attacking again, and focus on dashing to avoid everything to the best of your ability.
The first time you get The Radiance down, they’re entangled by vines. Use this chance to heal as much as possible, before the attacks start again. The next phase consists of the same cycle of attacks, but, instead of the flat level, you’re fighting on floating platforms above a deadly black floor. There’s not much else to say here as it’s the same pattern – just stay low, leaving plenty of space between you and projectiles and giving you more time to figure out where they’re headed. Don’t forget that you can hug the side of platforms with a wall grab to get a bit more purchase, but, ultimately, this is a test of patience now.
Eventually, the platforms reveal a path straight upwards. Leap up continually to rise high into the level, avoiding beams of light as you go. Take your time – there isn’t much else to do here and you don’t want to drop into the deadly floor below. Once you reach The Radiance at the top, you only need to land one more hit, and then this long, arduous fight is finally over. Congratulations! You’ve officially completed Hollow Knight.
Troupe Master Grimm (Grimm Troupe)
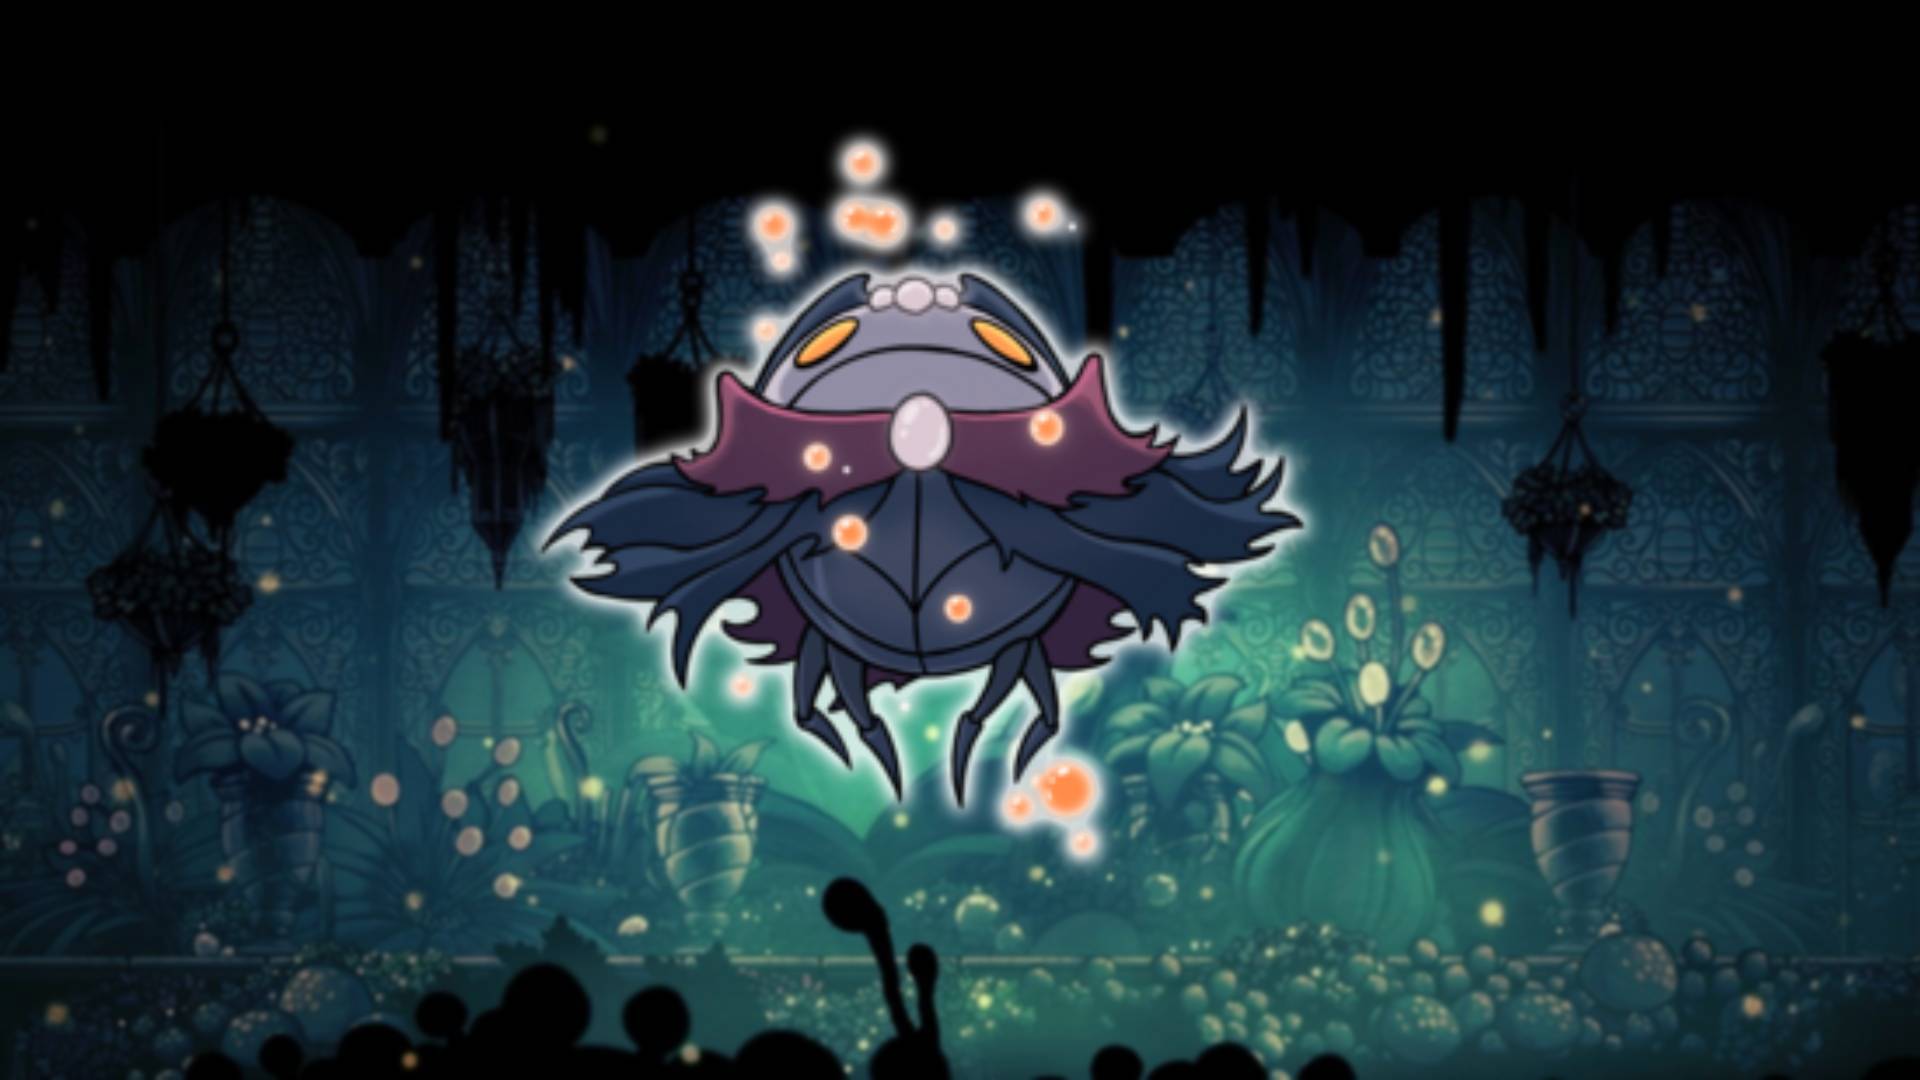
This is the definition of having a bark worse than your bite. It’s easy to feel overwhelmed when you first attempt this fight, thanks to the huge barrage of attacks. Luckily you are never far from a bench, so this is an easy one to try over and over again. Make sure you start this fight with a full Soul gauge, as you’ll be almost exclusively using spells..
Before the fight begins, equip Grubsong, Stalwart Shell, Shaman Stone, and Spell Twister. Whenever Grimm puffs up and unleashes his barrage of projectiles, get directly beneath him and let off as many Abyss Shriek attacks as you can. Yes, this is a little bit cheesy, but it’s the easiest and quickest way to deal with a very tricky boss. About seven or eight Abyss Shriek attacks should take care of him, and you’re rewarded with an extra charm notch for your hard work.
Paintmaster Sheo (God Eater)
A burly beast that fights with paint, Sheo takes up a lot of space thanks to their formidable frame and their projectile paint attacks. You’ve got four main attacks to worry about. The first is the regular blue slash, which is a forward strike that launches three blue paint blobs into the air. Just dash backwards and do your best to get between the paint. Next is a huge orange slash, which Sheo signals by jumping back into a corner. This is absolutely massive, so your best bet is to simply dash into a corner and wall jump to get above it.
Sheo also has a huge, charged purple attack, which starts with them holding their brush in the air, before slapping it on the ground next to them, causing purple paint to rain down from above. Stay close after the initial ground flash, then quickly move in to get some easy strikes. When they jump into the air they are about to do a quick spin, then a downward slam. This also unleashes red paint into the corners of the room, but you can avoid it easily. Like the last attack, stay close to Sheo while avoiding the ground slam, then swoop in and get some quick attacks in.
Aside from the occasional jump, Sheo spends most of their time on the ground. If you’re really struggling, you can try a spell build, then sneak into the corners and unleash a Shade Soul. Grubsong and Shaman Stone can be very handy here, so hopefully, you won’t be stuck on this boss for too long.
Brothers Oro & Mato (God Eater)
This is another tricky fight with more than one opponent. Luckily, Oro and Mato are quite similar, so it’s pretty easy to keep tabs on both. You start by fighting just one of the brothers. Pay attention to their forward slash, and try to dash backwards before sneaking in a nail strike. When it comes to their special attack, jump over Oro’s charged slash and attack him from above, and dash away from Mato’s spinning jump, slipping in a hit when he lands.
When fighting the brothers together, try to get above them and use Desolate Dive to attack both at once. If you want to use a spell build to make the most of this, equip Grubsong and Shaman Stone. But be mindful of how much Soul you use in the first phase of the fight – you want a full Soul gauge when fighting with both brothers at once. When you take one down, you’re back to the first phase of the fight as you face off against a single brother. Just keep your distance and try to let off the occasional Shade Soul.. They may seem intimidating, but their attack patterns are actually pretty slow and predictable, so just keep a level head and get in some attacks where you can, and this should all be over soon.
Great Nailsage Sly (God Eater)
A small but mighty foe, the main thing to worry about here is the insane range of Sly’s Greatsword. His first attack consists of two consecutive slashes, before he takes a spinning leap into the air and comes down with a downward strike. Try not to get backed into a corner, as Sly covers a long distance very quickly, and you don’t want to end up trapped with nowhere to go. When he leaps into the air for the third part of this attack, quickly dash underneath him and get ready to attack the second he lands.
Sly’s next attack has him leaping into the air before a ground slam, followed by a quick slash. Be wary of that second slash, and try to sneak in an attack where you can. Sly occasionally jumps into the air, charging an attack with a small white blink, before unleashing a spinning sword that moves around the stage. Double jump or wall jump to get above him, and use your down pogo attack to stay alive here.
He also has a couple of charged sword attacks. One sees him stand in place as he dishes out a huge swipe, while the other has him jumping to one side of the room as he charges up a dash slash. Both of these take up most of the screen and deal a lot of damage, so it’s best to just dash away and wait for a better chance to attack.
When he gets to his final phase, Sly pings around the room, finishing this combo with a spinning sword slash. Try to lure him into doing the spin slash near you, dash away, then quickly dash back to him and attack the moment he’s finished. This can be a tricky manoeuvre, but there’s no other opportunity to attack, so stick with it and this boss will be toast!
There we have it, our exhaustive guide to all of the major Hollow Knight bosses and how to defeat them. Hopefully, this helps you battle your way through to the end of the game and uncover the many hidden secrets of Hallownest. Remember to check out our Hollow Knight charm guide to help you snag every last one, so you can equip the best tools for every job. While fans should also check out our Hollow Knight wallpapers guide to make your computer look just as goreous as this game.
