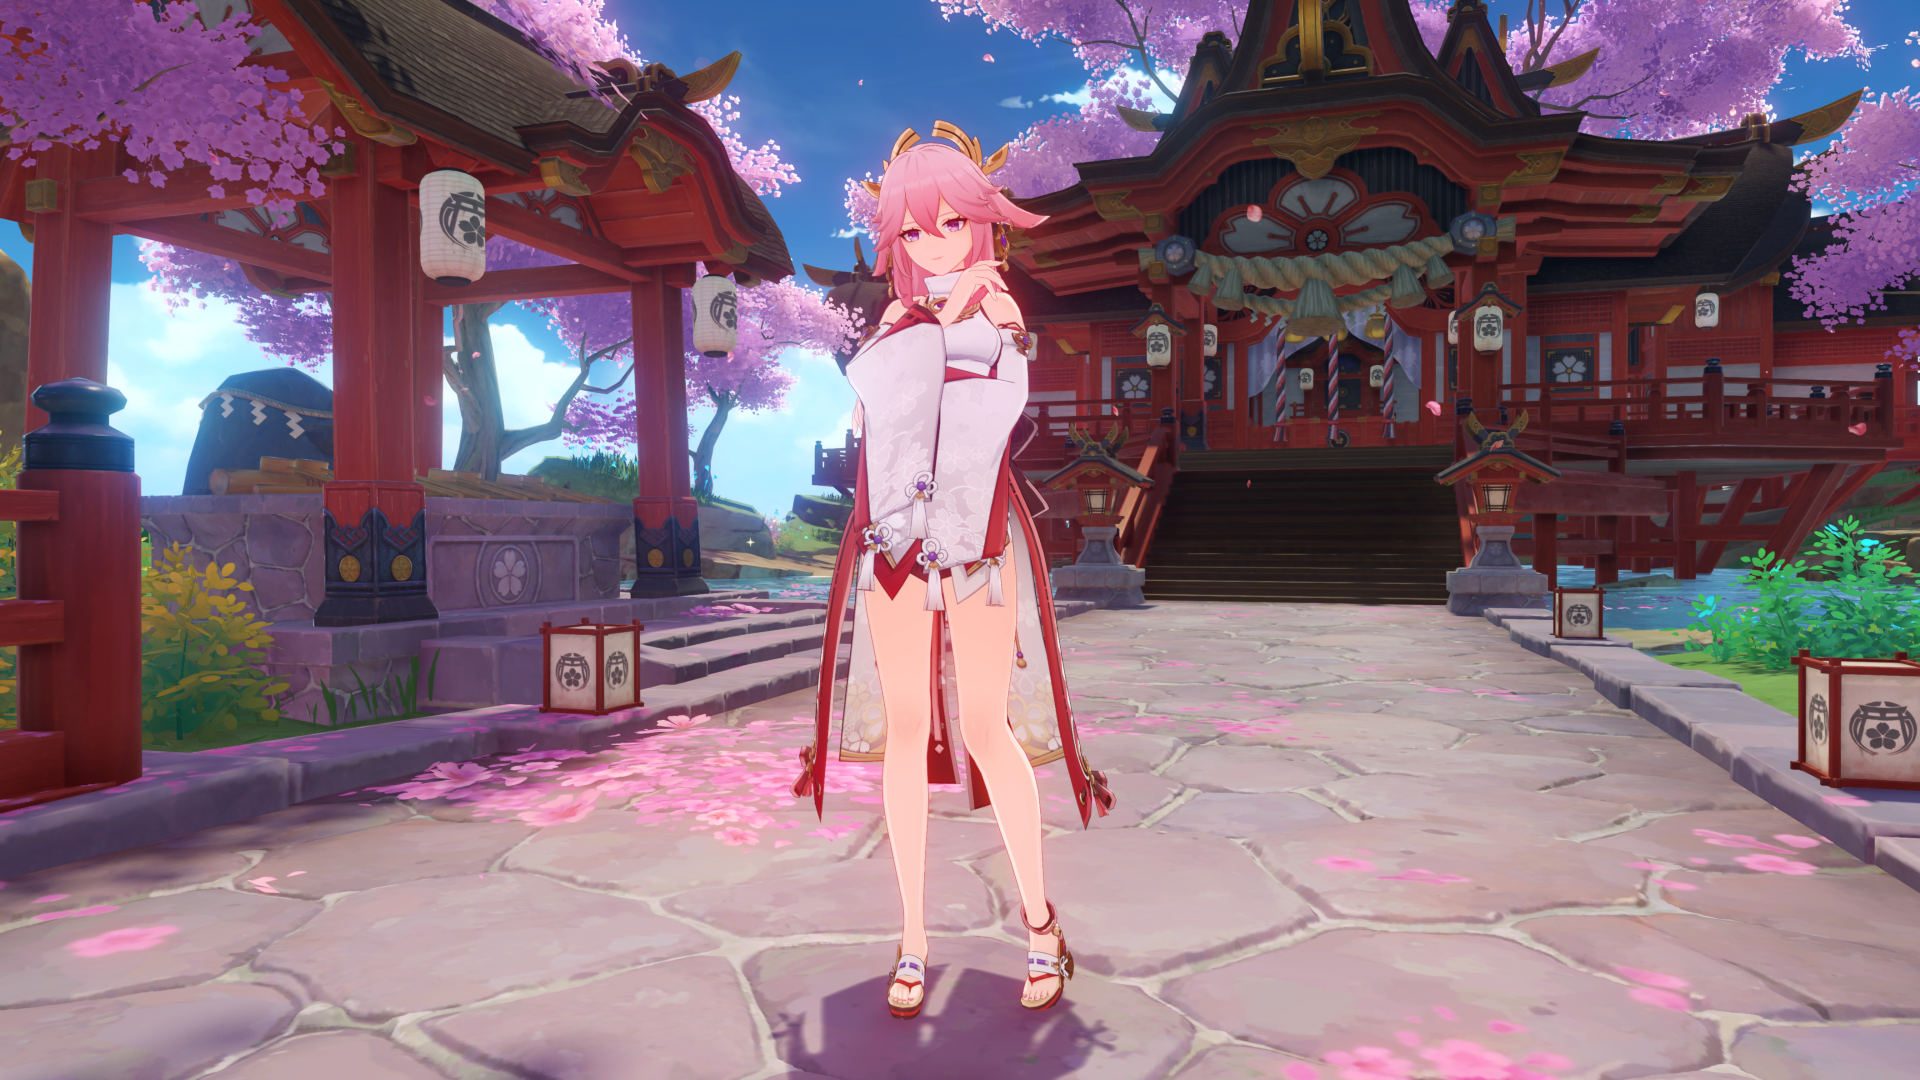
Genshin Impact’s Yae Miko is the Guuji of the Grand Narukami Shrine and owner of Yae Publishing House. A five-star electro catalyst user, her elegant and beautiful appearance belies an intelligent and cunning personality fitting of her kitsune heritage. So let’s take a look at her best build, weapons, team comps, and more.
If you want to keep up with all the best characters, keep an eye on our Genshin Impact tier list, Genshin Impact banner, Genshin Impact update guides. We’ve also got a handy list of Genshin Impact codes to keep your wallet lined with freemos, and a Genshin Impact event guide so you can keep track of what’s happening in Teyvat.
Here’s everything in our Genshin Impact Yae Miko build:
What’s the best Genshin Impact Yae Miko build?
| Best weapon | Kagura’s Verity |
| Substitute weapons |
|
| Best artifact set | Emblem of Severed Fate |
| Artifact substitutes | Two pieces of Thundering Fury with two pieces of an attack set like Gladiator’s Finale |
| Main stats |
|
| Sub-stats |
|
Yae Miko is a five-star electro catalyst user who excels in a variety of elemental reaction-driven teams. Her skill allows her to summon turrets which offer plenty of electro application from both on and off-field, and her overall is capable of dishing out some pretty hefty damage.
Her best weapon is Kagura’s Verity, and her best artifact set is Emblem of Severed Fate. She performs best in teams that can benefit from her strong electro application, such as quicken, aggravate, and quickbloom dendro teams, or hypercharge or overload teams.
When leveling up Yae Miko, we recommend getting her to ascension level six. You should prioritize her elemental skill, then her elemental burst, then her normal attack.

How to use Yae Miko
When it comes to normal attacks, they’re not a main source of her damage, but they do have their place in some rotations. Unlike many characters, her standard combo isn’t three normal attacks and a charged attack – instead you should use two normal attacks, then a charged attack, then either jump or dash to cancel the long charged attack animation.
On the other hand, her elemental skill is a big part of her kit, and the main thing you want to get to grips with. The most important factor is that you ensure all of the Sesshou Sakura totems are placed close enough for them to link together in order to deal the maximum damage. When Yae places a totem, she does a back-step dash with no invulnerability frames. This can be tricky to adapt to but, with time, it should become second nature – and you can even use it to get her out of harm’s way.
You should only use Yae’s elemental burst once you’ve set up all of her Sesshou Sakura totems, as they dictate how much damage the lightning strikes deal.
For a super in-depth description of the mechanics for each of Yae’s skills, be sure to check out the Keqingmains Yae Miko guide.
What is the best Genshin Impact Yae Miko weapon?
Yae Miko’s signature weapon is Kagura’s Verity, and it’s easily her best-in-slot option if you manage to get your paws on it. Its passive is perfectly tailored to her elemental skill, lasting the entire duration of her Tenko Thunderbolts, and it suits her in any playstyle or team comp.
Alternatively, Skyward Atlas is a great option as it boosts her attack, making up for her inability to make use of external attack buffs.
In terms of four-star options, Oathsworn’s Eye at R5, is your best choice. It massively reduces Yae’s energy recharge shortages, and has virtually no caveats unlike other four-star options.
Unfortunately, Oathsworn’s Eye was tied to the Three Realms Gateway Offering event, so is no longer available. If you missed that, then The Widsith is your next best choice, offering plenty of utility especially at R5.
| Weapon | Effect | How to obtain |
| Kagura’s Verity | Base stat: crit damage Skill: when the wielder uses an elemental skill, they gain the Kagura Dance effect, increasing their skill damage by 12% for 16 seconds. Max three stacks. The wielder gains an additional 12% elemental damage bonus when she has three stacks |
Gacha |
| Skyward Atlas | Base stat: attack Skill: increases elemental damage bonus by 12%. Normal attack hits have a 50% chance to earn the favour of the clouds, which actively seeks out opponents to attack for 15 seconds, dealing 160% attack damage. This can only occur once every 30 seconds |
Gacha |
| Oathsworn Eye | Base stat: attack Skill: increases energy recharge by 24% for ten seconds after using a skill |
Three Realms Gateway Offering event reward |
| Widsith | Base stat: crit damage Skill: when a character takes to the field, they gain a random theme song for ten seconds. Recititive increases attack by 60%, Aria increases all elemental damage by 48%, and interlude increases elemental mastery by 240. This can only occur once every 30 seconds |
Gacha |
What are the best artifacts for Genshin Impact’s Yae Miko?
Unfortunately, Yae Miko doesn’t have a signature set that perfectly fits her kit. This means that her best artifacts are mostly two-piece combinations that offer flat stat increases.
Generally, a four piece Emblem of Severed Fate set is a good shout to ensure you can burst during every rotation. If that’s not your goal, then you can combine two pieces of Thundering Fury with any two-piece attack set to increase her personal damage. We’ve put Gladiator’s Finale in the table below as it is highly accessible, and more likely that you’ll get two pieces with good stats and sub-stats.
| Artifact set | Effect | How to obtain |
| Emblem of Severed Fate | Two equipped: energy recharge +20% Four equipped: increases elemental bust damage by 25% of energy recharge. You can obtain a maximum of 75% bonus damage in this way |
Momiji-Dyed Court domain, Yashiori Island, Inazuma |
| Thundering Fury | Two equipped: Increases electro damage by 15% Four equipped: Increases damage caused by overload, electro-charged, and superconduct by 40%. Triggering these effects also decreases elemental skill cooldown by one second. This can only occur once every 0.8 seconds |
Midsummer Courtyard domain, Starfell Valley, Starsnatch Cliff |
| Gladiator’s Finale | Two equipped: Increases attack by 18% Four equipped: If the wielder of this artifact set uses a sword, claymore, or polearm, their normal attack damage is increased by 35% |
World and weekly bosses, artifact strongboxes, etc |
Yae Miko artifact stat recommendations
When it comes to stats and sub-stats, you want to balance energy recharge and Yae’s personal damage. If you’ve got an electro battery like Genshin Impact’s Fischl on her team, you should aim for 140-160% energy recharge to burst every rotation, and 140% energy recharge to burst every other rotation.
For a team that doesn’t have an electro battery, you’ll need over 200% energy recharge if you’re hoping to burst every rotation, or 140-170% energy recharge to burst every other rotation.
With that in mind, here are some of the best stats to focus on with Yae Miko’s artifacts.
Main stats
- Goblet – electro damage bonus
- Circlet – crit rate or damage (try to maintain a 1:2 rate to damage ratio)
- Sands – attack% or energy recharge
Sub-stats
- Energy recharge
- Crit rate/crit damage
- Attack%
- Attack
What are the best Genshin Impact Yae Miko team comps?
Yae works best in teams that can make the most of her elemental application. Aggravate, hyperbloom, overload, and electro-charged are all great options, but she can slot into many places thanks to her great, off-field electro application and potential to act as an on-field DPS too.
Here are some of our favourite Yae team comps. Keep in mind that you’re free to experiment and try out different characters that suit your playstyle and roster – just have fun! If you want to find out more about the characters listed below, click on their icon to open their build guide in a new tab.
What are Yae Miko’s abilities?
Here are all of Yae Miko’s active and passive skills.
Active skills:
| Skills | Effect |
| Normal attack: Spiritfox Sin-Eater | Normal: summon forth kitsune spirits, initiating a maximum of three attacks that deal electro damage Charged: consume stamina to deal AoE electro damage after a short casting time Plunge: plunge towards the ground from mid-air, damaging all opponents along the way and dealing AoE electro damage on impact |
| Elemental skill: Yakan Evocation: Sesshou Sakura | Move swiftly, leaving a Sesshou Sakura totem behind. The Sesshou Sakura periodically strikes one nearby opponent with lighting, dealing electro damage. When there are other Sesshou Sakura nearby, their level increases, increasing their damage. A maximum of three Sesshou Sakura can exist simultaneously. Initially, the highest level each one can reach is three |
| Elemental burst: Great Secret Art: Tenko Kenshin | Yae Miko unseals nearby Sesshou Sakura, destroying their outer forms and transforming them into thunderbolts that descend from the sky, dealing AoE electro damage on hit. Each Sesshou Sakura she destroys in this way creates one thunderbolt |
Passive skills:
| Skills | Effect |
| Meditations of Yako | When Yae Miko crafts character talent materials, she has a 25% chance to create extra talent materials from the same region of a random type. The rarity of this material is the same as the materials consumed during crafting |
| The Shrine’s Sacred Shade | When you cast Great Secret Art: Tenko Kenshin, each destroyed Sesshou Sakura resets cooldown for one charge of Yakan Evocation: Sesshou Sakura |
| Enlightened Blessing | Every point of elemental mastery Yae Miko has increases the damage dealt by Sesshou Sakura by 0.15% |
What are Yae Miko’s Constellations?
You can level up Yae’s constellations after receiving her as a duplicate when making a wish. Here’s every bonus you receive when activating them.
| Constellation | Effect |
| Yakan Offering | Each time Great Secret Art: Tenko Kenshin activates a tenko thunderbolt, Yae Miko restores seven elemental energy for herself |
| Fox’s Mooncall | Sesshou Sakura’s start at level two, max level is increased to four, and their attack range is increased by 60% |
| The Seven Glamours | Increases the level of Yakan Evocation: Sesshou Sakura by three. Maximum upgrade level 15 |
| Sakura Channeling | When sesshou sakura thunderbolts hit opponents, the electro damage bonus for all nearby party members is increased by 20% for five seconds |
| Mischievous Teasing | Increases the level of Great Secret Art: Tenko Kenshin by three. The maximum upgrade level is 15 |
| Forbidden Art: Daisesshou | Sesshou sakura’s attacks ignore 60% of your opponents’ defence |
What are Yae Miko’s ascension materials?
You can farm dragonheir’s false fins from the bathysmal vishaps in Enkanomiya, and sea ganoderma grow around the shores of Inzauma. You can get the handguards by defeating the nobushi and kairagi enemies around Inazuma, too.
| Required level | Mora | Materials |
| 20 | 20,000 | One vajrada amethyst sliver, three sea ganoderma, three old handguards |
| 40 | 40,000 | Three vajrada amethyst fragment, ten sea ganoderma, two dragonheir’s false fins, 15 old handguards |
| 50 | 60,000 | Six vajrada amethyst fragment, 20 sea ganoderma, four dragonheir’s false fins, 12 kageuchi handguards |
| 60 | 80,000 | Three vajrada amethyst chunk, 30 sea ganoderma, eight dragonheir’s false fins, 18 kageuchi handguards |
| 70 | 100,000 | Six vajrada amethyst chunk, 45 sea ganoderma, 12 dragonheir’s false fins, 12 famed handguards |
| 80 | 120,000 | Six vajrada amethyst gemstone, 60 sea ganoderma, 20 dragonheir’s false fins, 24 famed handguards |
What are Yae Miko’s talent materials?
You can ascend Yae’s normal attack, elemental skill, and elemental burst to level ten each. Here are all the materials you need to get one of her talents to max level.
You can get the handguards by defeating nobushi and kairagi enemies around Inazuma. The light talent books are rewards from the Violet Court domain on Wednesday, Saturday, and Sunday, and the meaning of aeons comes from the Raiden Shogun weekly boss.
| Level | Mora | Materials |
| Two | 12.5k | Six old handguard, three teachings of light |
| Three | 17.5k | Three kageuchi handguard, two guide to light |
| Four | 25k | Four kageuchi handguard, four guide to light |
| Five | 30k | Six kageuchi handguard, six guide to light |
| Six | 37.5k | Nine kageuchi handguard, nine guide to light |
| Seven | 120k | Four famed handguard, four philosophies of light, one meaning of aeons |
| Eight | 260k | Six famed handguard, six philosophies of light, one meaning of aeons |
| Nine | 450k | Nine famed handguard, 12 philosophies of light, two meaning of aeons |
| Ten | 700k | 12 famed handguard, 16 philosophies of light, two meaning of aeons, one crown of insight |
Talent priority
When leveling up Yae Miko’s skills, we recommend prioritizing them in the following order:
- Elemental skill > elemental burst > normal attack
You should aim to get her to ascension level six as quickly as possible, too. Getting her to level 90 isn’t as important as it is for some other characters, but is worthwhile to get to the higher talent levels.
And that’s all we’ve got on the beautiful guuji, Genshin Impact’s Yae Miko. If you fancy a more intergalactic adventure, check out our Honkai Star Rail tier list, Honkai Star Rail codes, Honkai Star Rail banner, and Honkai Star Rail events guides.


